Linen Stitch Dish Towel
A Free Knitting Pattern for Your Kitchen or Bar
In a previous post I explained how my then fiancé, now husband, built a bar into a space in our basement that previously housed a very old and yucky refrigerator – and that I have been knitting some towels for the bar out of a cotton yarn dyed to look like distressed denim. Here you’ll find the pattern for the Linen Stitch Dish Towel.
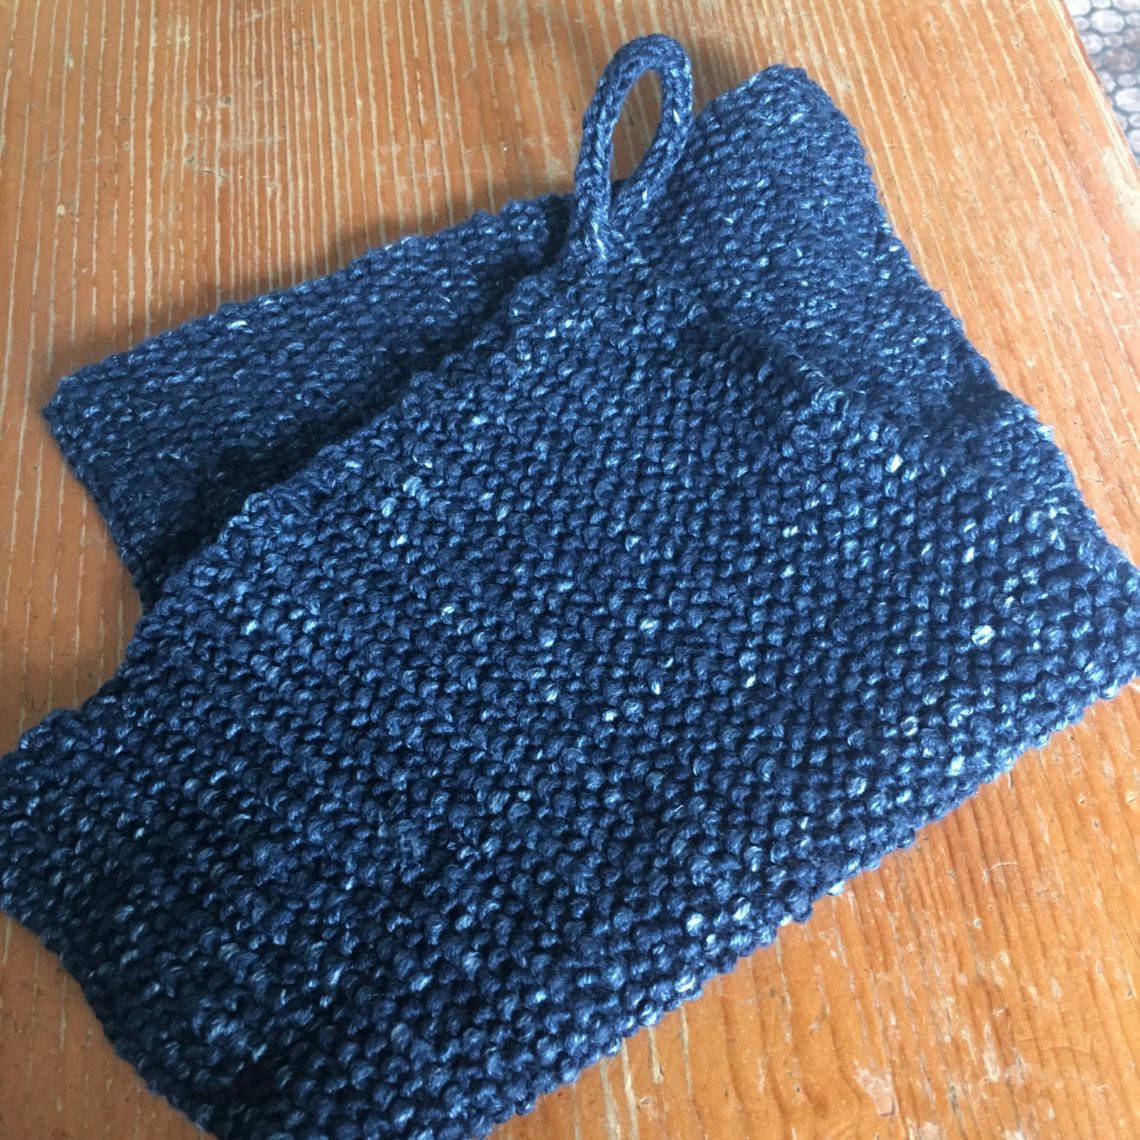
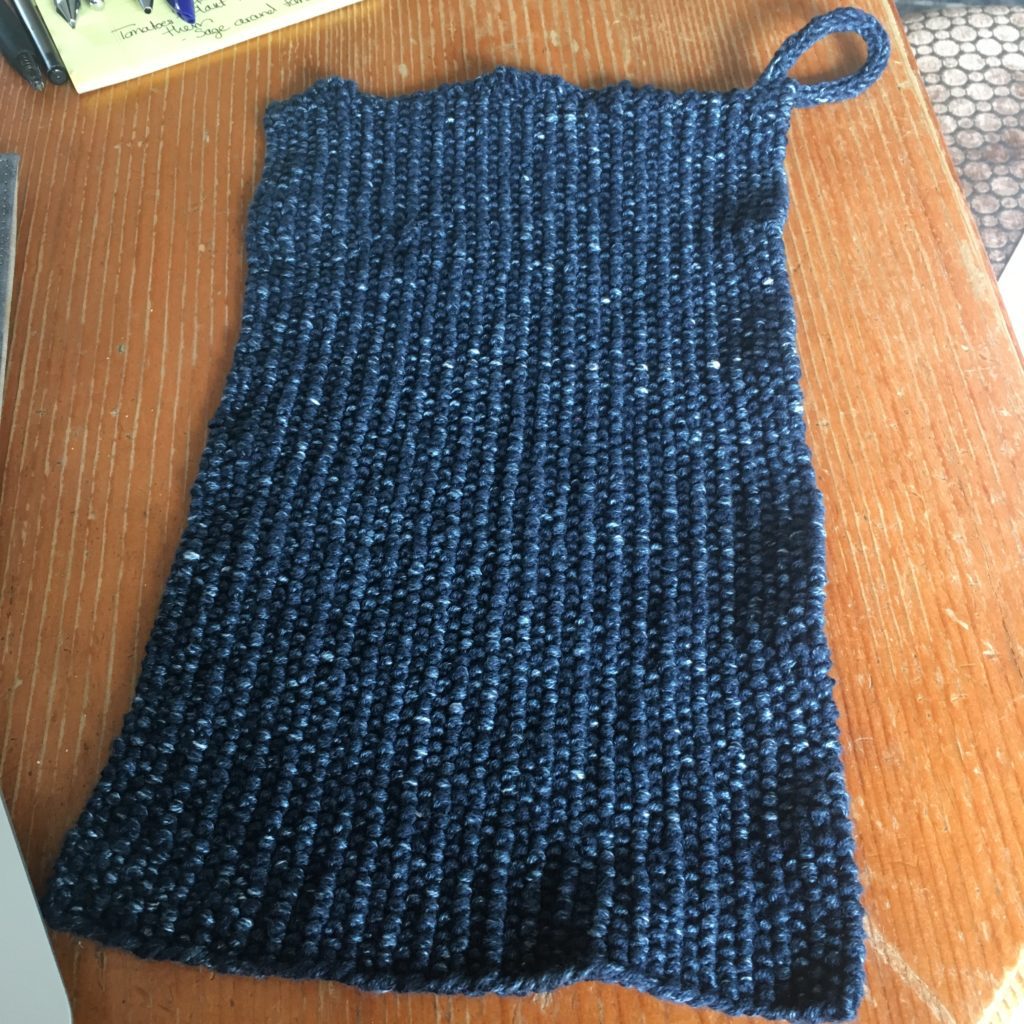
Well there is a new towel HOTN (Hot off the Needles)! This one is a stiffer, or tighter “woven” pattern than the previous towel and is a bit smaller as it’s meant to hang off of a hook that is soon to be installed. This is a fun and relatively fast knit that has a lot of texture to it. I’ve added a knitted i-cord to the top of it so that it hangs quite nicely.
Note: When the pattern instructs you to slip a stitch, either with the yarn in front or yarn in back, do so Purl Wise – ie insert your right hand needle through the stitch from right to left so that the stitch does not turn or twist.
This took about 1 and 1/2 to 1 and 1/3 skeins of DMC Natura Just Cotton yarn in Denim.
Linen Stitch Dish Towel Knitting Pattern
Cast On: 46 Stitches
Note: If you’d like to make yours closer to the size of a regular dish towel for the kitchen, you’ll need to add additional stitches. Id recommend 86 stitches (not quite as large as a full size dish towel but much closer to the size if you’d like this to hang from your stove.
Row 1: K1, SL1 WYF (Knit one, slip one with yarn in front) – repeat these two stitches until the end of the row, ending with a “slip yarn in front”
When you turn the work to knit the next row, the yarn will be hanging at the back of the work, just bring it around the side and to the front as if you are going to purl. It will get more comfortable to work this first stitch as you continue to work the project.
Row 2: P1, SL1 WYB (Purl one, slip one with yarn in back) repeat these two stitches until the end of the row, ending with a “slip yarn in back”
When you turn the work to knit the next row, the yarn is hanging out in front, one stitch back. That’s OK. Just hold the yarn against the work so that your needle is in front of the yarn, ready to knit a stitch. Insert the needle into the fist stitch and work it as normal.
Repeat these rows until the towel is your desired length. I worked mine for about 12 inches as it’s going to hang rather than sit folded in half. If you’re opting not to do the i-cord and want to make yours longer go for it!
For this towel a normal knitted bind of would work. K2, *Pass the first stitch up and over the second, K1* Repeat until three live stitches remain.
I used a different variation and got a bit of a stretchier edging: K2, *Place stitches on left needle and knit them together through the back, K1* repeat until three live stitches remain.
I-Cord:
Note this requires a circular needle or double pointed needle. You could use a set of straight needles but it would require transferring the stitches after every row which would get very tedious.
Knit three stitches
Slide them to the other side of the needle so you can begin to knit the row again without turning the work.
Knit these three stitches – pulling the first stitch a bit tight.
Repeat these until your strand will form a loop, of your desired size. I worked mine for just a little shy of 4 inches. As you work these rows, sliding the stitches at the end of each row, you’ll notice that if forms a cord or length of rope.
Cut your working yarn and use a tapestry needle to sew these stitches to the “back” or “wrong side” IE the purl side of your towel. There really isn’t a fancy way to do this, whatever works for you.
Sew or weave in your yarn tails and you’re good to go! Prost!