Purl and Stockinette Stitch
Combining Knit and Purls
Now that you’ve master the Knit stitch and worked the garter stitch, it can be exciting to switch it up a little bit and try a different/new stitch. The Purl stitch is often the second stitch learned. It’s a nice accompaniment to the knit stitch. When you combine the two you can come up with a lot of different variations and stitches like the stockinette stitch, the seed stitch, ribbed stitches and more!
In this post, we’ll look at the purl stitch and combining it with the knit stitch to form the stockinette stitch. Stay with me, it sounds more complicated than it is.
What does the purl stitch look like?
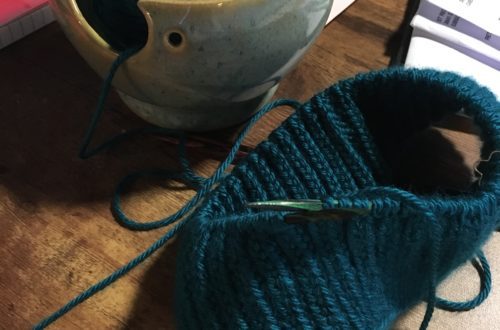
The Purl Stitch is often considered the inverse or opposite of the knit stitch. Where the knit stitch moves the bump of the loop to the back of the knitted item, the purl stitch brings it to the front. In the knit stitch the yarn is held at the back of the knitted item, and with the purl stitch it’s held at the Front. The photo below is the back side of knitted project that is worked in stockinette stitch.
How to purl a stitch:
Hold the needles the same way you would if you were going to knit a stitch.
Bring the yarn to the front of the work
With the right hand needle, insert the tip of the needle through the “back” of the stitch or the right side of the stitch from back to front.
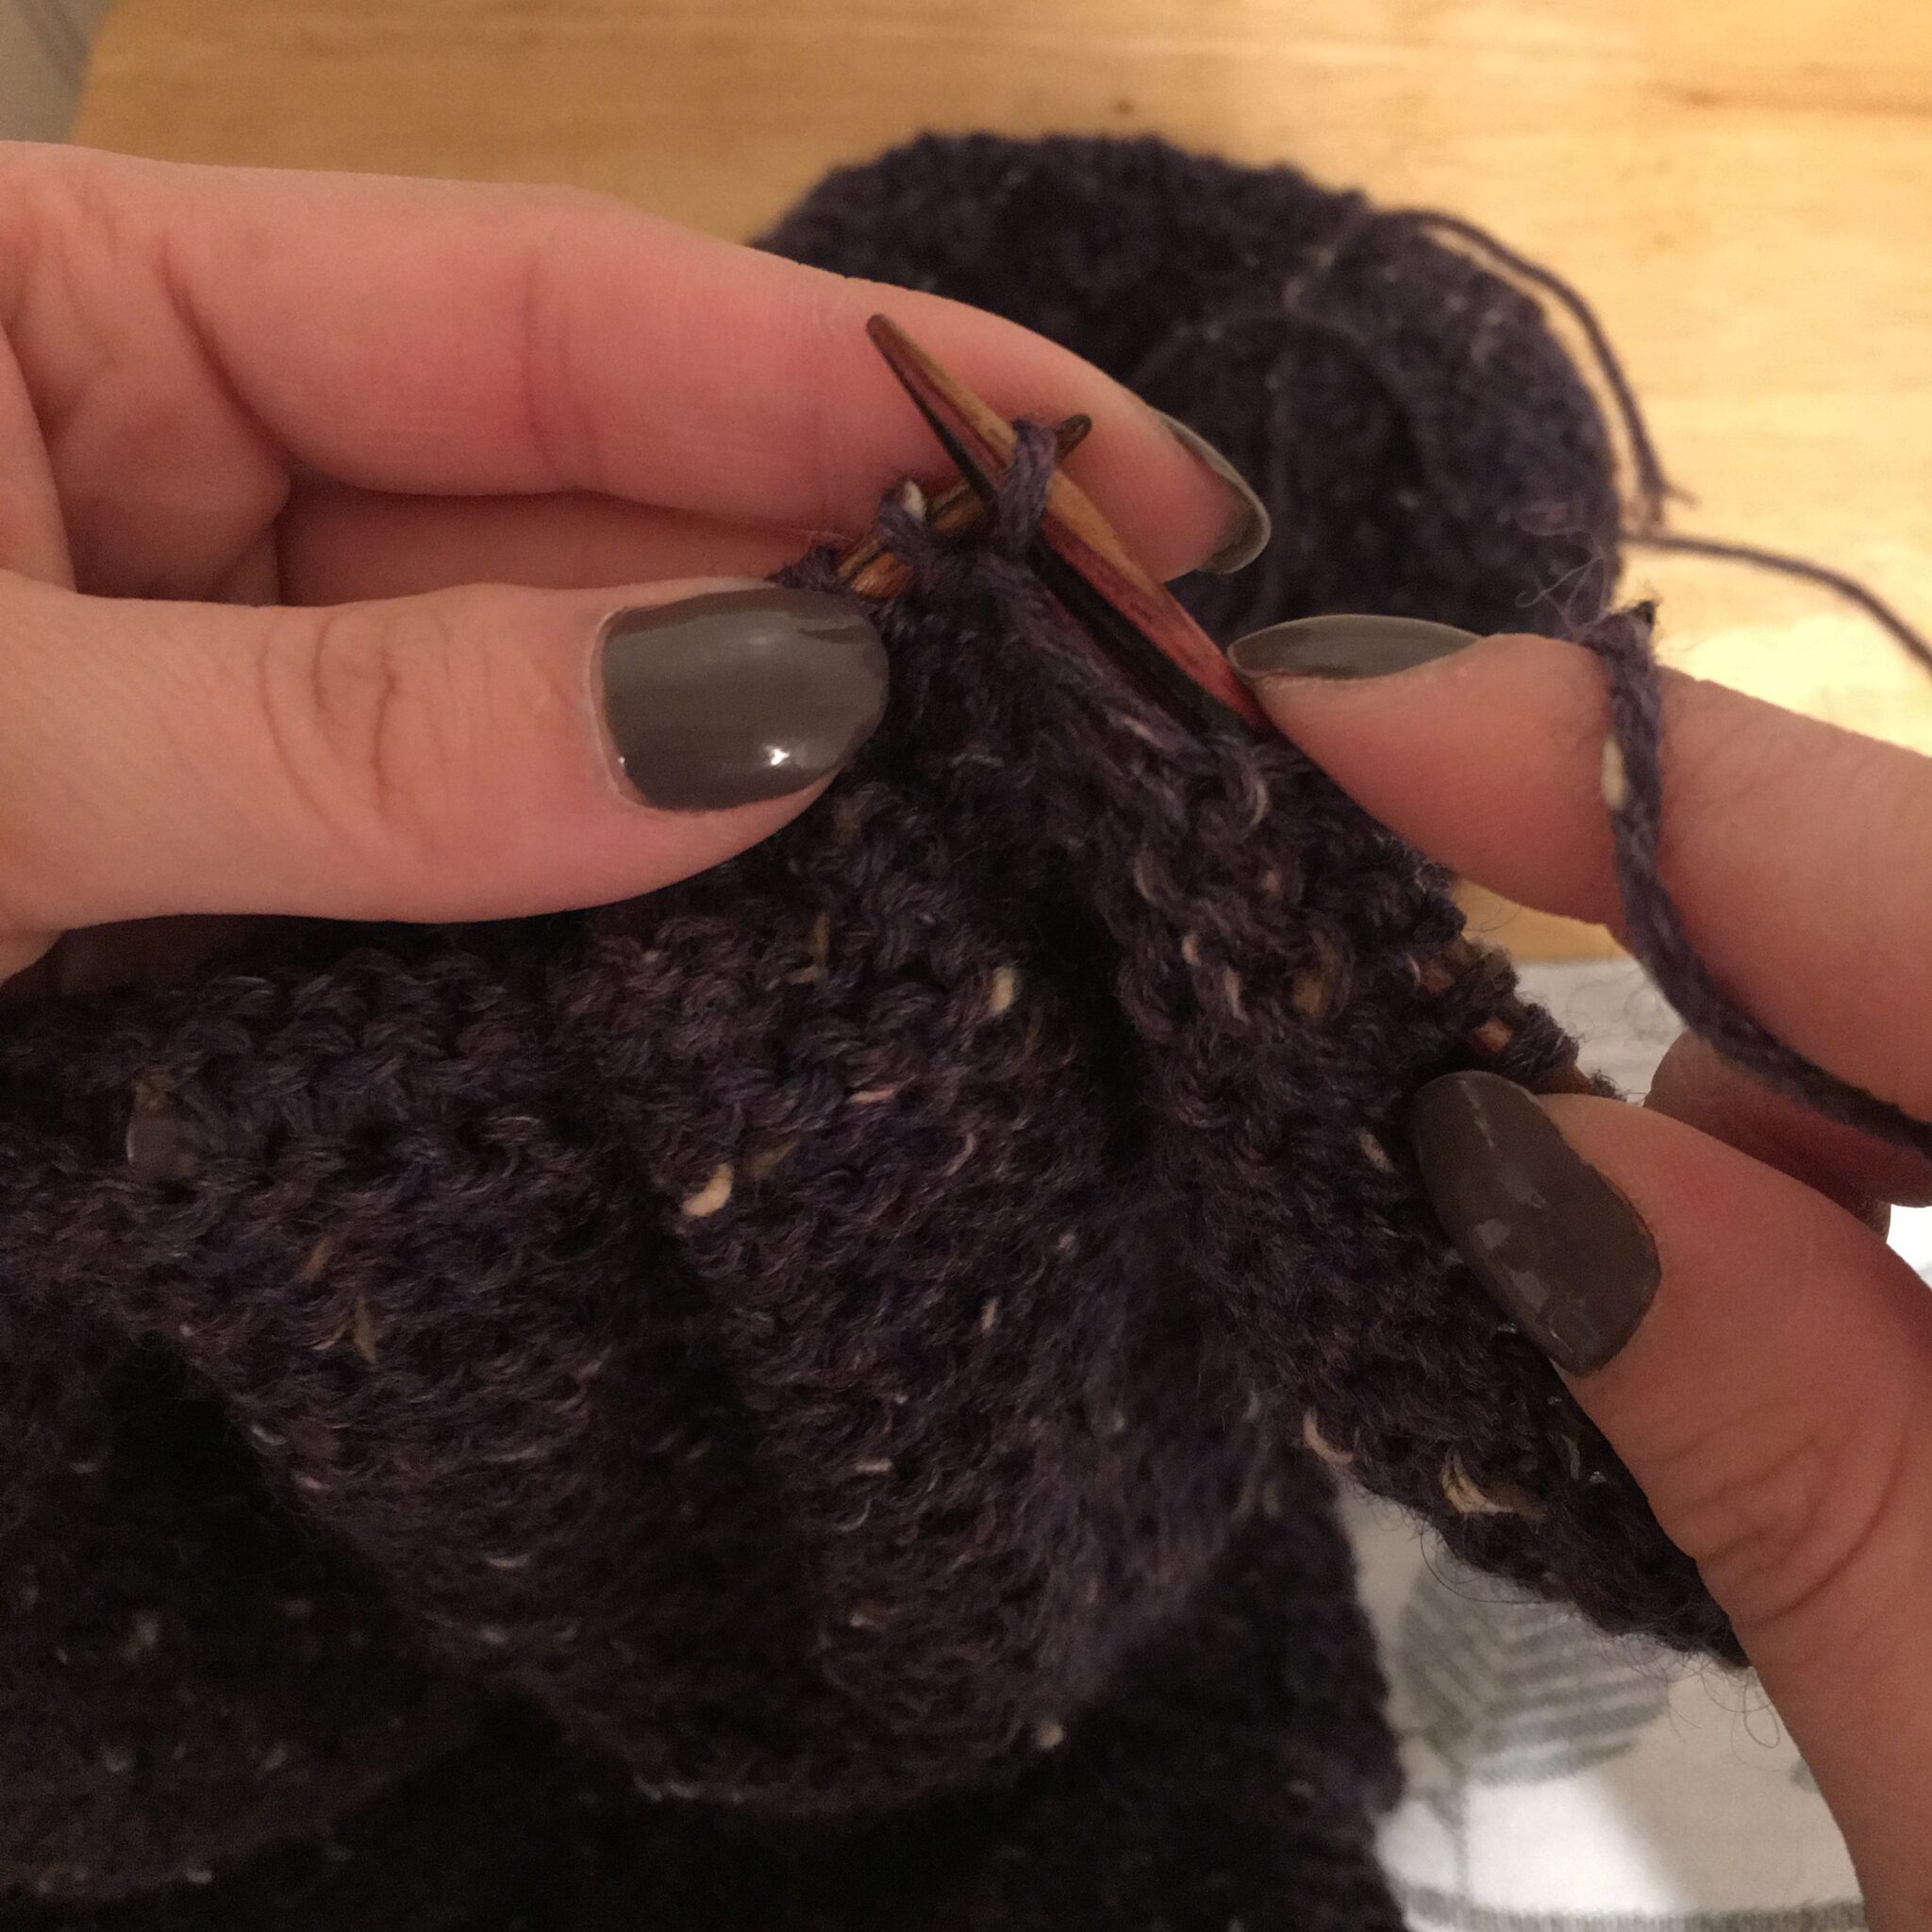
Wrap the yarn around the right hand needle
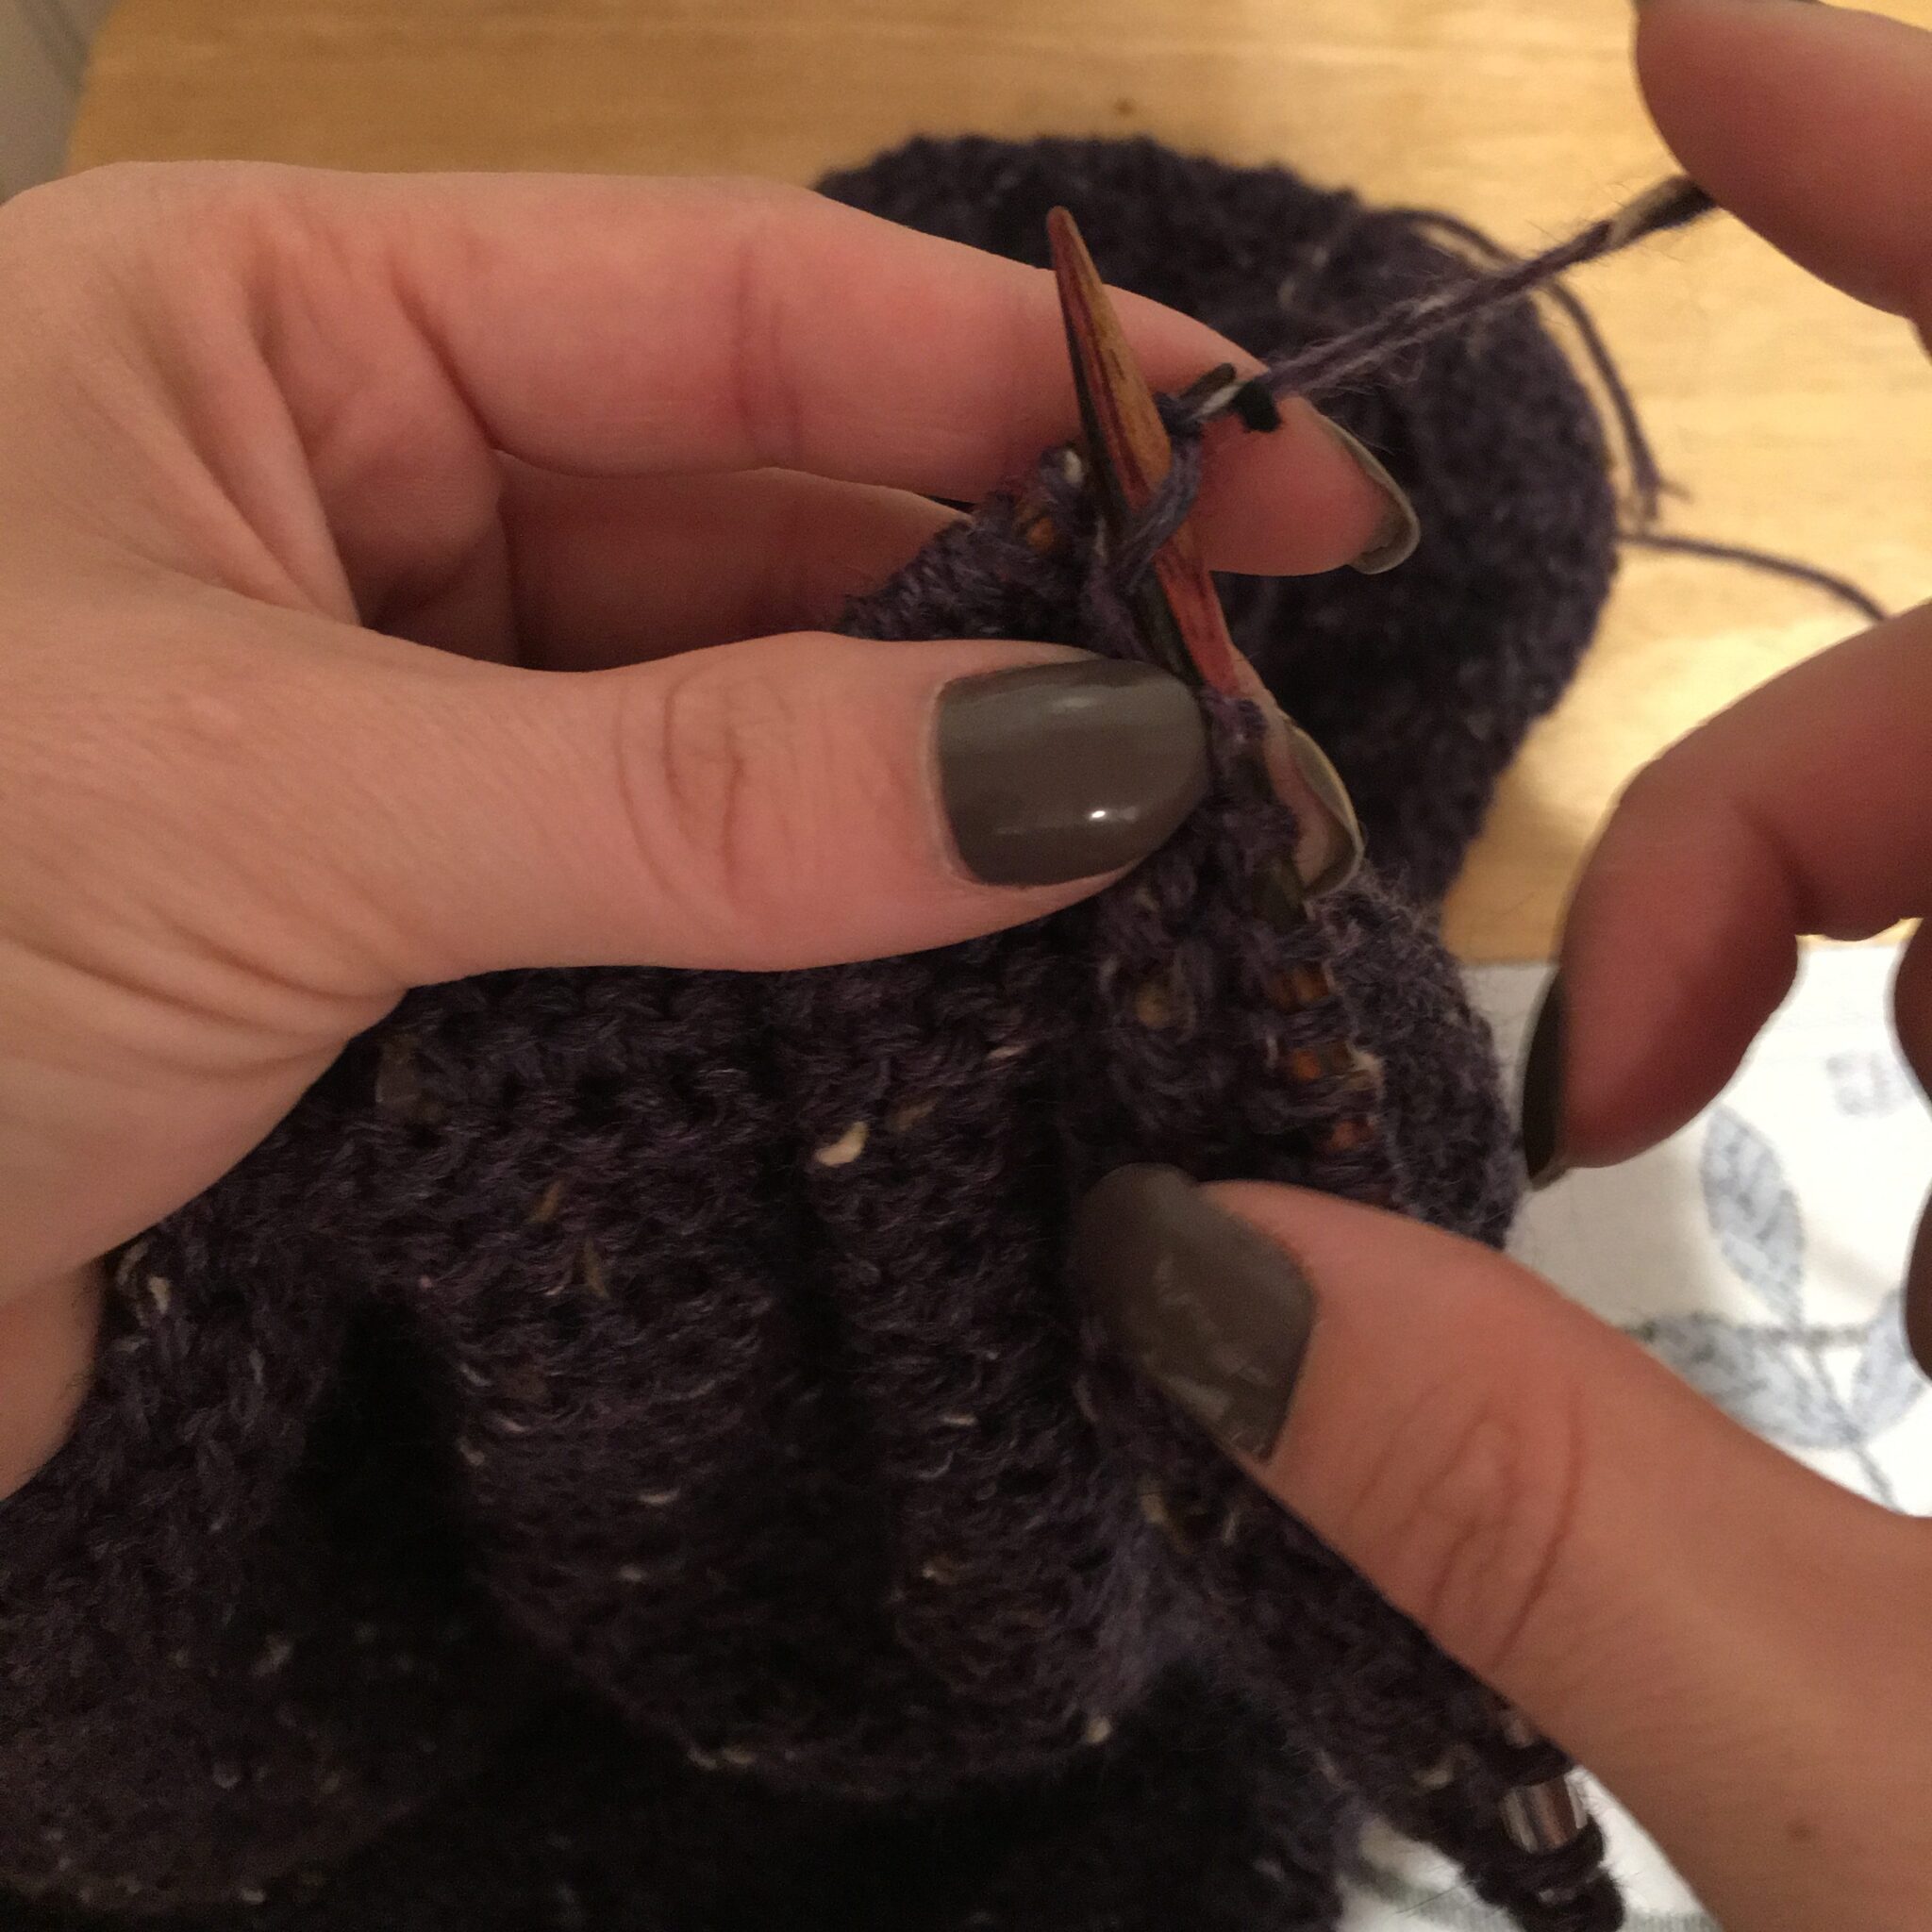
Grab the yarn with the right hand needle and draw it through the existing stitch.
Now that you have created a new stitch, you can move it off of the left hand needle and let it “live” on the right hand needle.
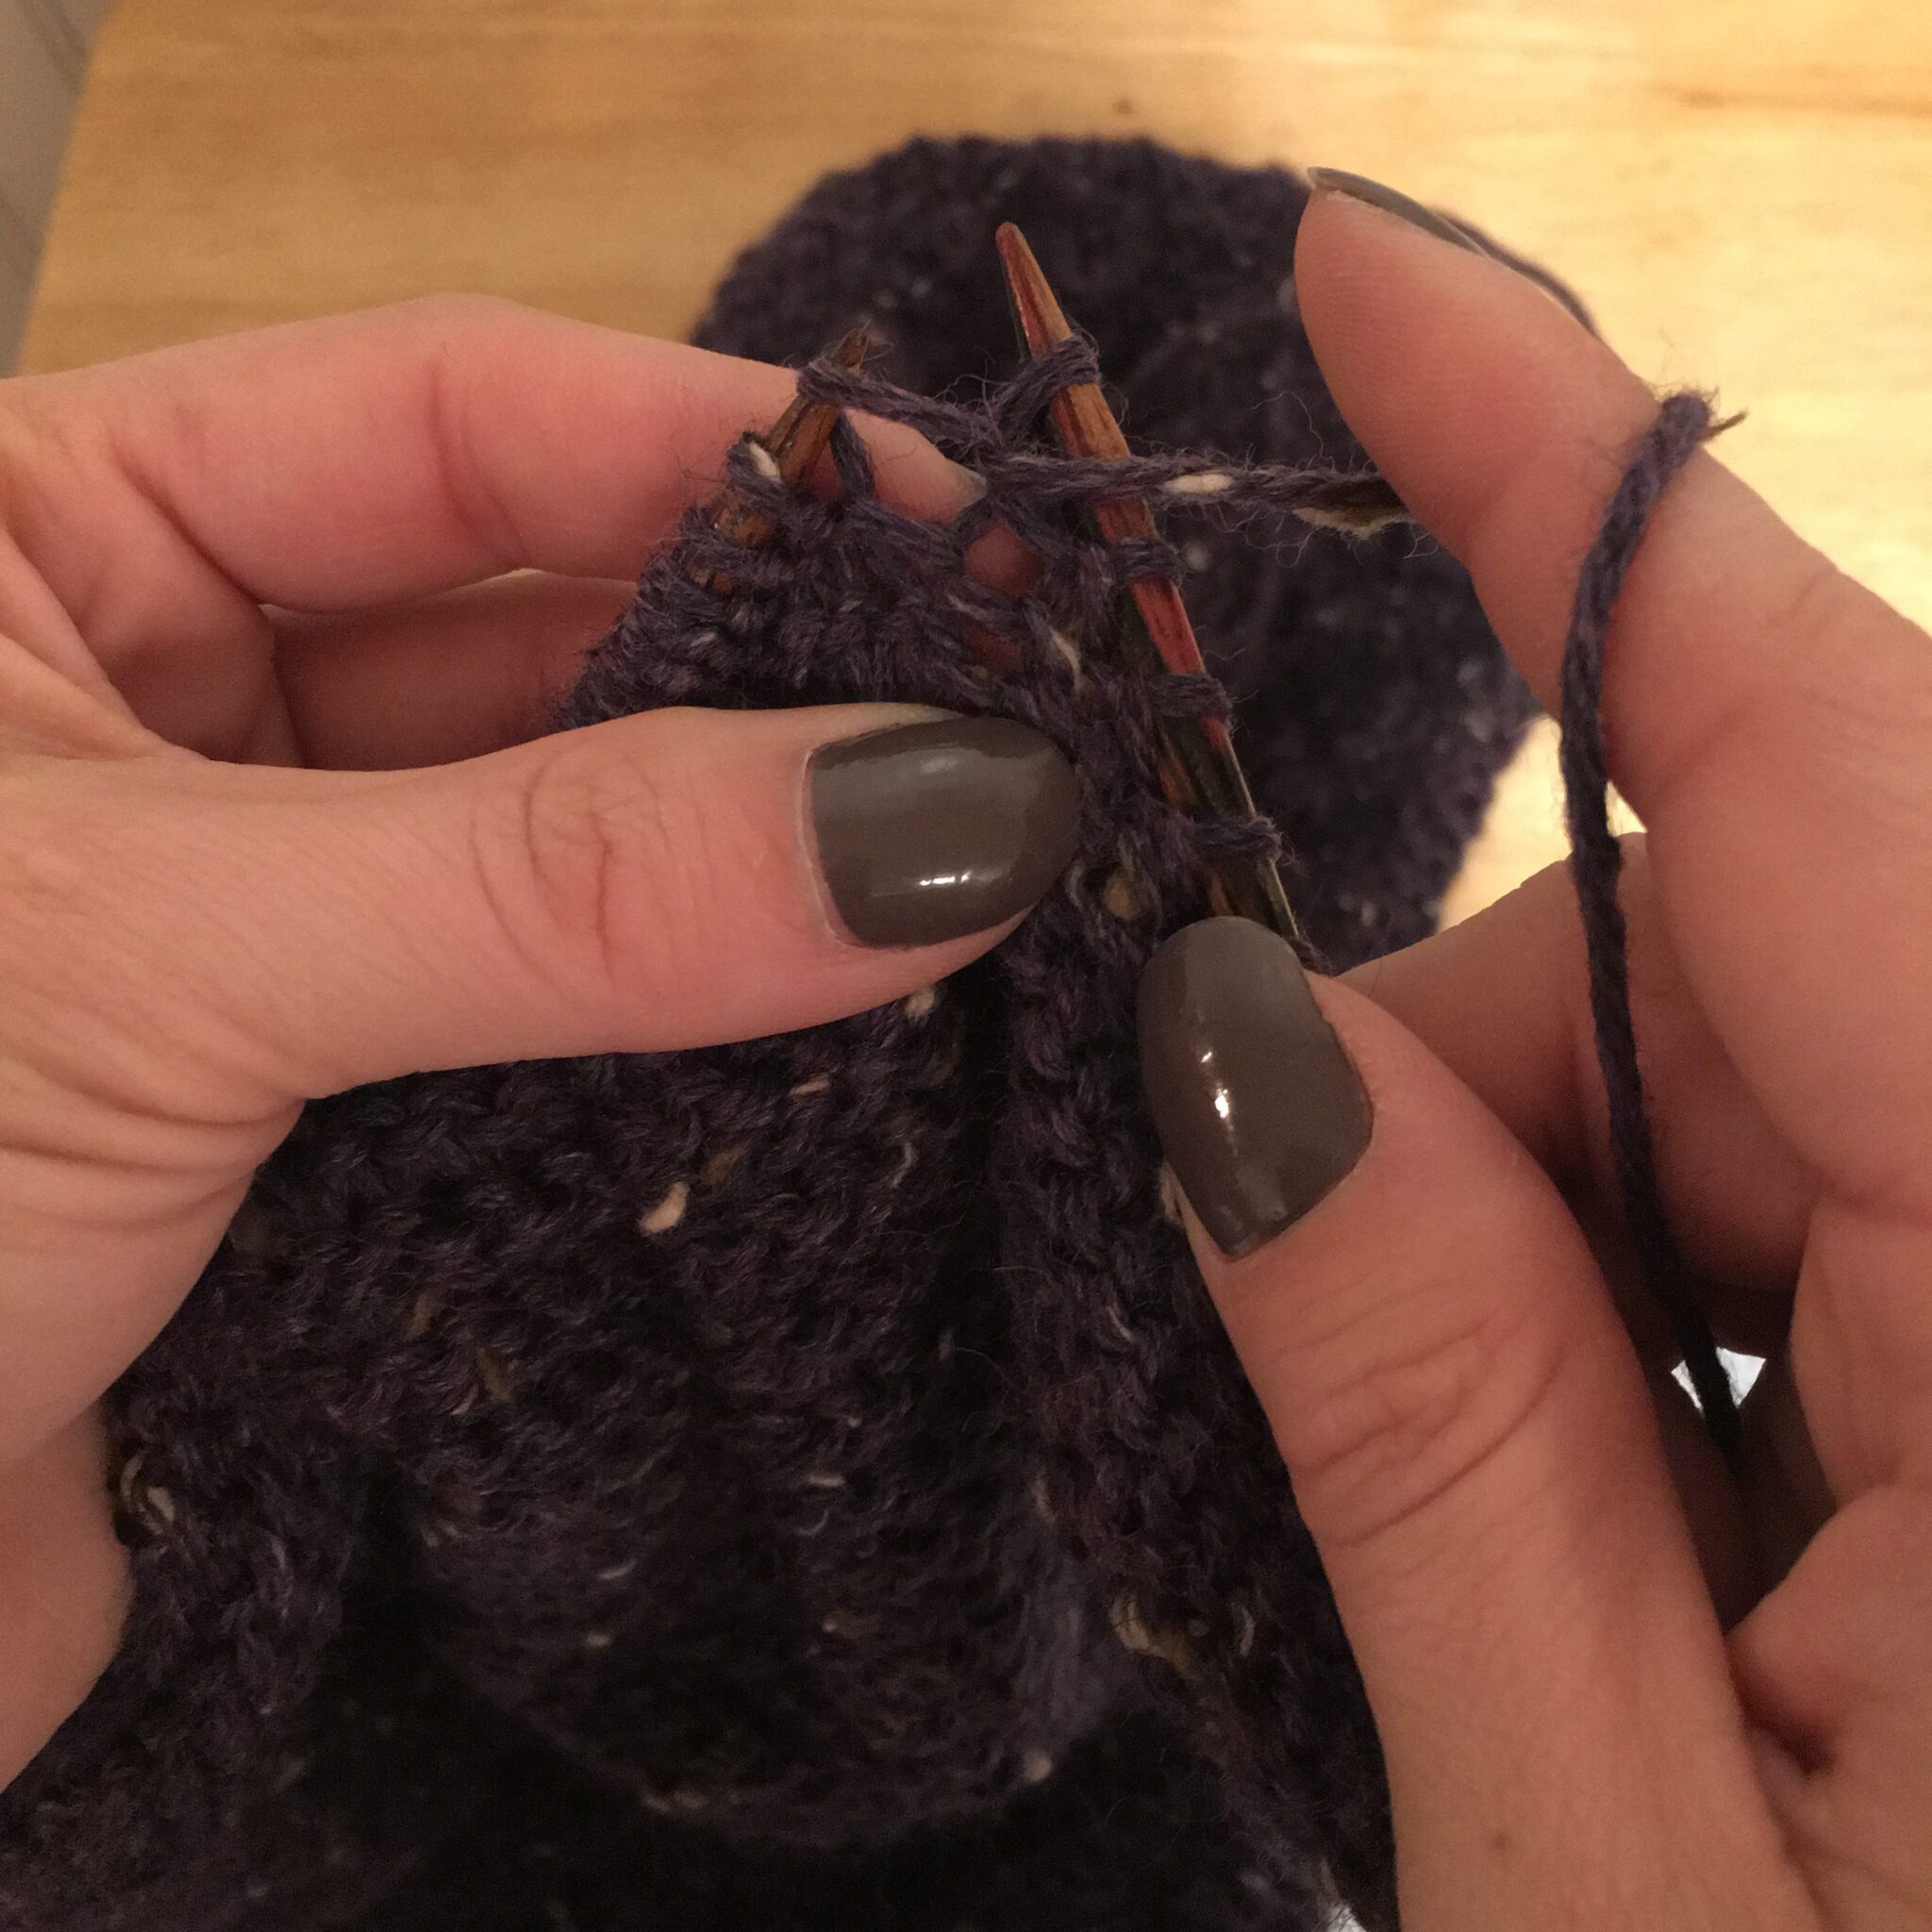
How to work the stockinette stitch
Row 1: Knit all stitches
Row 2: Turn the work over and Purl all stitches
*If you forget the knit stitch, here is a page that can help.
What should you do if you drop a stitch in stockinette?
While stockinette stitch is a bit more complicated than garter stitch to actually work, I think fixing a dropped stitch here is easier. In garter stitch you need to identify which side the bump of the loop sits for each row. In stockinette stitch, all of the bumps will all be on one side of the project, the back side or “wrong side” as we often call it.
Tools: Spare needle or my preferred tool is a crochet hook as you can quickly and easily catch the rows or “bars” of yarn and work that stitch back up to you your needles.