Knit Through the Back
Otherwise Known as the Twisted Knit Stitch
Knitting through the back is a fast and easy way to get a bit more depth in your knitting projects, especially when it comes to ribbing. This is a version of the simple knit stitch, with a literal twist, giving it just a bit more detail when used in your projects. Often this stitch is combined with purl stitches to create beautiful ribbing, examples of which you can find below.
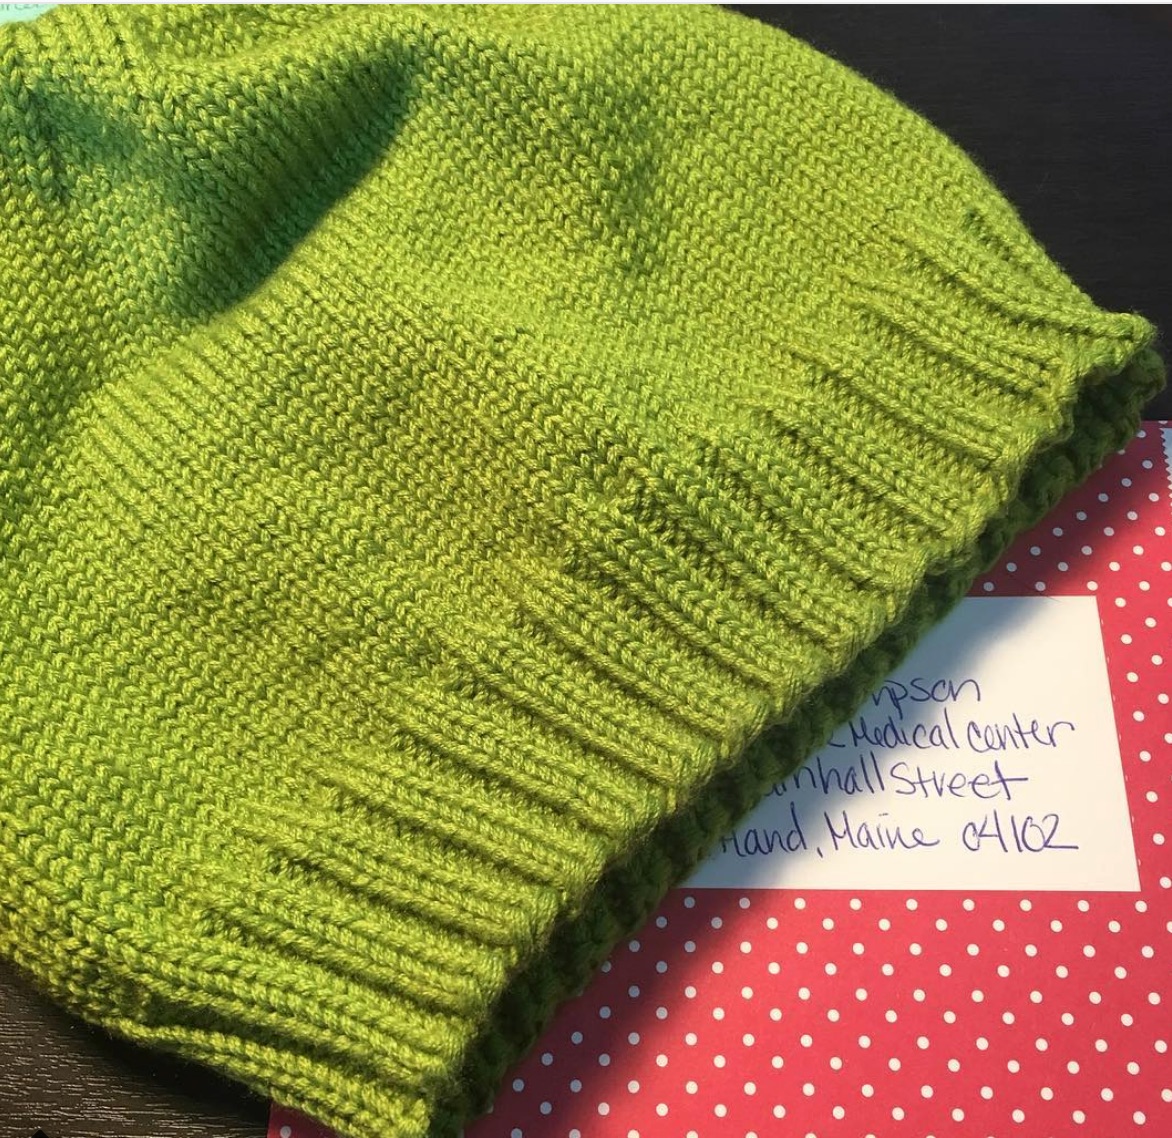
I post a lot of hat knitting patterns on this blog that use the knit through the back or KTBL to form the brim or bottom edge of the hat. It makes doing the provisional cast on a bit frustrating and harder to work with, but it gives the brim of the hat a beautiful three dimensional look and helps it to hold it’s shape a bit better.
 What does it mean to knit through the back loop?
 What does it mean to knit through the back loop?
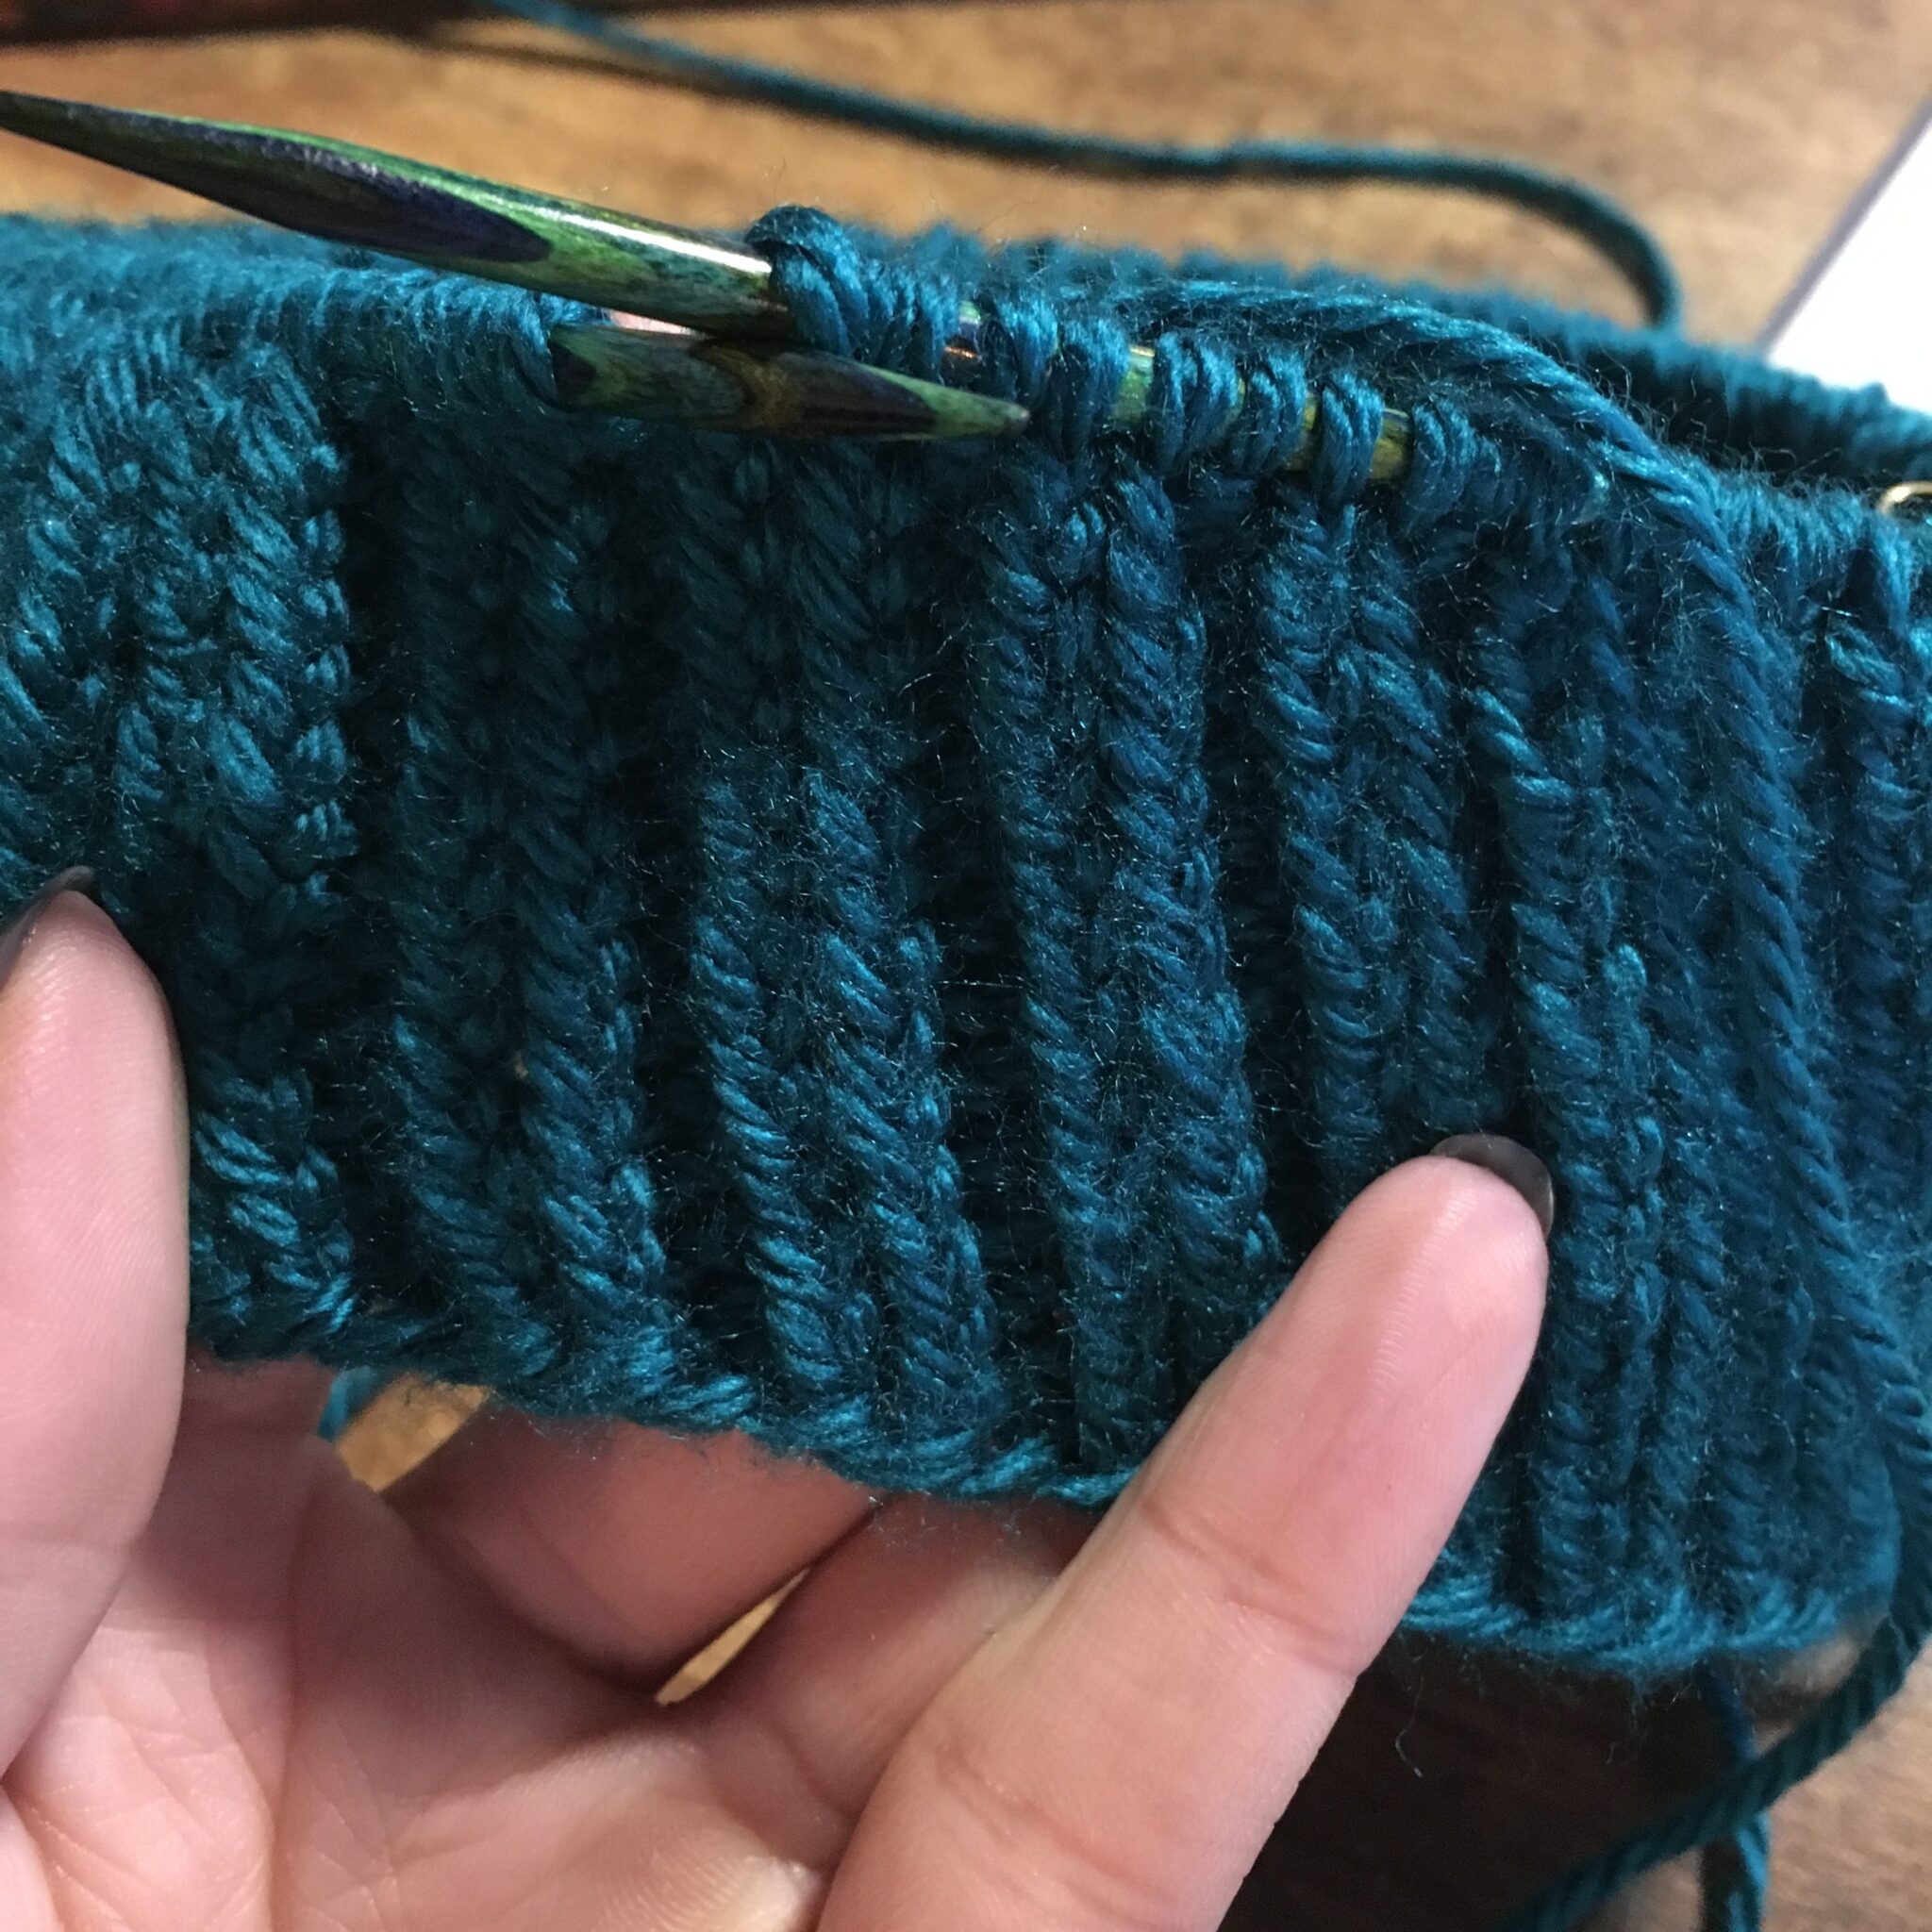
In the Knit Stitch, you insert the tip of your right hand needle into the front of a stitch – sometimes I think of this as the left side of the stitch, and then you work the yarn around that needle and pull it through. Knitting through the back is the same as the knit stitch, except for the insertion of the needle. To knit through the back, you will insert the tip of the right needle through the opposite side, the back side or the right side of the next stitch. This twists the stitch and when combined with a purl, really helps it to stand out.
What does a KTBL look like?
As I stated briefly above, a KTBL looks like a regular kit stitch, that has been twisted and put back on your needles. Because of the twist, the stitch has a bit more definition and when combined with purls, it looks almost as though it’s sitting on top of your knitting. This is why I love it for hat brims and borders.
How to knit through the back loop:
Step one: Insert right hand needle into the back of the next stitch on the left hand needle
Step two: wrap working yarn around the needle
Step three: Grab the working yarn and pull it through, creating the new stitch
Examples of Twisted Rib Stitches:
Here are some of the variations of the twisted rib stitch that I use in my hat patterns.
1X1: *KTBL, P1* Repeat until end of row/round
2X1: *KTBL(2 times), P1* Repeat until end of row/round
2X2: *KTBL(2 times), P2* Repeat until end of row/round