Keepsake Handprint Christmas Ornaments
We DIYed Fynn’s First ornament Making Handprint Christmas Ornaments
About two weeks ago I ran out to Home Goods for a quick pick me up shopping trip. Browsing the isles I found a kit to make the plaster keepsake handprint Christmas ornaments. Once I got home though it said “glitter included” and I was quickly realizing how much of a mess this was going to be.
So my next shopping trip was to Joann Fabrics, where I grabbed a block of air drying Sculpey Clay in white. This would also give me enough to make a few ornaments that we can then give as gifts to family members.
Making the Keepsake Handprint Christmas Ornaments
The Supplies:
To keep from making too big of a mess I put down some wax paper. I have this for baking for some reason and I never use it. Growing up I used to help my mom bake pied and we used it to roll out the dough. It always seems like such a hassle and a bit of a waste. So this was a good a use as any for it in my book.
Then I grabbed a skewer to poke a hole in the top of the Christmas Ornaments, and rolling pin to help shape them. I’m a huge fan of my french rolling pin. Its super easy to use, light weight, and gets the job done really well.
Trial and Error Handprint Ornaments
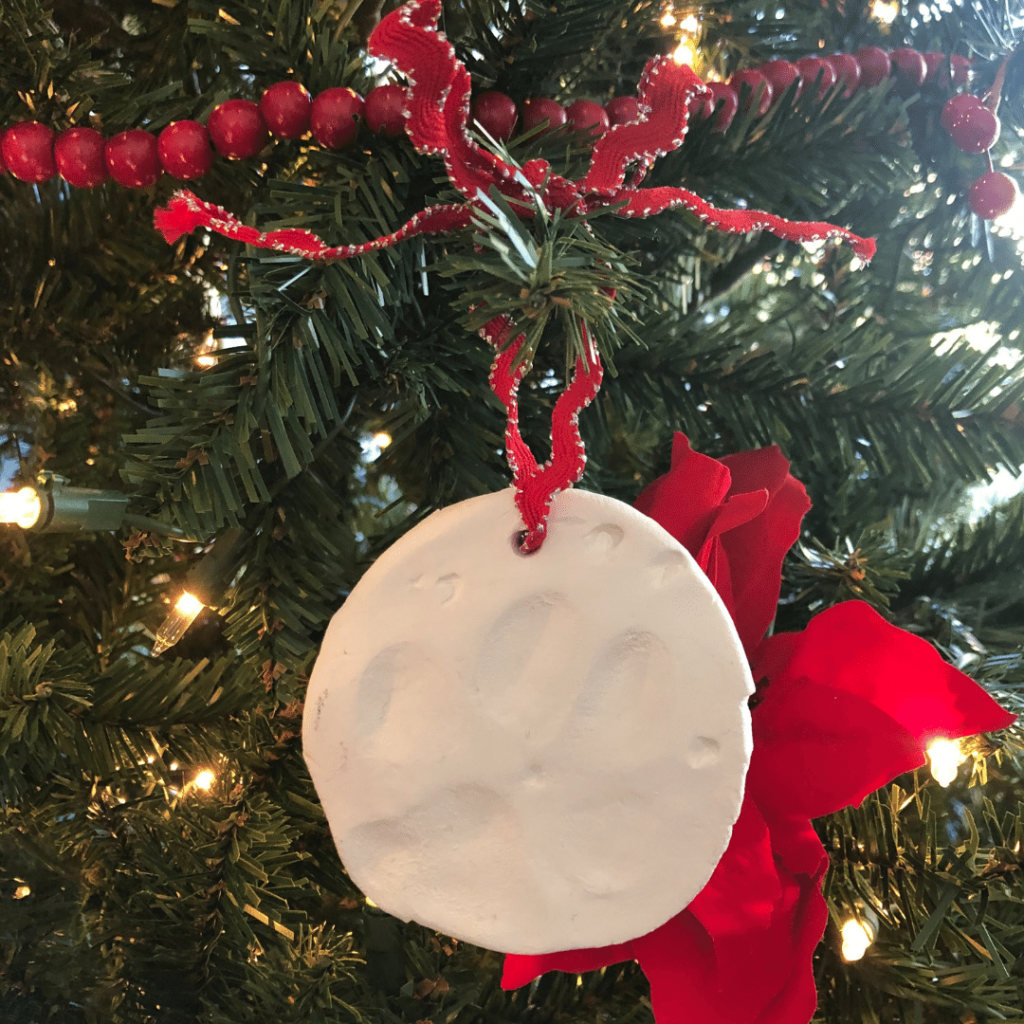
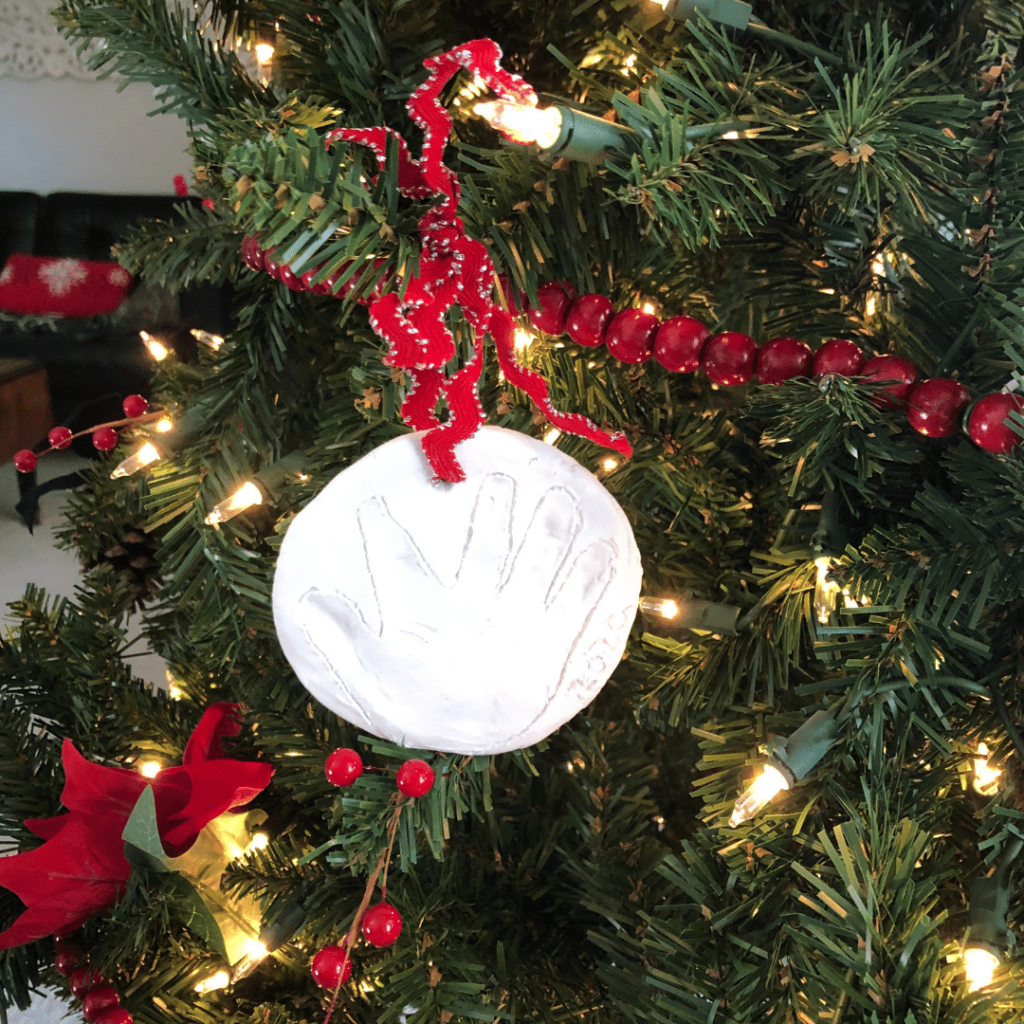
It took a few attempts to make the ornaments. Truth be told, I was about an inch from giving up and using the clay for something else. We made one of Murphy’s paw print, one of Fynn’s hands, and one of his feet.
I cut off a bit of clay. Then I worked it a bit in my hands to soften it up. Using the wax paper and the french rolling pin, I flattened a ball into a medallion shape.
Next came the hard part. I didn’t realize how much force I’d have to press on their hands and feet to make the impression in the clay. It might have been cleaner than plaster, but the plaster would have made a better impression faster.
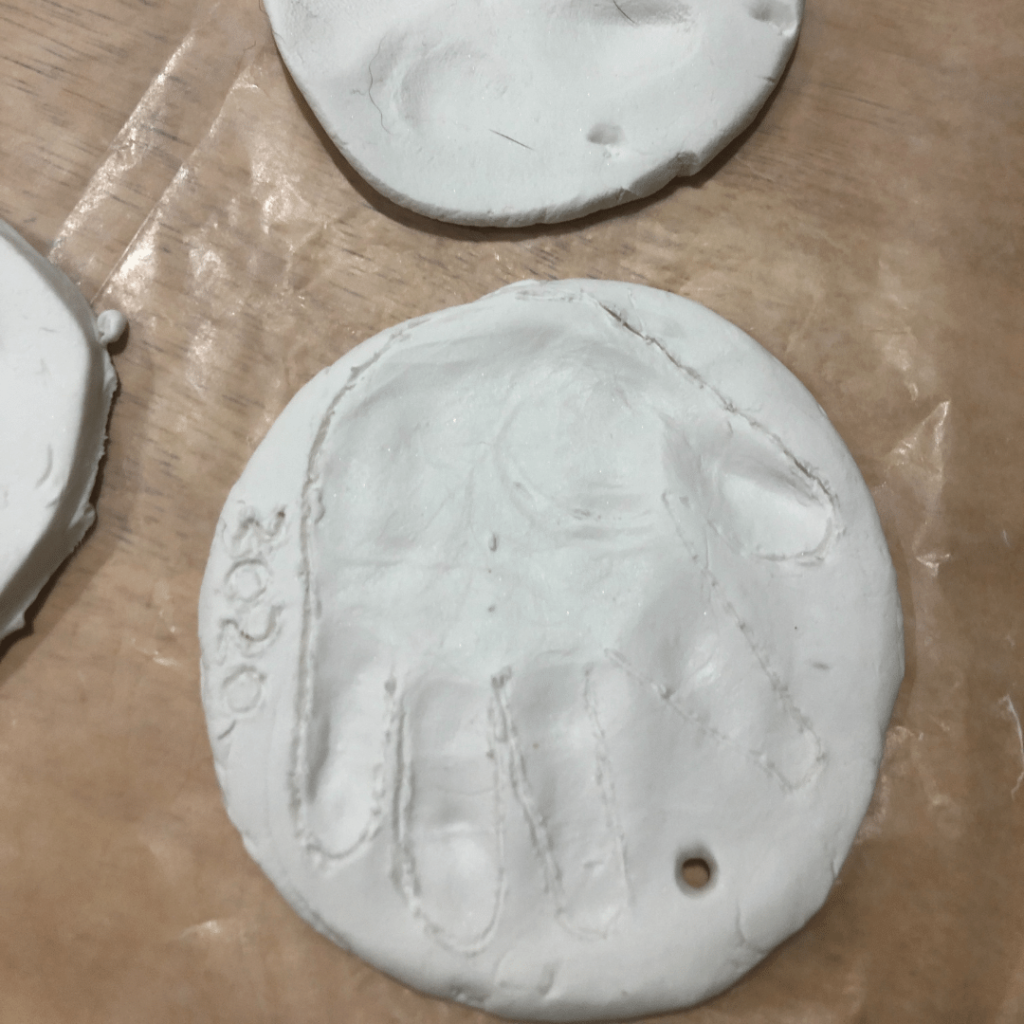
Since the impression was a bit light, for Fynn’s ornaments, I took the tip of the skewer and traced an outline. This faint outline makes the shapes more visible from further away. I also wrote 2020 into the side of the ornament.
Lastly, using the skewer I poked a hole in them and laid them flat to dry.
The Finishing Touches:
To finish off the Keepsake Handprint Christmas Ornaments, I found some Christmas rickrack ribbon in my stash. I cut sections long enough that I could thread through the hole in the top and to tie a bow. The result is an adorable Christmas Ornament that we’ll have for years to come.
This rickrack is what I had on hand, but you could use any thin ribbon.
Takeaways from the Keepsake Christmas Ornaments
Like I said earlier, the clay wasn’t as easy to work with as I thought it would be. You have to press their hands and feet really hard into the clay. Fynn was fine but I was worried that any harder and it would hurt him. So we went with “good enough” impressions.
The clay was also a bit heavy. When hanging the ornaments on the tree, I tried to find a place where they could hang from one branch but also rest on another.
Thirdly, the dry time was underestimated. If you are working with air dry clay, give yourself a solid couple of days before you need to use or gift these ornaments. Flipping them over helped to make sure they dried from both sides.
It was a fun little project and its one that the whole family can do together. Mom and/or Dad can pre-make the ornament shapes and then the family can all make their own handprint. Later, you can even paint them if you’d like.