Learn to Make Your Own Christmas Stockings
The perfect holiday DIY for crafters
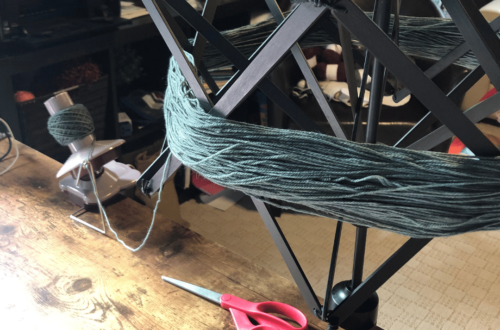
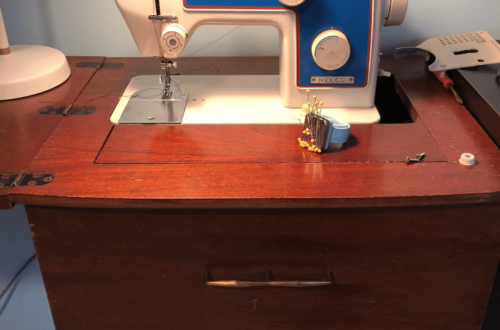
Fun, functional, and flannel, these Christmas Stockings make my little heart sing. Now that I have a working sewing machine, and I finished my first project (a flannel circle skirt), I’m all about making all of the things. I had just enough flannel from the skirt left over to make something. Turns out it’s pretty easy to make your own Christmas stockings!
In this post I’ll go through what I did, the tutorials I referenced and the materials that I used so that you can make your own Christmas stockings too.
Materials You’ll Need to Make Your Own Christmas Stockings
- Outer Fabric
- Lining Fabric or Batting
- Fabric for Cuff
- Fabric for Hanging Tab
- Thread
- Fabric Scissors
- Sewing Machine (or your hands if you like the slow and steady route)
- Marking tool
- Optional: Other Great Tutorials: Meghan Makes Do, Simple Made Pretty, Glue Sticks.
Fabric:
Exterior Fabric:
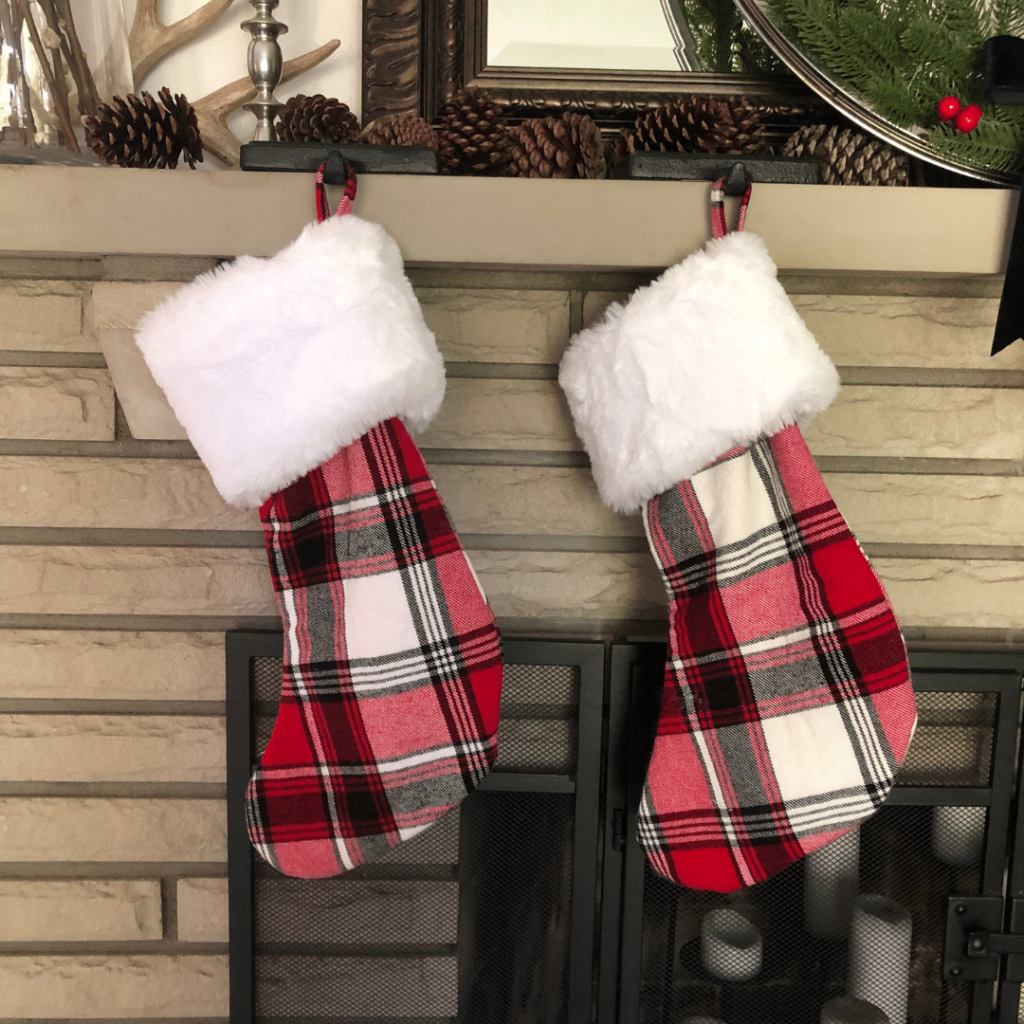
These stockings measure 16 inches tall by 9 inches wide (at the widest point. The whole thing isn’t 9 inches wide).
If you’d like to use the same fabric front and back like I did, you’ll need a rectangle around 19 by 17. You’ll fold the rectangle in half and cut out two stocking shapes vertically.
If you want to make the stocking different front and back, you’ll need two different pieces of fabric that are at least about 17 by 10 inches.
Interior Fabric:
You have two options here as well. For me, these stockings are mostly decorative. But I will put some gifts in them. But no one will really see the inside so I only cut the outer layer out of the flannel.
For the interior of the stocking, to give it some shape, I used quilt batting. If you don’t like batting you could opt for some interfacing and another layer of your preferred fabric.
How much fabric will you need?
So, you now have a choose your own adventure game for the body of your Christmas stocking. Remember, one panel of your stocking is roughly 16 inches tall and 9 inches wide. If you want to do the same fabric front and back, double that – about 17 X 10 inches. Now if you want to line your stocking with the same material, you’ll need another bit of that fabric so your square might be about 17 X 21 inches. For these numbers I’ve given some padding so that you can trace and cut them out easily.
Or you could be like me and just over buy your fabric and then find another way to use it later.
Stocking Cuff:
The cuff for the stocking is about 10 by 15.5 inches. This will be folded in half and then folded in half again so while it sounds huge, it won’t be. I purchased 1/2 yard for my four stockings and had just a little bit left over.
Tab to hang your stocking
You’ll need just a 2 inch by 5.5 inch piece to make this tab. There is a good chance you’ll be able to make these just by the scraps of fabric you have left over. Plain white flannel is easier to work with but I wanted something a bit more fun, so I opted for a faux fur. This was a bit tougher to sew with and I ended up attaching the cuff by hand to the stocking base.
Thread:
Simply pick something that matches your stocking fabric. I had red on hand from when I made my circle skirt, so that’s what I went with for this project. There really aren’t that many seams that will show on this project so if you don’t have a perfect match, don’t panic.
Marking Tool
Most tutorials will tell you to use tailor’s chalk. I purchased a box of tailor’s chalk but it won’t show up on any fabric. If I’m missing a step on how to use this please help a newbie out! I simply used a black marker that I could see against the red and black of the flannel fabric. This fabric is pretty much the same on both sides so there isn’t a lighter easier to mark up side to it.

How to Make Your Own Christmas Stocking
The first step is designing your stocking. We went through the options above, so you should have some idea of how much fabric you’ll need for the front, back, lining, and cuff. For my pattern, I went with the free template from Meghan Makes Do.
Next, you’ll need to cut everything out. The pattern template I used had seam allowance built in so I simply traced and cut the flannel and the batting for each stocking. Then, make your template for the cuff out of card stock and cut those out. Finally, trim down bits of fabric for your hanging tabs.
Sewing Your Stocking Together
How to layer the four pieces took a bit of thinking for me. Luckily my outer fabric doesn’t really have a noticeable right and wrong side, so as long as the edges lined up I was good. You’ll want a layer of the lining or batting, then the two outer layers of your stocking right side facing in, and then the final layer of lining or batting. You’ll then pin or clip these together and sew around all of the edges but the top which is the opening for the stocking. Leave this raw.
You’ll next want to make the tabs that you’ll use to hang your stockings. This is that 2 by 5.5 inch rectangle of fabric. I folded the piece in half and pressed it to get a nice crease when you open it back up.
Then I folded each of the two edges toward that crease and pressed them. Lastly, I folded it back in half and stitched it in place. This is really the one place where a seam might be noticeable if someone inspects your stocking closely.

The Cuff:
This was the part that gave me the most challenge probably. The patterns/tutorials linked in this post almost all say to tuck the cuff inside the stocking, sew, and then to turn the cuff out…
Take the two short edged of your cuff and sew them together with the right sides facing. And then fold the cuff in half like it would be on the stocking. Easy enough right?
Well I picked a thicker faux fur fabric that made “sticking the cuff inside” the stocking a bit challenging. So, along part of the top of the socking, I matched the edges up the same way they would be if it was inside the stocking. The seam was the easiest place to do this. At this point, I also tucked the tab in and sewed that.
Step one: Take your tab and fold it in half to form the “loop”. Place a few stitches so that this is one less thing to manage.
Step two: Match the part of the cuff with the vertical seam of the cuff with the side seam of the stocking. In between these two layers, sandwich the hanging tab, so that the edge or bottom of the tab is flush with the edges of the cuff and stocking.
Make sure that you are doing the on the “heal” side of the stocking rather than the toe side seam so that your stocking hangs correctly. I had to rip one out and redo it.
Step three: Stitch these together. Then, working your way around the stocking, continue to match up the edges of the cuff and stocking and stitch them together. I used a blanket stitch to keep my stitches in place and neat so that I could see what I was doing. When you get about 1/2 to 2/3 of the way around, you can kind of tuck the cuff into the stocking and manage to finish sewing around.
Finishing your DIY Christmas Stocking
Fold the cuff out and adjust it so that seam is tucked just inside the stocking and out of sight.
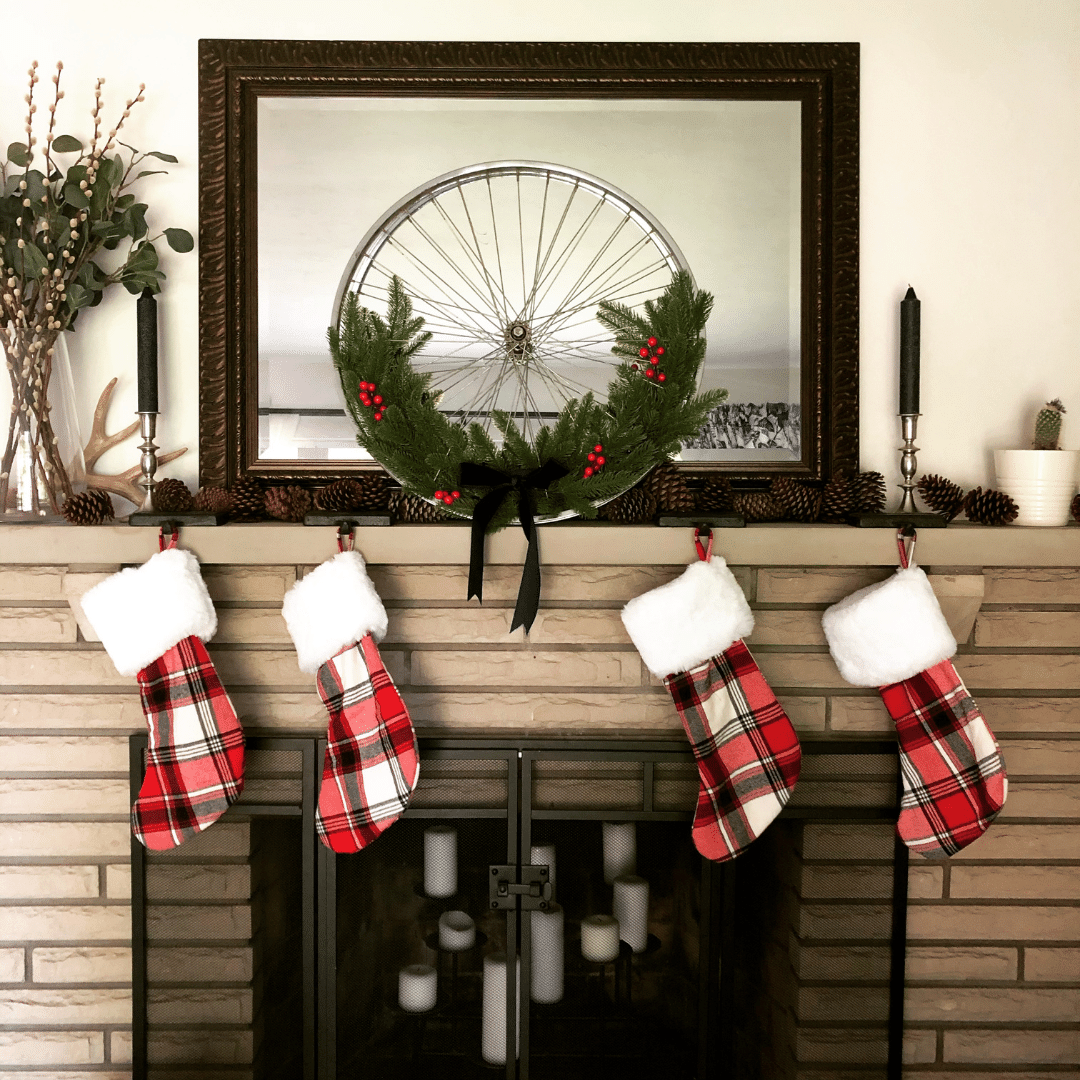
Hang your stocking.
Enjoy your new handmade Christmas Decorations!