How to Cast On
The Knitted Cast On is a great way to learn how to create new stitches
When you are first learning how to knit, there are a lot of different skills and tutorials out there. It can be a bit overwhelming. To help make learning how to knit more simple and enjoyable, I’m creating this series of posts and videos. In this post, we’re going to talk about the first step in any knitting project: How to Cast On.
Cast On: A method of creating stitches, often at the start of a project.
There are many different methods of casting on, or creating your foundational row of stitches. In this post, we’re going to learn the most basic method, the knitted cast on.
The knitted cast on method is not only simple, but it uses the knit stitch, which is the stitch most commonly used. It’s also generally the first stitch a new knitter will learn.
If you’re using a knitting pattern, the pattern will provide instructions for how many stitches to create, and what method to use. Look for beginner friendly patterns. These will either use the knitted cast on method, or offer flexibility for the knitter to choose their preferred method (meaning that you can use this simple method).
How to use the Knitted Cast On Method:
First, you’ll need to grab your yarn and needles. If you’re following a pattern, the author will give you suggestions. If you’re just practicing, selecting something that feels comfortable in your hands is a great place to start.
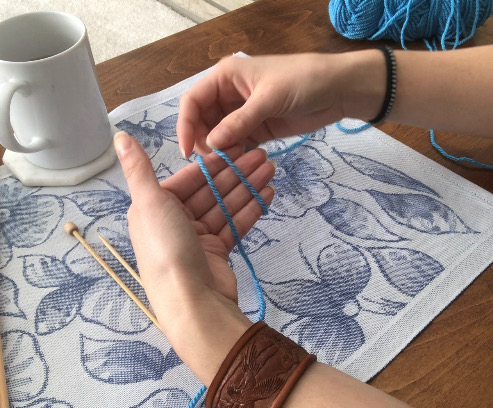
Next, we’ll need to create the anchor stitch, a slip knot. Unwind your ball or skein of yarn a bit, so that you have a tail of about six to eight inches. This will be sewn into your project at the end. You can save yourself a bit of trouble then by leaving a fair amount of spare yarn now.
Wrap the yarn around your fingers forming a circle. You’ll notice that at the top of this circle, the yarn overlaps. Allow the yarn on top to drape down behind the circle. Now you have a shape that looks like a do not enter sign. Using your thumb and index finger, pinch this yarn and pull it through the center of the circle. Place the slip knot on a needle and pull it so that it sits nicely on the needle (not too tight).
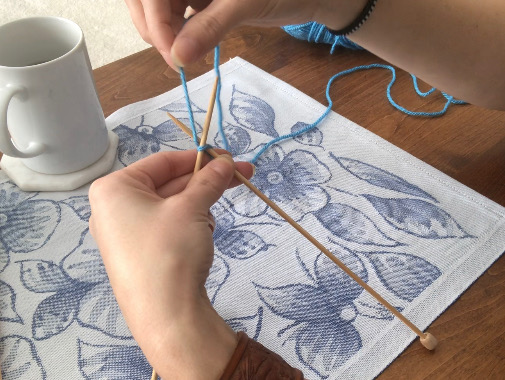
Now we’re ready to start casting on. To do this, we’re going to knit the slip knot to create a second stitch. Place the needle with the slip knot in your left, and with the right hand, pick up your other needle.
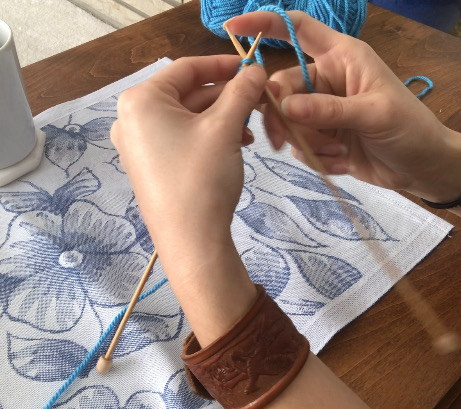
Insert the tip of the right needle, from left to right, through the slip knot. Using your right hand, identify the strand of yarn attached to your ball or skein. This is called your working yarn. Wrap this yarn from back to front around the right needle.
Use the right needle to grab the yarn you’ve just wrapped around the needle, and pull it through the slip knot. You’ve just created your first stitch! All that is left now, is to transfer that stitch from the right hand needle to the left hand needle.
Repeat this process, inserting the right needle into the new stitch, now at the edge of the left needle. Insert the needle from the left side to the right side, so that the needle sits under the left hand needle.
Once you have your desired number of stitches created, you’re now ready to begin knitting!