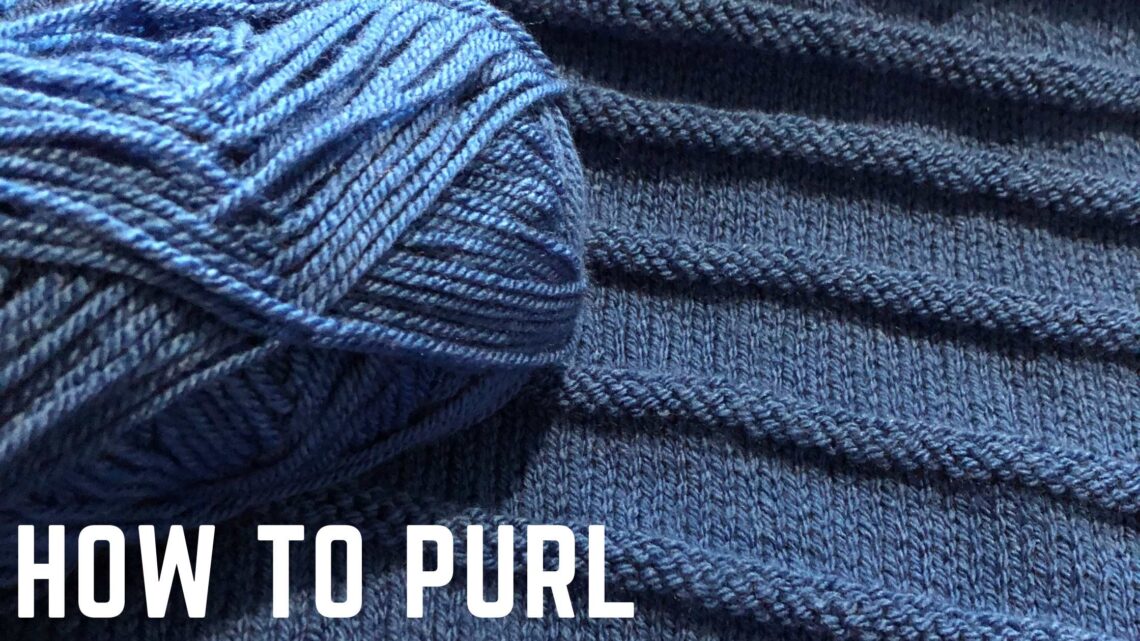
How to Purl
What the Purl Stitch Looks Like
If the knit stitch is the first that we learn in knitting, the purl is often the second. The purl is a basic stitch, that works to create a bump, or raised bit of yarn, to add texture or shape to your knitting. A little further on we’ll learn how to purl but for now, let’s learn more about this basic stitch.
Knitting every row is called Garter Stitch. When you alternate Knit rows and purl rows, that is called Stockinette Stitch. Stockinette is what we tend to think of when we think of knitting. But to achieve it, you need to know how to purl. Using stockinette stitch and a few well placed purls on the right side of your project can create beautiful stitches like seed stitch or moss stitch, andalusian stitch, linen stitch, and more!
Confession time: I purled wrong for years. I wrapped my yarn in the wrong direction and created twisted stitches. To save you from this problem, we’ll cover the basics next.
So Let’s learn to Purl
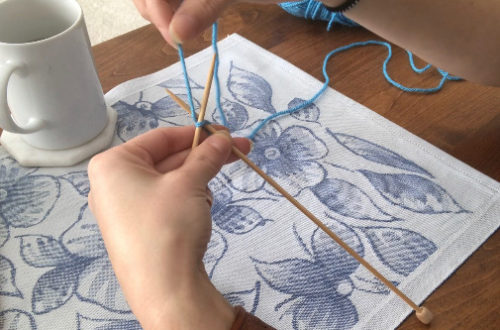
In the video below, I’ll walk you through step by step. Below the video, I’ve included step by step instructions for reference, or if you prefer not to watch a video.
In the knit stitch:
The yarn is in the back.
We start on the left side of the stitch
And work the needle from the front to the back.
In the purl stitch, we want to do the opposite:
Bring the yarn to the front of your work.
Start on the right side of the stitch.
Insert your needle from the side/back of the stitch, through to the front.

After you insert your needle from right to left, wrap the yarn counter clockwise. Then grab that yarn and pull it through. You’ll see now if you look at your stitch, there is a bump, the stitch from your previous row, sitting in the front of your work.
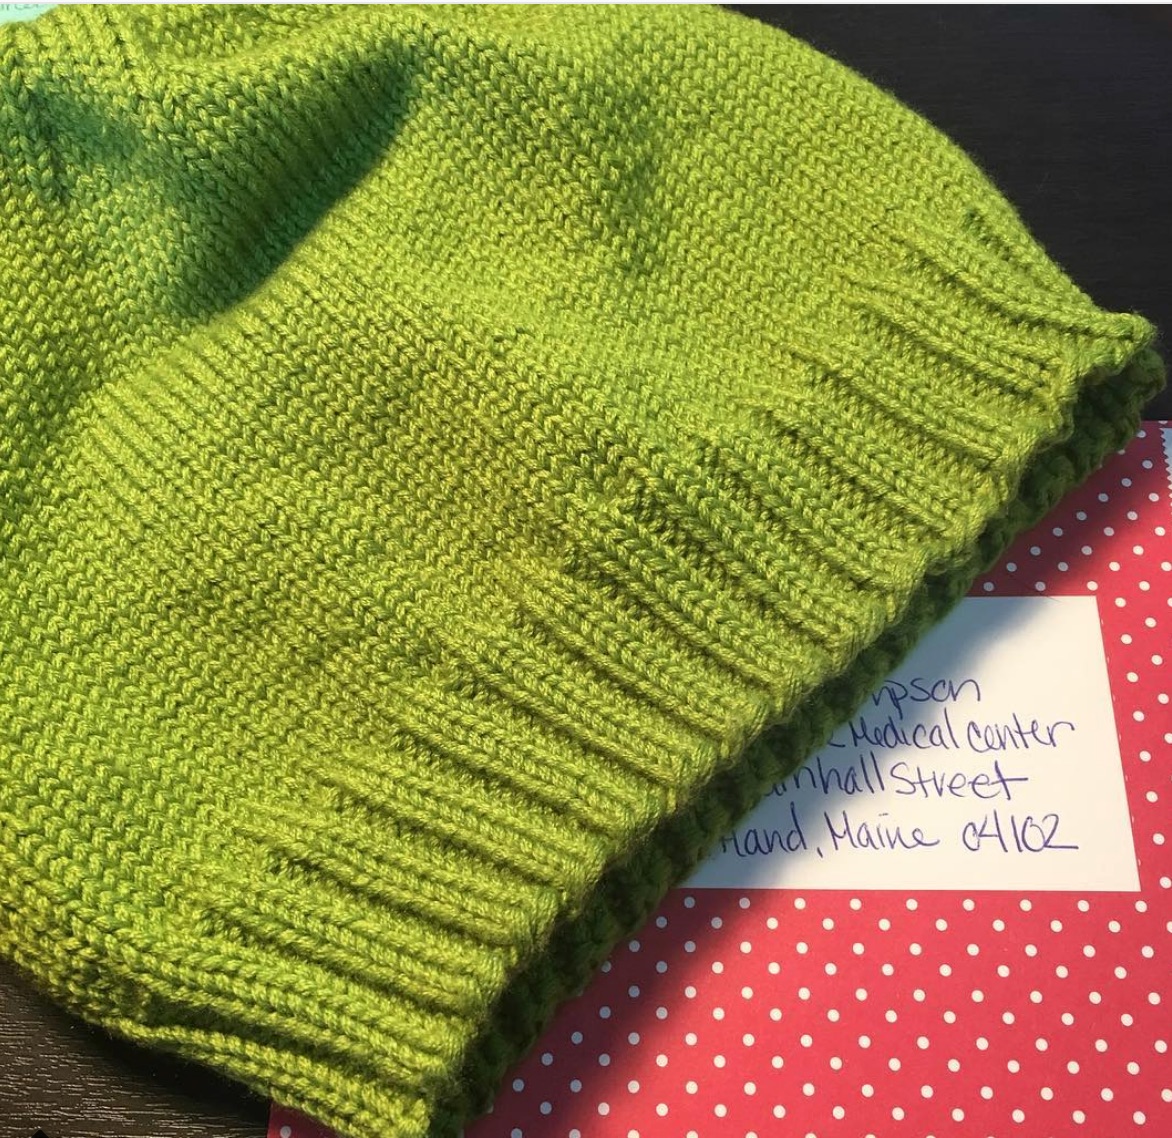
Give it a few times practicing this stitch and you’ll be able to do it with your eyes closed. A whole new world of knitting will open up to you now that you can alternate stitches. You can knit the brims of hats and broken rib stitches to make lovely scarves. You can create loads new stitches by placing a few strategic purls here and there. Now you can even knit blankets like my Ridge Line Baby Blanket!