How to Knit Bobbles
An easy to follow post that will teach you how to add bobbles to your knitting projects.
Bobbles are textured elements that can make a knitting project really pop. They’re simple and easy to make, something that can be customized, and they look really fun.
The creation of the bobble stitch involves the creation of multiple new stitches in one stitch (I’ll show you what this means in a minute). Then, you work these stitches for a few short rows. And finally, you’ll decrease the stitch count back down to one.
This creates a ball, bauble, or raised bump in your knitting.
How to Knit a Bobble
Watch the video tutorial or follow the step by step text instructions below.
Skills you’ll need:
Knit
Knit Front and Back
Knit Two Stitches Together
Purl
Purl Two Stitches Together
Pass Slipped Stitch Over
Purl Through the Back Loop
Slip 1 Purl-wise
Yarn Over
How to Knit the Bobble
Follow your pattern until you get to the exact location where you want or need to create the bobble.
The next stitch on your left hand needle is the place where the magic is going to happen. Right now, you need to choose which method of increase you want to use: Yarn Over, or Knit Front and Back.
For this tutorial I recommend creating six stitches, once you master this version of the bobble you can add stitches and rows to change the size and shape of the bobble.
Either:
Yarn over, Knit 1, Yarn Over, Knit 1, Yarn over, Knit 1 into that that stitch
Or:
Knit Front and Back, Knit Front and Back, Knit Front and Back into that stitch.
Turn your work so that the wrong side is facing you. In this step you work back in the other direction even though you did not complete the entire row or round. Don’t panic. Use the video above for reference if you are not familiar with this skill.
Row 2: Turn the work so that you are working on the wrong side of the work: Slip the first stitch purl-wise, Purl 5.
Row 3: Turn the work so that you are working on the right side again: Slip the first stitch purl-wise, Knit 5.
Row 4: Turn the work so that you are working on the wrong side of the work again: Purl 2 Together, Purl 2 Together, Purl 2 Together.
Row 5: Turn the work so that you are working on the right side of the work again: Slip 1 Purl-wise, Knit Two Together, Slip the Passed Stitch Over.
On the following row, when you get to the bobble stitch, purl this stitch through the back.
Some of my patterns that use bobbles:
Worsted Weight Bobbles in the Kadence Hat
The Kadence Hat is a fun hat designed for kids that uses bobbles and simple traditional cables. This hat features multiple sizes and an easy to read formatting that will benefit knitters of all skill levels.
Add a pompom or tassel for a bit of fun flair. The worsted weight yarn and pattern combine to make this hat look great in just about any color or combo!
Learn more about the pattern and how to get your copy for download here.
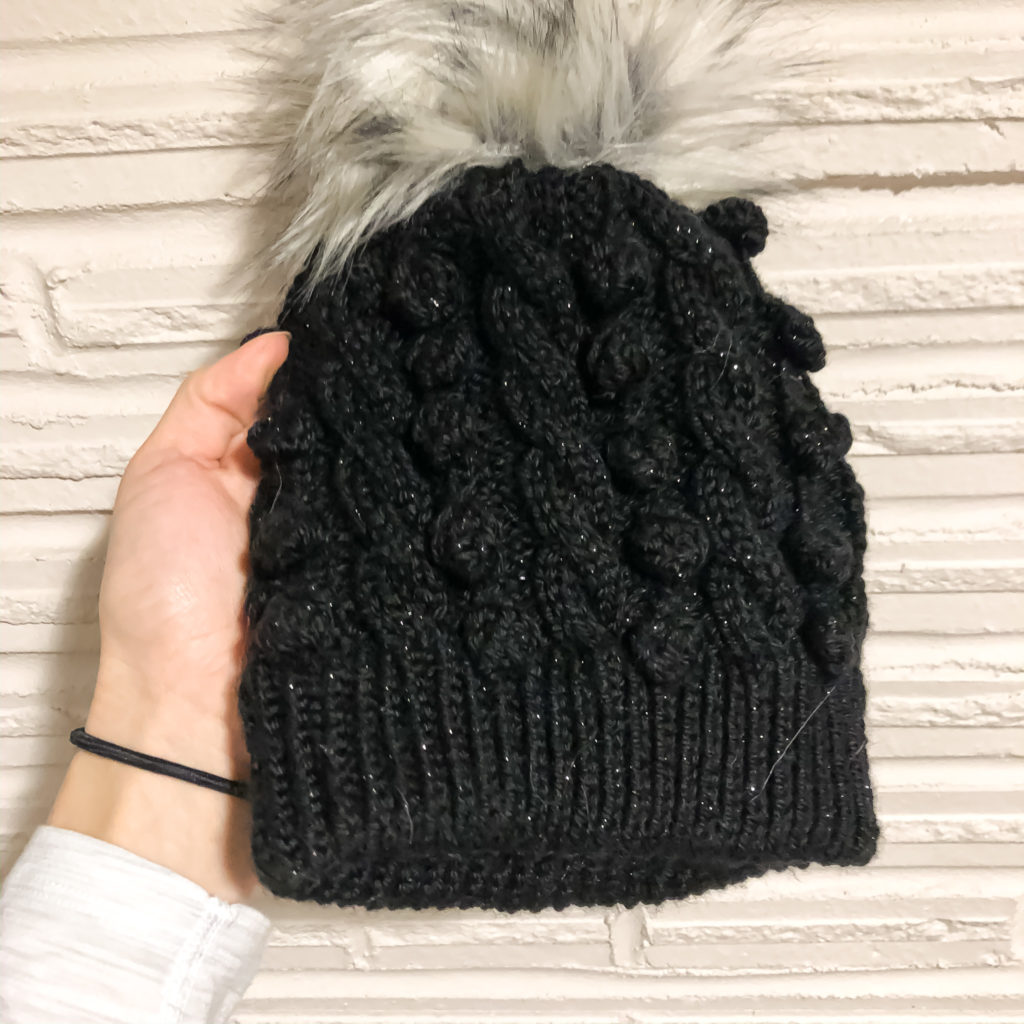
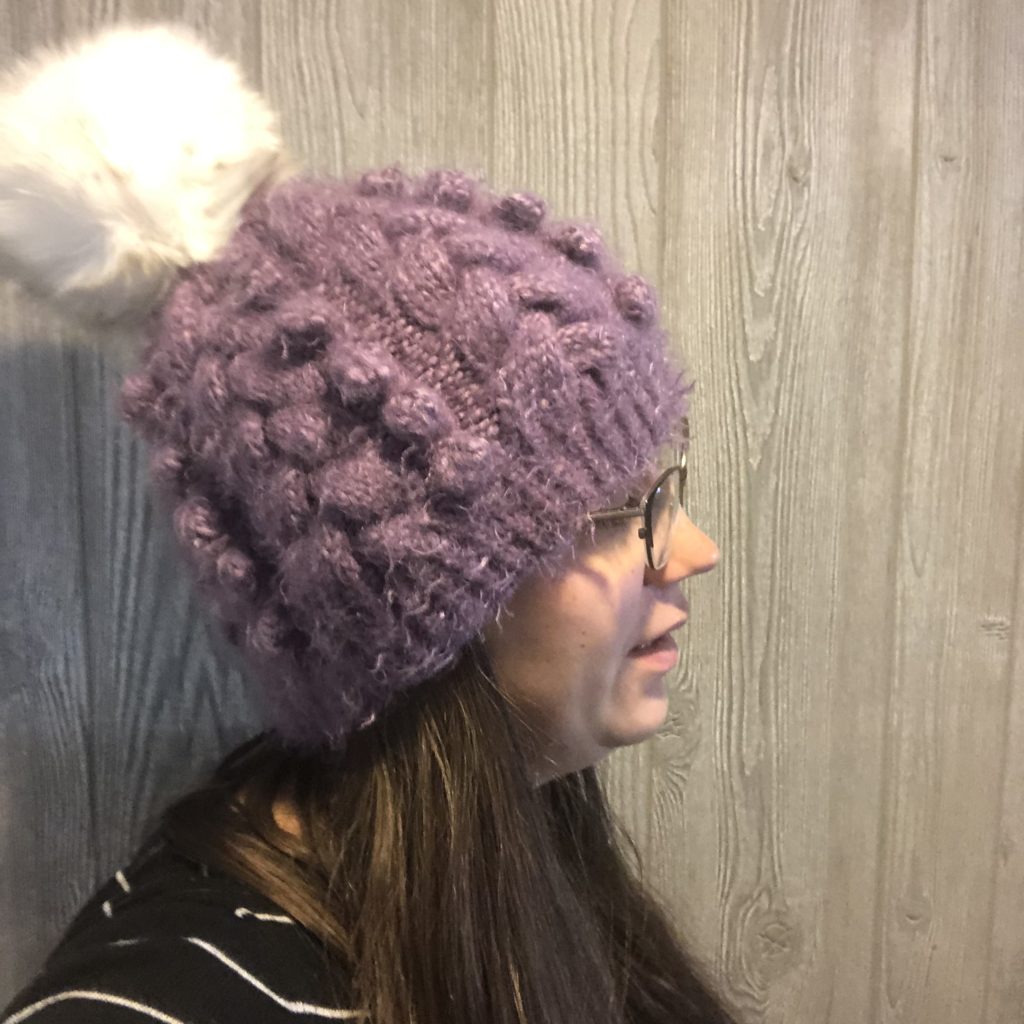
Chunky Knit Bobbles in the Grace Hat:
The Grace Hat is a thicker, bulky weight hat that uses bobbles in combination with chunky braided cables to a bit of elegance in your winter wardrobe.
Learn more about this digital knitting pattern, get yarn recommendations, and how to download it here.
The chunky yarn make this knitting pattern a fast way to master knitting bobbles and get something that’s fun and comfortable to wear!
Additional Ways to Knit Bobbles
In the following section of this post, I’ve put together some additional methods, tips, and tricks for knitting bobbles. By now you already know the two most popular increase methods, but I’ve included them in the video below along with decrease methods, and methods for knitting the actual bobble. I’ve even included two different methods to knit a bobble without having to turn your work.
How to Knit a Bobble without Turning Your Project
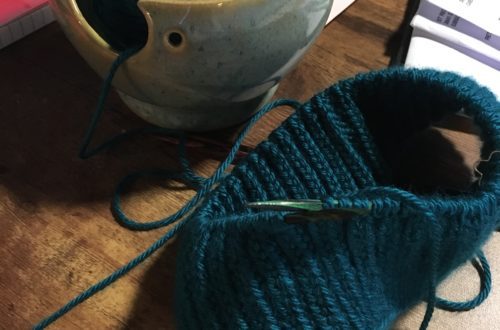
Metod 1: I-Cord
After you’ve increased to your ideal number of stitches, slide those stitches back onto your left hand needle. Knit them again, pulling your working yarn taught. Repeat this step for the number of rows indicated in your pattern.
Or, if you have two double pointed needles handy, you can knit the row and then simply slide the stitches to the other side of the DPN. Use your second DPN to knit the next row and repeat until you’ve worked the necessary number of rows.
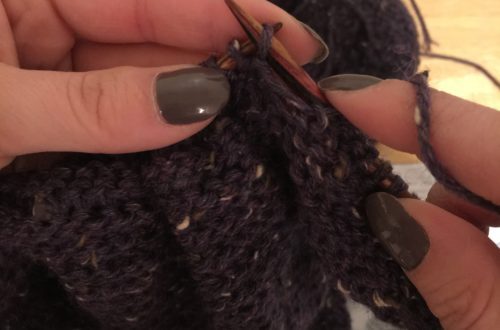
Method 2: Knitting Backwards
This is quite a speedy way to knit bobbles! After you’ve increased your stitches, and after you’ve knit a row, you can use this nifty knitting trick. Using your left hand needle instead of your right, insert the needle from left to right (front to back). Wrap your yarn from back to front (over top of the needle), then grab your yarn and pull it through. Repeat this for each of the stitches in your bobble. Then you’re all set to knit your next row as normal.
Here’s a link to learn more about knitting bobbles backwards.