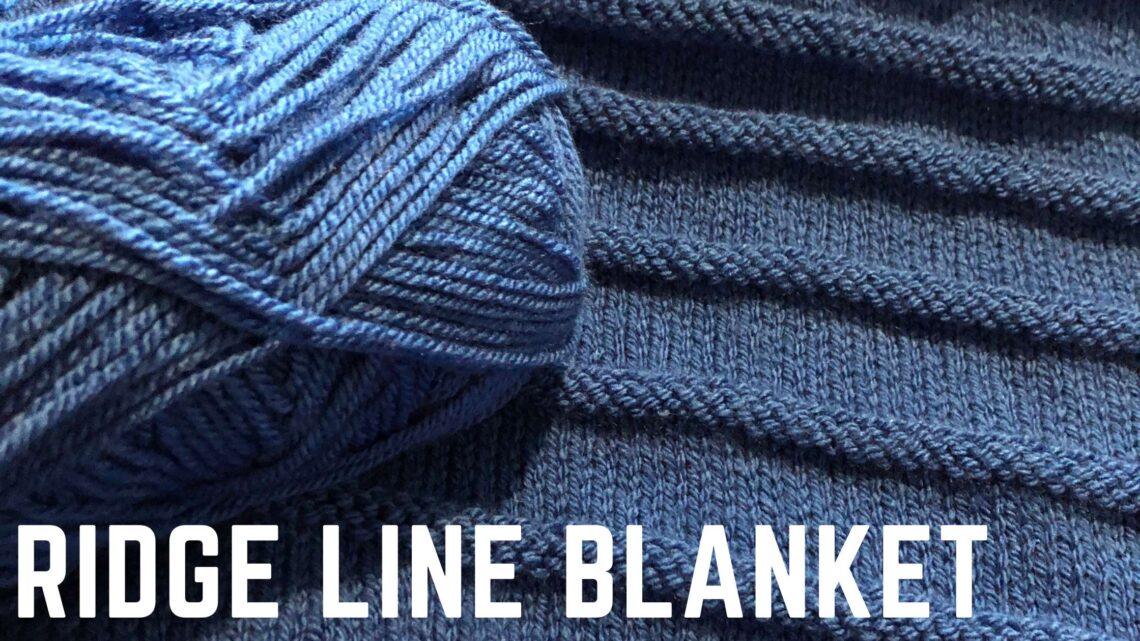
The Ridgeline, A Free Baby Blanket Knitting Pattern
In February of 2020, I became a boy mom. Since that moment, I’ve loved every minute of this journey, even the difficult ones in the middle of the night. When Fynn was born, I knitted him the Double Seed Stitch Baby Blanket. Then he got bigger. I wanted a blanket that would stay with him as he gets older. This is where I got the inspiration for the Ridgeline Baby Blanket.

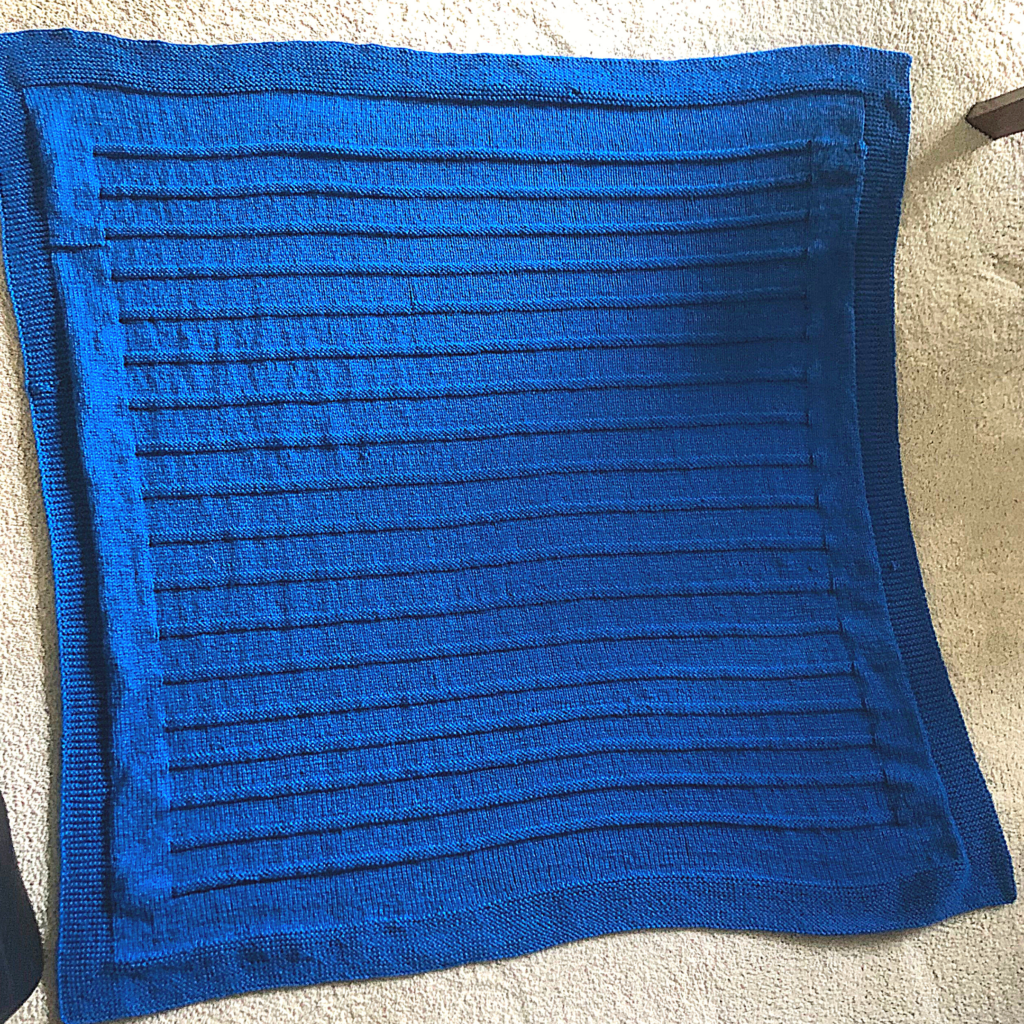
Knits and purls strategically come together in this free baby blanket inspired for little boys.
When I was little I carried my blanket around with me everywhere I went, literally everywhere. I love it to pieces. It was an adorable quilted blanket with bears carrying handkerchief knapsacks tied to sticks with a red board…well it was once upon a time. I also had a blanket crocheted by my grandmother but that was made from a scratchy version of acrylic yarn and it wasn’t as good for snuggling.
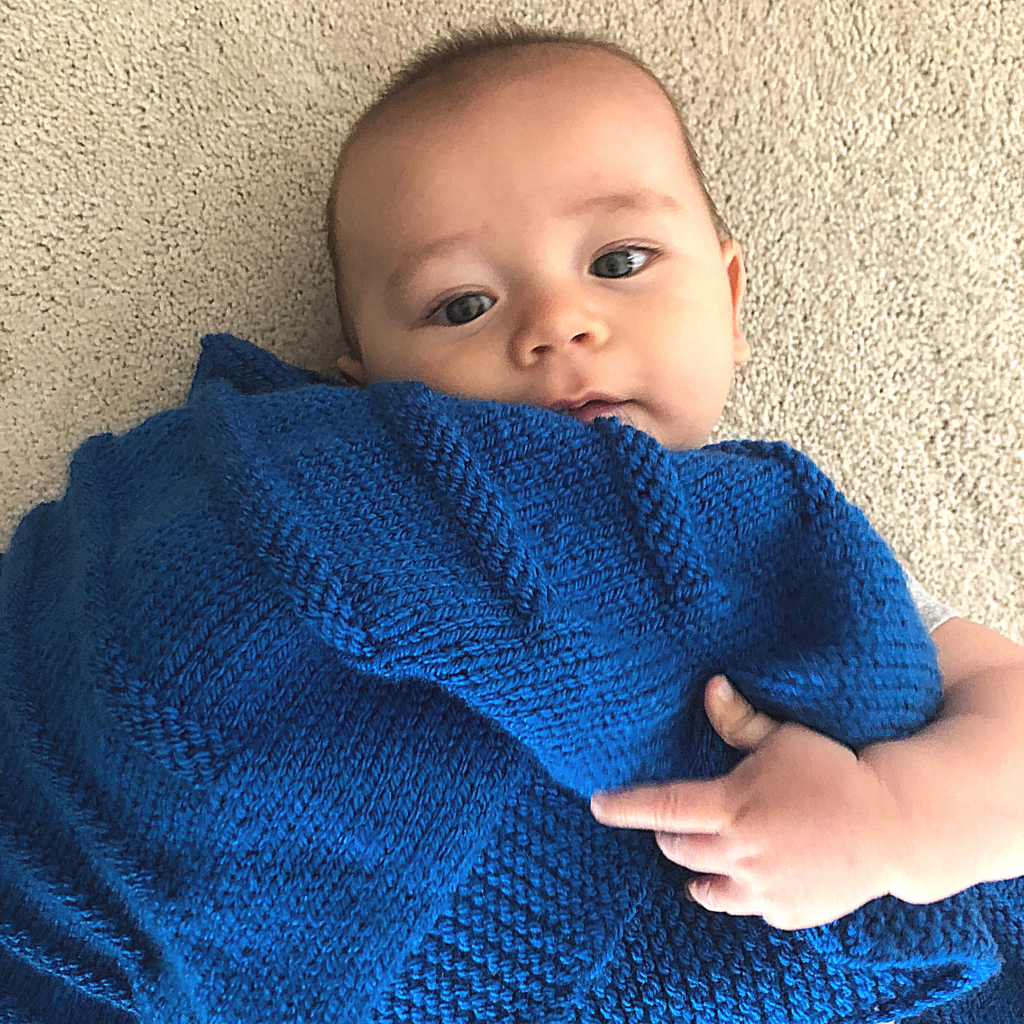
I needed this blanket to hold up to a lot of love. Fynn has already started snuggling this blanket and I have a feeling will be like me over the years. Part of me wants to knit hats with the yarn I have left over but part of me is thinking about holding onto it for future repairs.
Yarn for the Ridgeline Baby Blanket
When I selected the yarn for the Ridgeline Baby Blanket for Fynn, I wanted something machine washable and durable, but that would be soft and snuggly as well. For all of these reasons, and an affordable price tag, I chose PaintBox Yarn’s Simply Aran in Sailor Blue. This is available on a single skein basis but they also have an affordable bundle with like 10 balls of yarn which is perfect for blanket projects!
In my rush to finish this baby, I made a few mistakes. Most of them I was able to catch, but one escaped my eye until it was too late and the blanket was bound off. I was struggling with cutting it out and darning a section of the blanket but Fynn instantly fell in love with the blanket. It reminded me that something doesn’t have to be perfect to be loved. For a minute I felt like the blanket – imperfect but so loved by this little one.
Download the Ridgeline Baby Blanket for Free Here:
Knitting has a way of reminding us and teaching us things about life. Here with this blanket, I was reminded that something made with love is better than something that is perfect or machine made. Fynn instantly grabbed and snuggled this blanket so hard. It’s been so rewarding watching him play with it. The color is gorgeous and I’m not sure if I’ve really captured it in the photos. All of the Paintbox shades are lovely and the yarn has really great stitch definition.