How to Knit a Hat – Free Pattern Friday
Switching it up a bit this Friday
So instead of giving you a specific hat pattern on this Free Pattern Friday, I thought it would be cool to break down how to knit a hat. The whole teach a man to fish thing. If you have never made a hat before, I promise it’s easy and fun. I clearly find it fun because that’s all I’ve really been working on for the past month.
Three Parts to Knitting a Hat
A basic hat pattern as three parts, or sections where the pattern will change. These sections are the border, the actual hat and the crown of the hat (where the stitches decrease to form the shape of the top of the hat). I’ll break these down more in the sections that follow.
- The border or brim
- The Hat
- The Crown
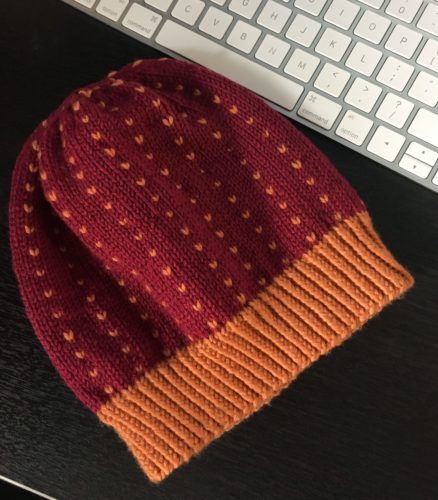
The Border
If you’ve knit in Stockinette Stitch before, you’ll know that the edges tend to curl, unless it’s been blocked properly (and then it still tends towards this behavior). If you’d like that smooth, “knit” look on your hat, you’ll need to add some kind of border to prevent the edges from curling. Traditionally this is done by some form of ridge pattern, typically a combination of knit and purl stitches. Most often you’ll use a 1X1 or 2X2 rib, but you can play around with this and offset the numbers a bit to achieve different looks.
1X1 Rib = Knit one, Purl one (K1, P1)
2X2 Rib = Knit two, Purl two (K2, P2)
Taking it to the next level: I like to use a twisted rib for my hats. It makes the border a bit fancier, if you will. This is achieved in the same 1X1 and 2X2 rib stitch patterns, but instead of a simple “knit” stitch, you “Knit through the back”. I’ve got a video of this here – but I’m no video experts so please bear with the quality.
You can generally make this section as many rounds as you’d like, but depending on the height of my rows, I typically use between 10-12 rounds of this. Note: Rounds is the word for each “row” of your knitting when you are knitting in the round.
The Hat
This is the bulk of the project. After your border, you may choose to dive back into Stockinette stitch. Or, you could choose some fair isle type of stitch. There are a number of combinations of stitches out there, but for this post, we’ll stick with Stockinette to keep it simple. Using Stockinette Stitch, you’d simply knit row after row in the round until the hat reaches a certain measurement from the cast on edge. (this is the bottom of the hat in this case) It’s helpful when knitting in the round to use a stitch marker to mark the end of one round and the beginning of the next. These can range from a spare bit of yarn made into a loop, to any number of ones that are available for purchase.
The Crown:
This is when you form the top of the hat. The crown is formed by decreasing the number of stitches by a certain/even amount as you continue to work in the round. There are various patterns to achieve different looks and shapes, but I favor a common and easy to follow method, which is knitting two stitches together after so many normal knit stitches. I’ll show you a bit more about what this looks like in just a bit. Other methods involve different decreases such as SSK (Slip, Slip, Knit).
Making a Hat, Forming the Pattern
- Pick your Hat – The type of hat you want will often dictate what kind yarn you use.
- Pick Your Yarn – select the color, type and gauge of yarn with which you’d like to work. Yarn comes in various weights or thicknesses which will affect the look of your hat.
- Look at the Gauge – the gauge tells you how many stitches and rows you need to knit in order to achieve a 4 inch by 4 inch square – this will help you determine how many stitches to cast on and how many rows you might need to knit before you reach the crown.
- Needles – based on the gauge of your yarn, select your needle.
- Cast On: Based on the circumference of your (or whomever the hat is for) head, using the gauge, determine how many stitches you’ll need to cast on.
- Border: determine how high you would like this part of the hat to be and then using the gauge, determine the number of rounds you’d like this section to be. This may fluctuate based on how tightly you knit.
- The Hat: For most adult hats, you’ll knit until the whole hat measures between 7 and 8 inches from the cast on edge. Note: if you decrease rapidly over the crown of the hat, (IE if the crown is 8 rounds rather than 16 rounds) you’ll need to make this section just a bit longer. Don’t fret too much if this is your first hat, most hats are a bit slouchy and don’t need to be the perfect shape or size.
- The Crown: Select the method you’d like to use and go from there.
Here’s a Hat Pattern:
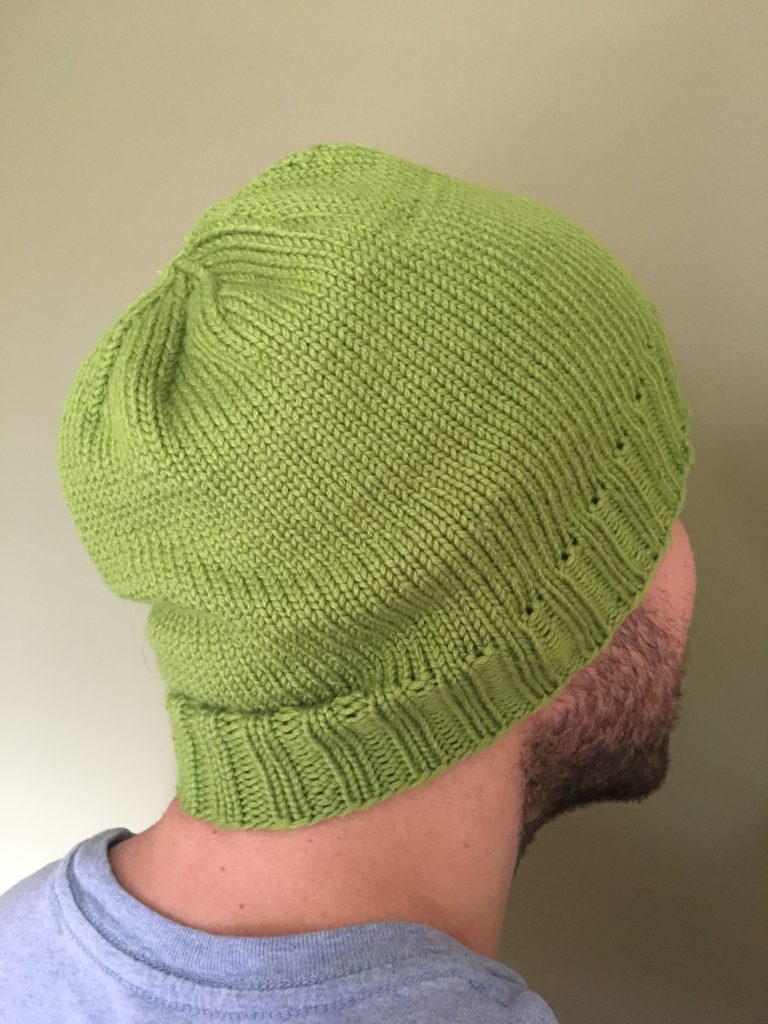
Hat: Simple Knitted Beanie
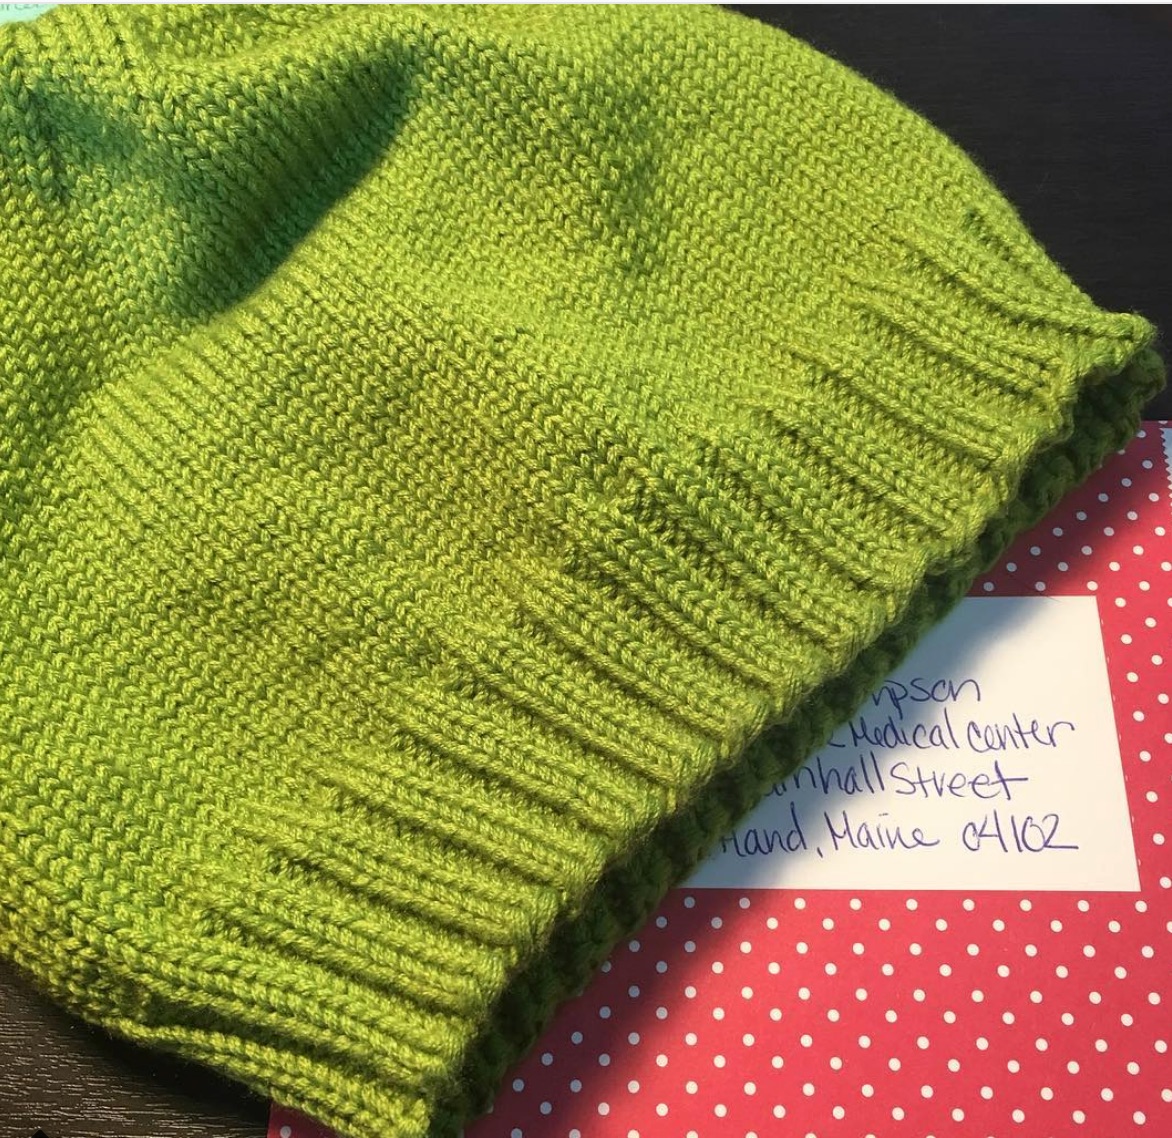
Yarn: Berroco Comfort Worsted Weight Yarn in the color Seedling
Gauge: 26 Stitches by 36 rows
Needles: US Size 2, 16 inch circular needle *note I’ve ignored the recommended needle on gauge suggested by Berroco to get a tighter knit hat which will result in being warmer. For your first hat, I suggest you stick with the suggested needle to make sizing easier.
Cast On: 124 Stitches using a long tail cast on
Border: 2X2 Twisted Rib for 16 rounds
Hat: Knit until hat measures 7 1/2 inches from the cast on edge
Crown:
*K2Tog, K8* Repeat until end of round
Knit all stitches
*K2tog, K7* Repeat until end of round
Knit all Stitches together
*K2Tog, K6* Repeat until end of round
Knit all Stitches together
*K2Tog, K5* Repeat until end of round
Knit all Stitches together
*K2Tog, K4* Repeat until end of round
Knit all Stitches together
*K2Tog, K3* Repeat until end of round
Knit all Stitches together
*K2Tog, K2* Repeat until end of round
Knit all Stitches together
*K2Tog, K1* Repeat until end of round
Knit all Stitches together
*K2Tog* Repeat until end of round
Break Yarn and using a darning needle weave in yarn tails.