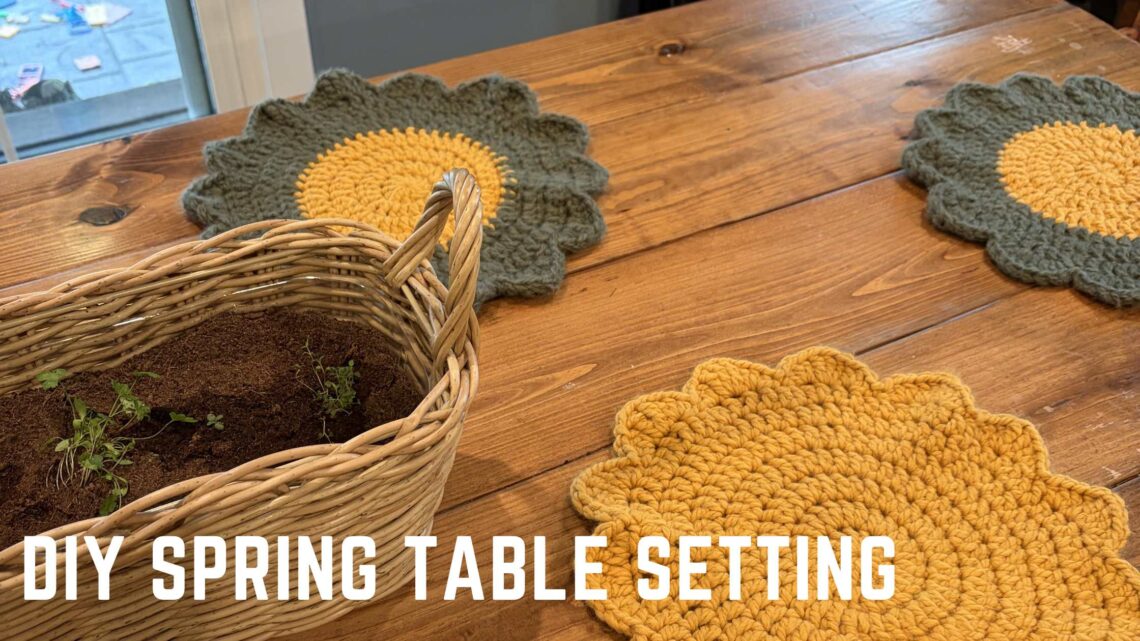
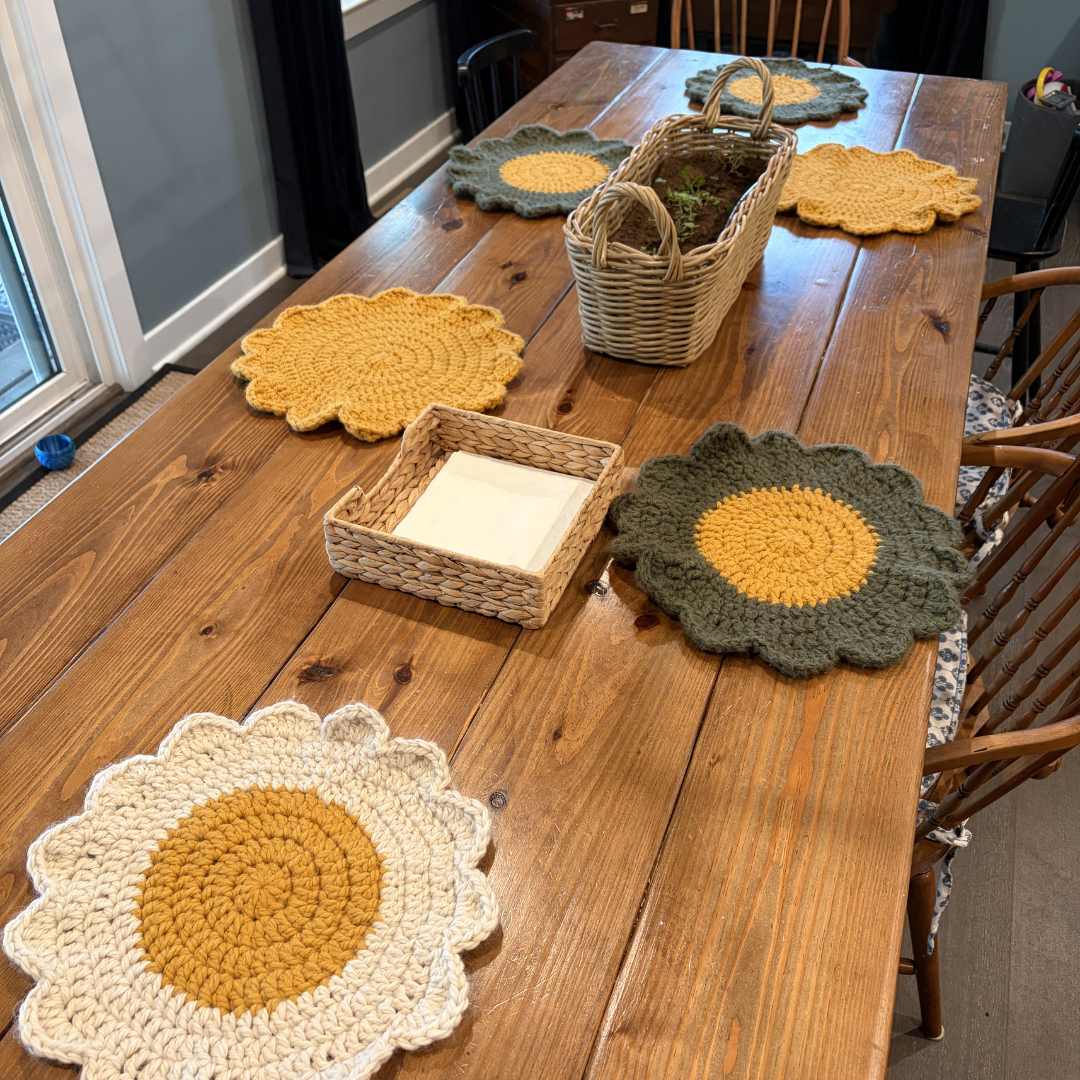
How to Make a DIY Rustic Table Setting
My Husband and Father-in-Law made us a beautiful table. Decorating this surface is definitely a favorite. When Spring hits, I just can’t wait to spruce it up with some greenery. In my last post I showed how I made a lovely circular crocheted rug for my kiddos playhouse. I used the base of that pattern to create these placemats and created a super fun planter to hold our favorite spices. Let’s get into how to make a DIY rustic table setting just like this one.
How to Make a Rustic Table Setting
Basket Herb Planter
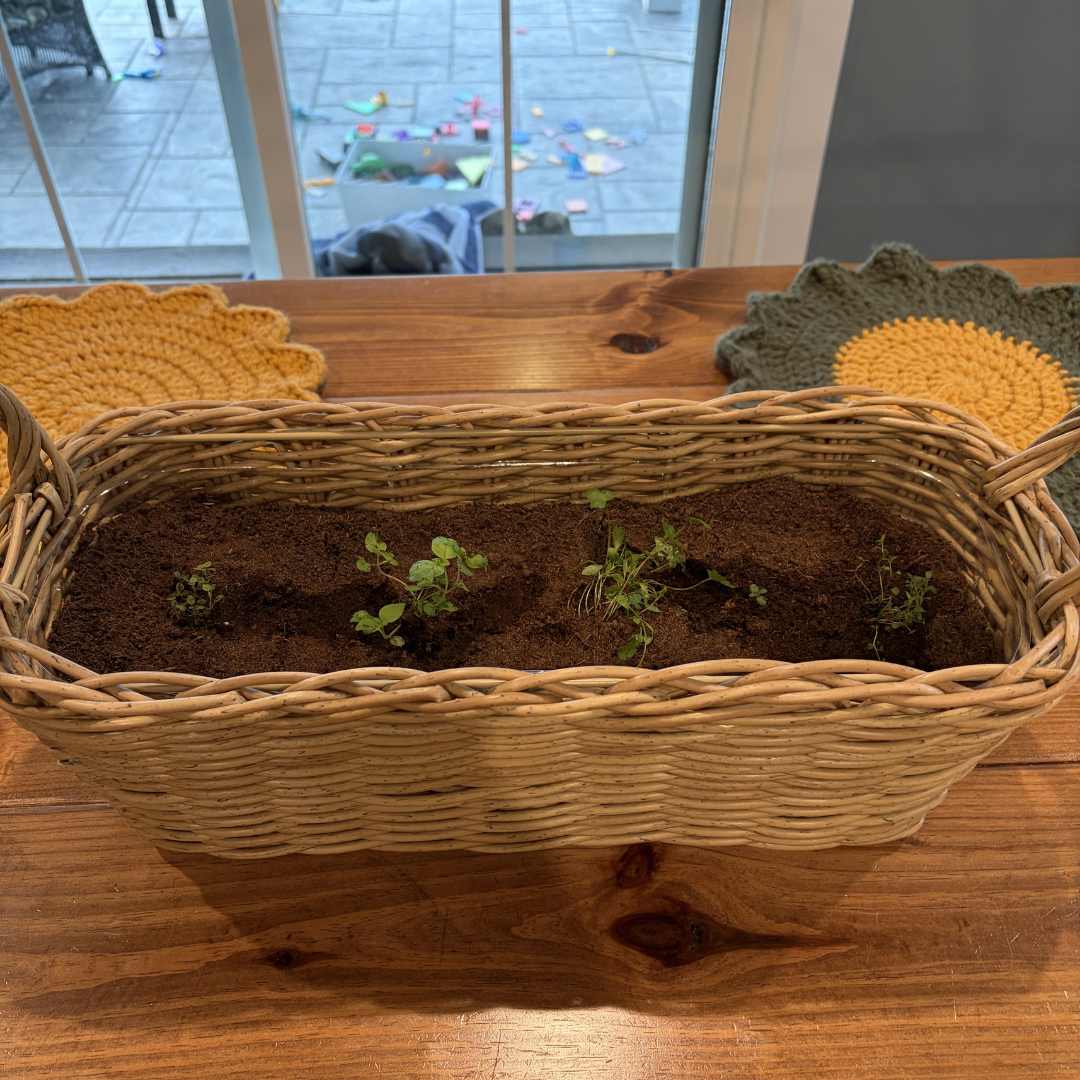
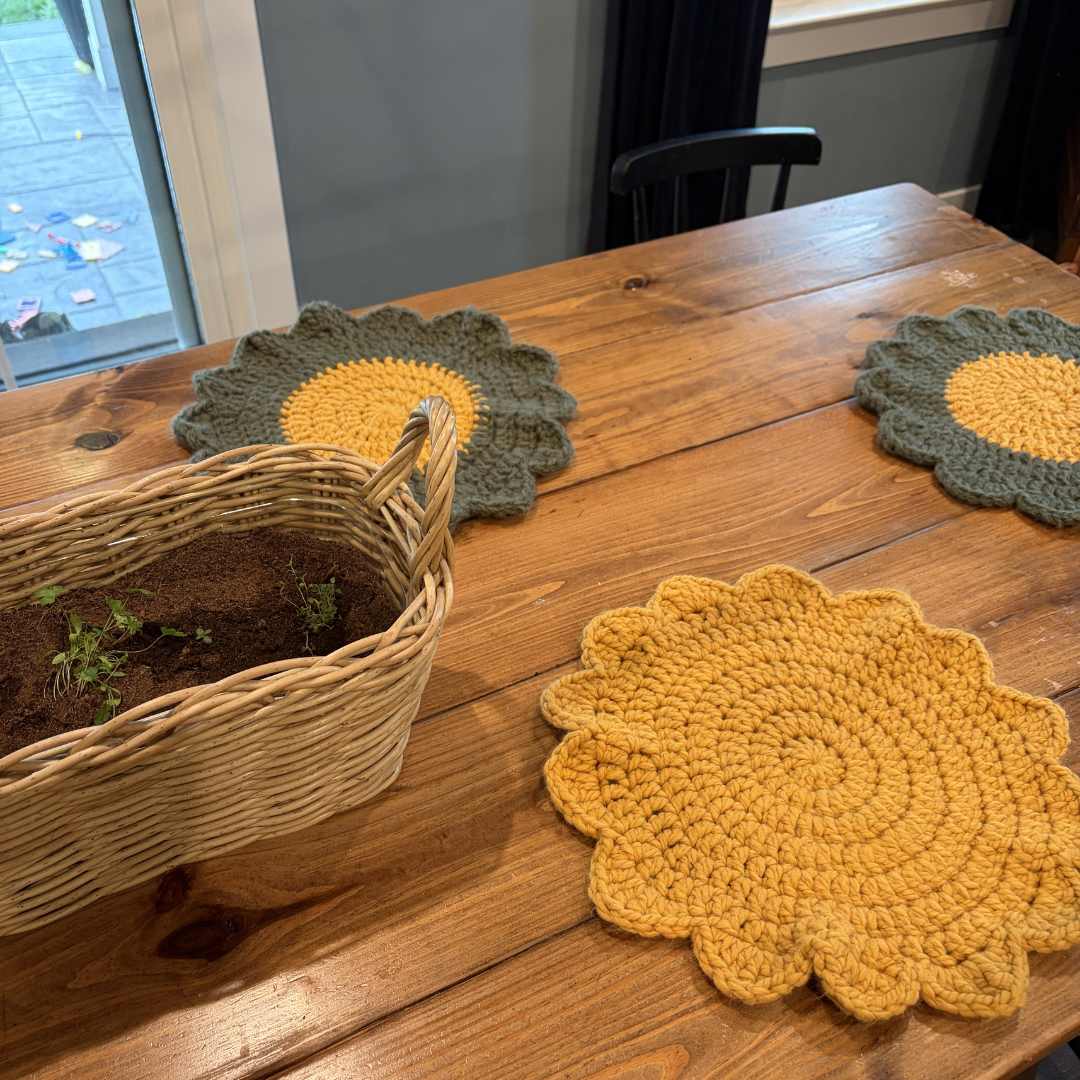
Bringing life into the main living spaces of your home literally is a breath of fresh air. You can clean and replenish the air in your home. Getting your hands in a bit of soil is great for your health too. And having fresh herbs within arms reach is just the icing on the cake. So let’s start off with the basket herb planter.
My husband called me from Ikea the other day where he had found these rectangular baskets on clearance. He asked if I’d want a few not knowing I’d end up turning them into planters. I had started some herbs from seed and have been itching to pot them somehow. I’ve loved the idea of having them as a centerpiece for family meals now for some times so finding these baskets was meant to be. They came with a plastic liner, but you can create your own by putting a later of something waterproof at the bottom of the basket. Then fill the basket almost to the top with potting soil, and add your favorite baby herbs! It’s so simple. Sometimes the best things are the most simple though.
You could add a bit of moss around the top of the basket. This is something I might add in a little bit, once they are a little more established. You could also add some whimsical details like mushrooms, frogs, etc. to the basket if you need more whimsy in your life. Let’s face it, who doesn’t need more whimsy these days?
Crochet Circular Placemats
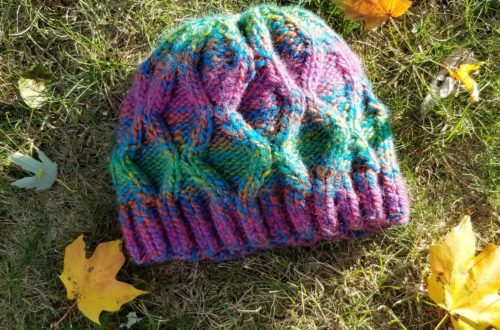
Choose an acrylic bulky yarn. You can find yarn like this at Michaels or by ordering on line. I had a mix of some in my stash from other projects like the green. And the yellow I purchased from Michaels to create flower shaped placemats. The beauty of the acrylic is that it repels moisture so stains are easier to clean off of the placemats. You can also wash them without the colors leaching or bleeding. I don’t machine dry mine. Instead I block them so that they lie flat but we’ll get into that more in a minute. A rustic table setting is only good if you’re not afraid to use the various elements like placemats. When I first made these, my family kept taking them off of the table as they were afraid to spill on them.
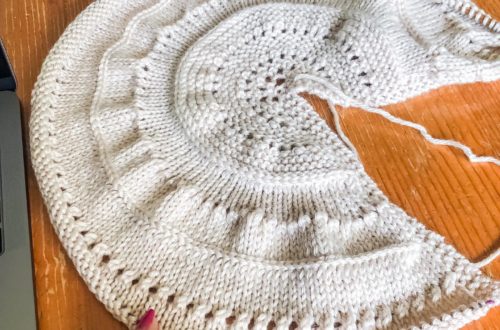
I used a US size J crochet hook with this bulky yarn. Click this link to get the base pattern that I used for these placemats. I followed it for the first six rounds. End the last round with a slip stitch and you’re ready to crochet the picot edge of the placemats. You could just do one more round of JM Crochet’s Pattern if you don’t like the picot edge.
Step 1: Skip one Stitch.
Step 2: 1/2 Double Crochet into the next stitch. Also in this stitch, work 2 Double Crochets.
Step 3: Work three Triple Crochets into the following stitch.
Step 4: Move to the next stitch and work 2 Double Crochets, and one 1/2 Double Crochet.
Step 5: Skip One Stitch.
Step 6: Slip stitch into the next stitch.
Repeat steps 1-6 until you work all of the way around the circular placemat. Break your yarn and weave in your yarn tails. I made eight using a few different colors so that I can mix and match, and have extra for when we entertain. I’ve got some extra yarn so I might make some plain round ones too just to be able to switch them up.