Joining and Knitting in the Round
The gateway to hats, mittens and more!
If you already know and love knitting in the round, I’d love to see why you love it, your favorite techniques and tips, and patterns that employ it.
If you’re new to this style of knitting, you’re in luck! I’m breaking it down a bit in this post. Learning how to join your stitches and knit in the round might sound or look intimidating. It can be broken down into a few simple steps. Read through this post to broaden your knitting projects to include hats, wine bottle sweaters, baby sleepers, sweaters, and so much more!
What is Knitting in the Round?
Many patterns, especially when you first begin knitting, are worked back and forth on straight needles. Whether wooden, metal or plastic, straight needles allow you to knit across, from right to left. Then you must turn the work around and knit back in the other direction.
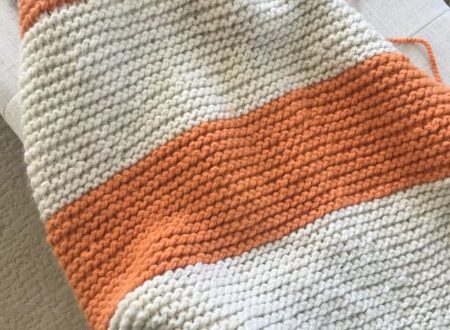
Knitting in the round just like it sounds, is knitting continuously in one direction. And it requires a different tool. We’ll get to that in a moment. The end result of knitting in the round, is a cylindrical or tubular type of project. Add in a few other techniques and you can create hats, mittens, socks, sweaters and even some tubular scarves (those knit with multiple colors are often worked in the round to hide the floats).
The glorious think about this style of knitting, (depending on the complexity of your pattern of course), is that it can be quite simple. In fact, one of the reasons that I love knitting hats is that I’ve come to prefer knitting in the round and using circular needles. Which leads me to the next point:
Tools for knitting in the round
Straight needles have a stopper on the end and force you to turn the work in order to continue knitting. Circular needles and double pointed needles are other types of knitting needles that allow you to work in a circular fashion.
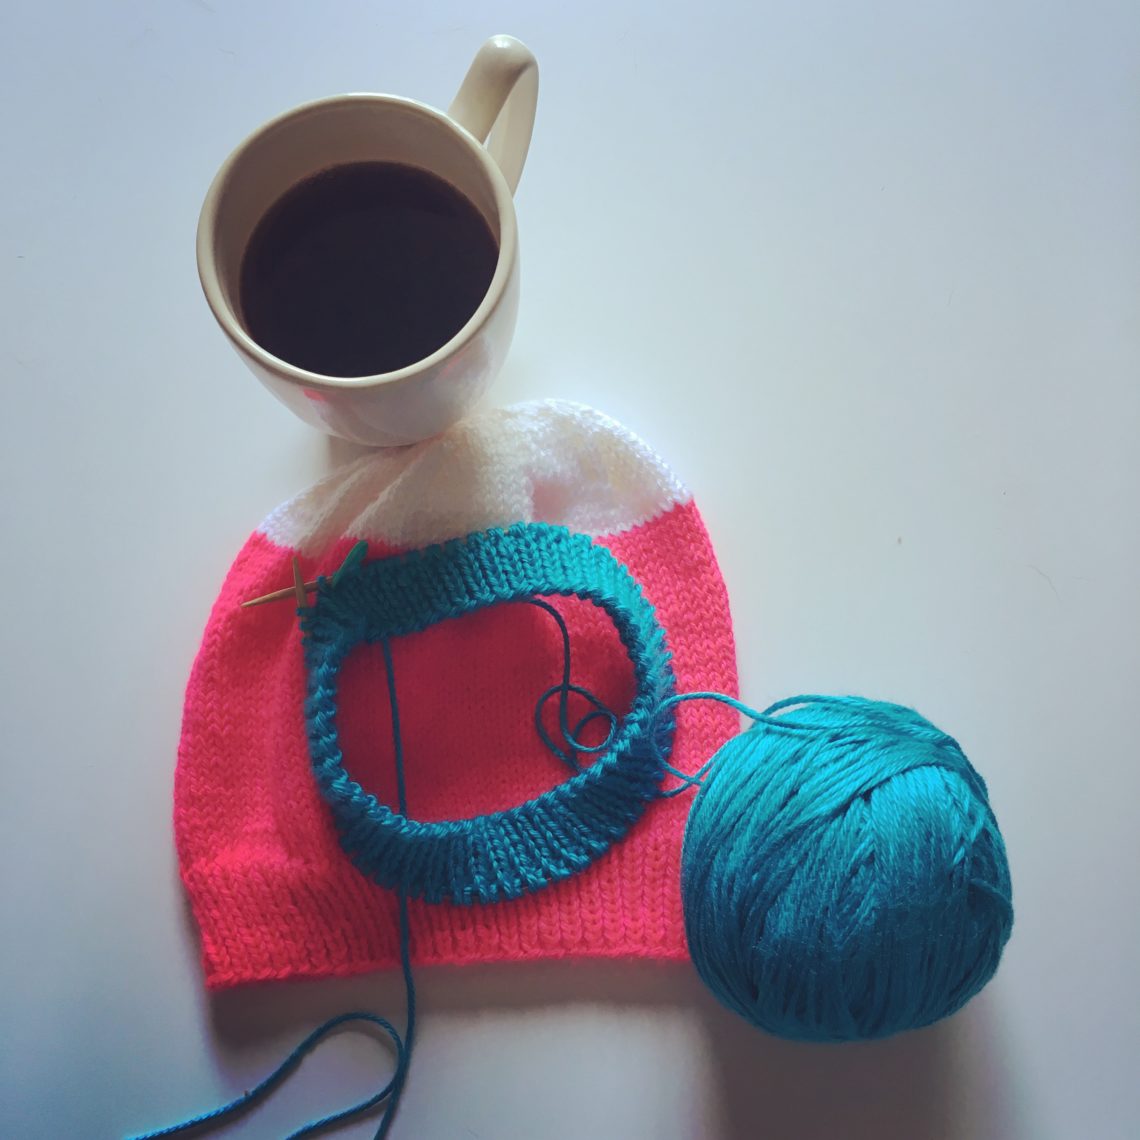
Circular needles: these are two short needles connected by a cable. Like their cousins, they come in wood, plastic and metal options. They also come in different lengths. Some are shorter and designed for smaller projects like hats, and others are longer and better for things like sweaters.
Personally, I knit just about everything on this type of needle – even when it is worked “flat” or back and forth.
Depending on your project, you might see instructions for a “magic loop”. It’s a technique for taking a longer circular needle and shortening it up to work smaller projects like socks or mittens.
Personally I’m not a fan of this style. It leaves you at risk for gaps in your knitting. I only use when I’m too lazy to switch to using double pointed needles to finish up a hat.
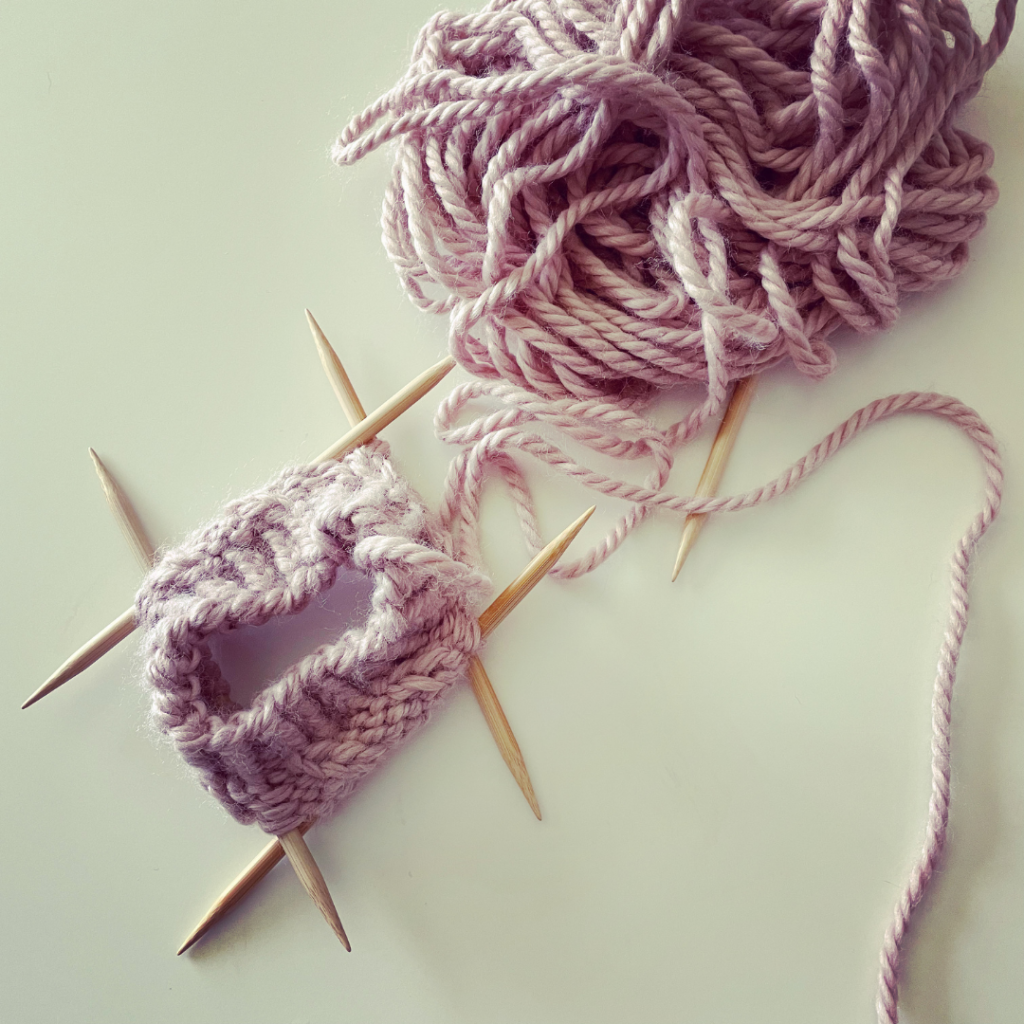
Double pointed needles: these are similar to straight needles, but instead of a pointed side and stopper side, (like their name suggests) they are pointed on both sides. These are shorter than most straight needles, as they are designed to be used as a set, often 3 or 4 at a time, to form the circular shape.
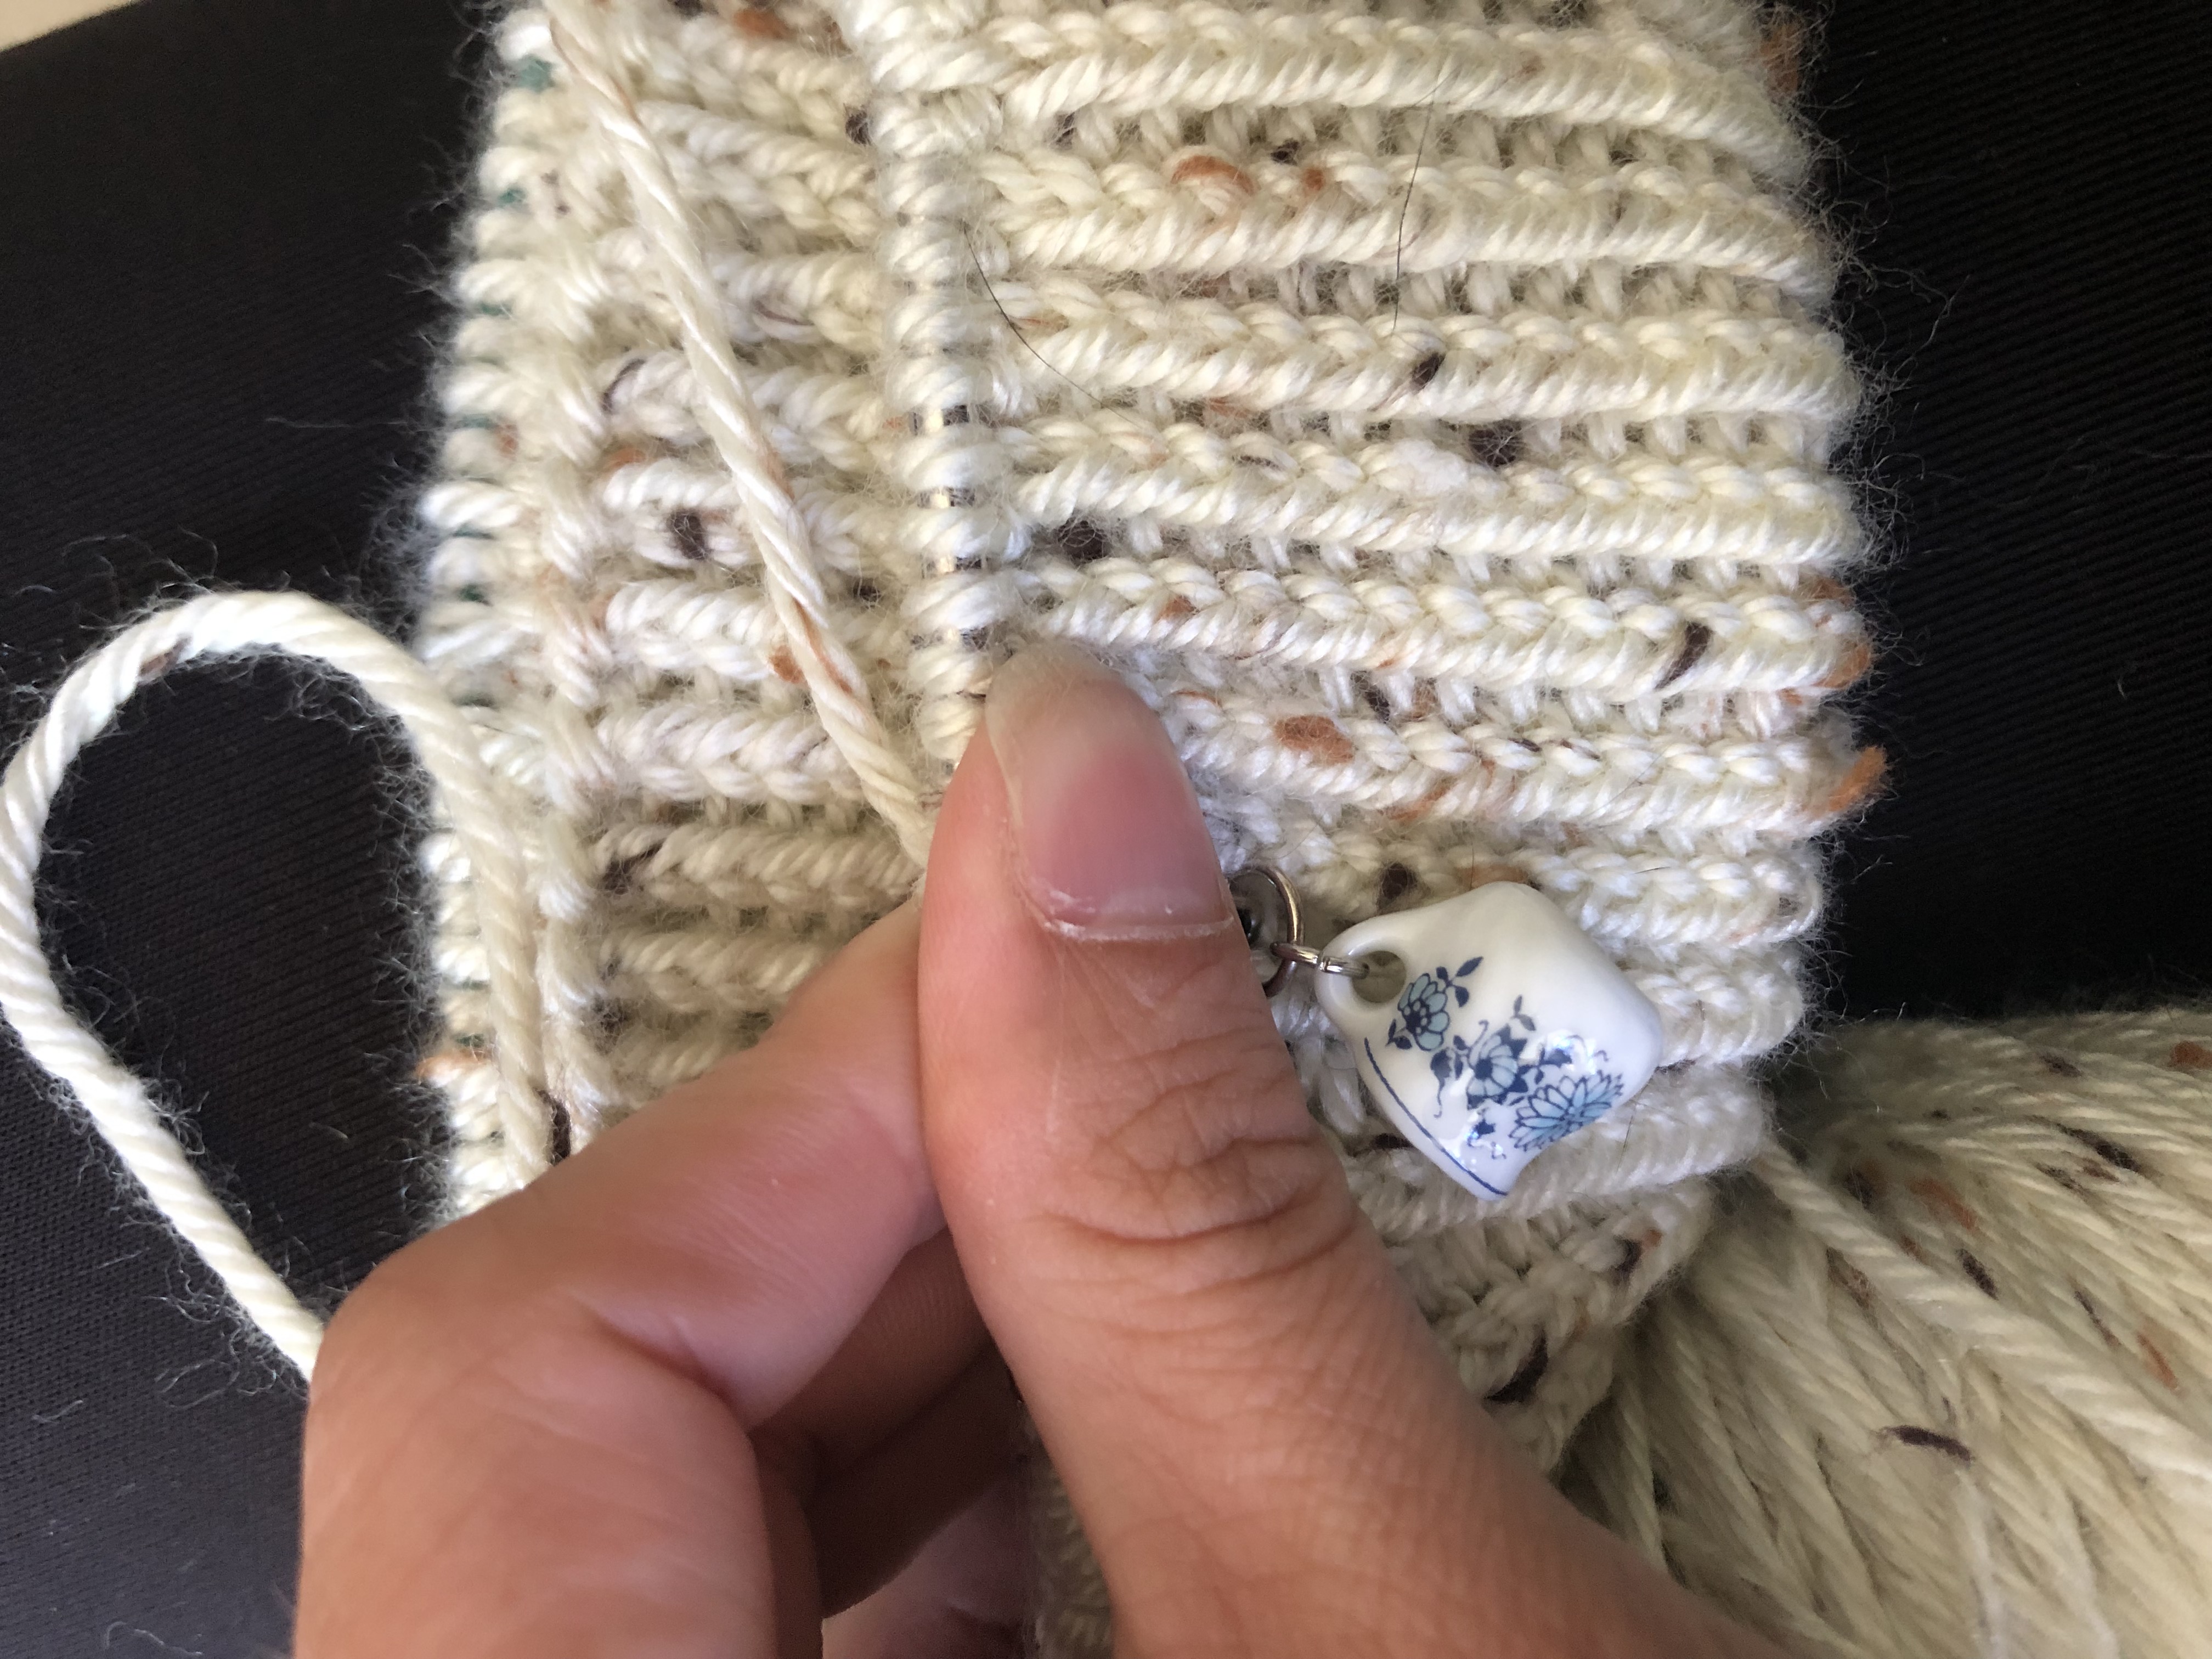
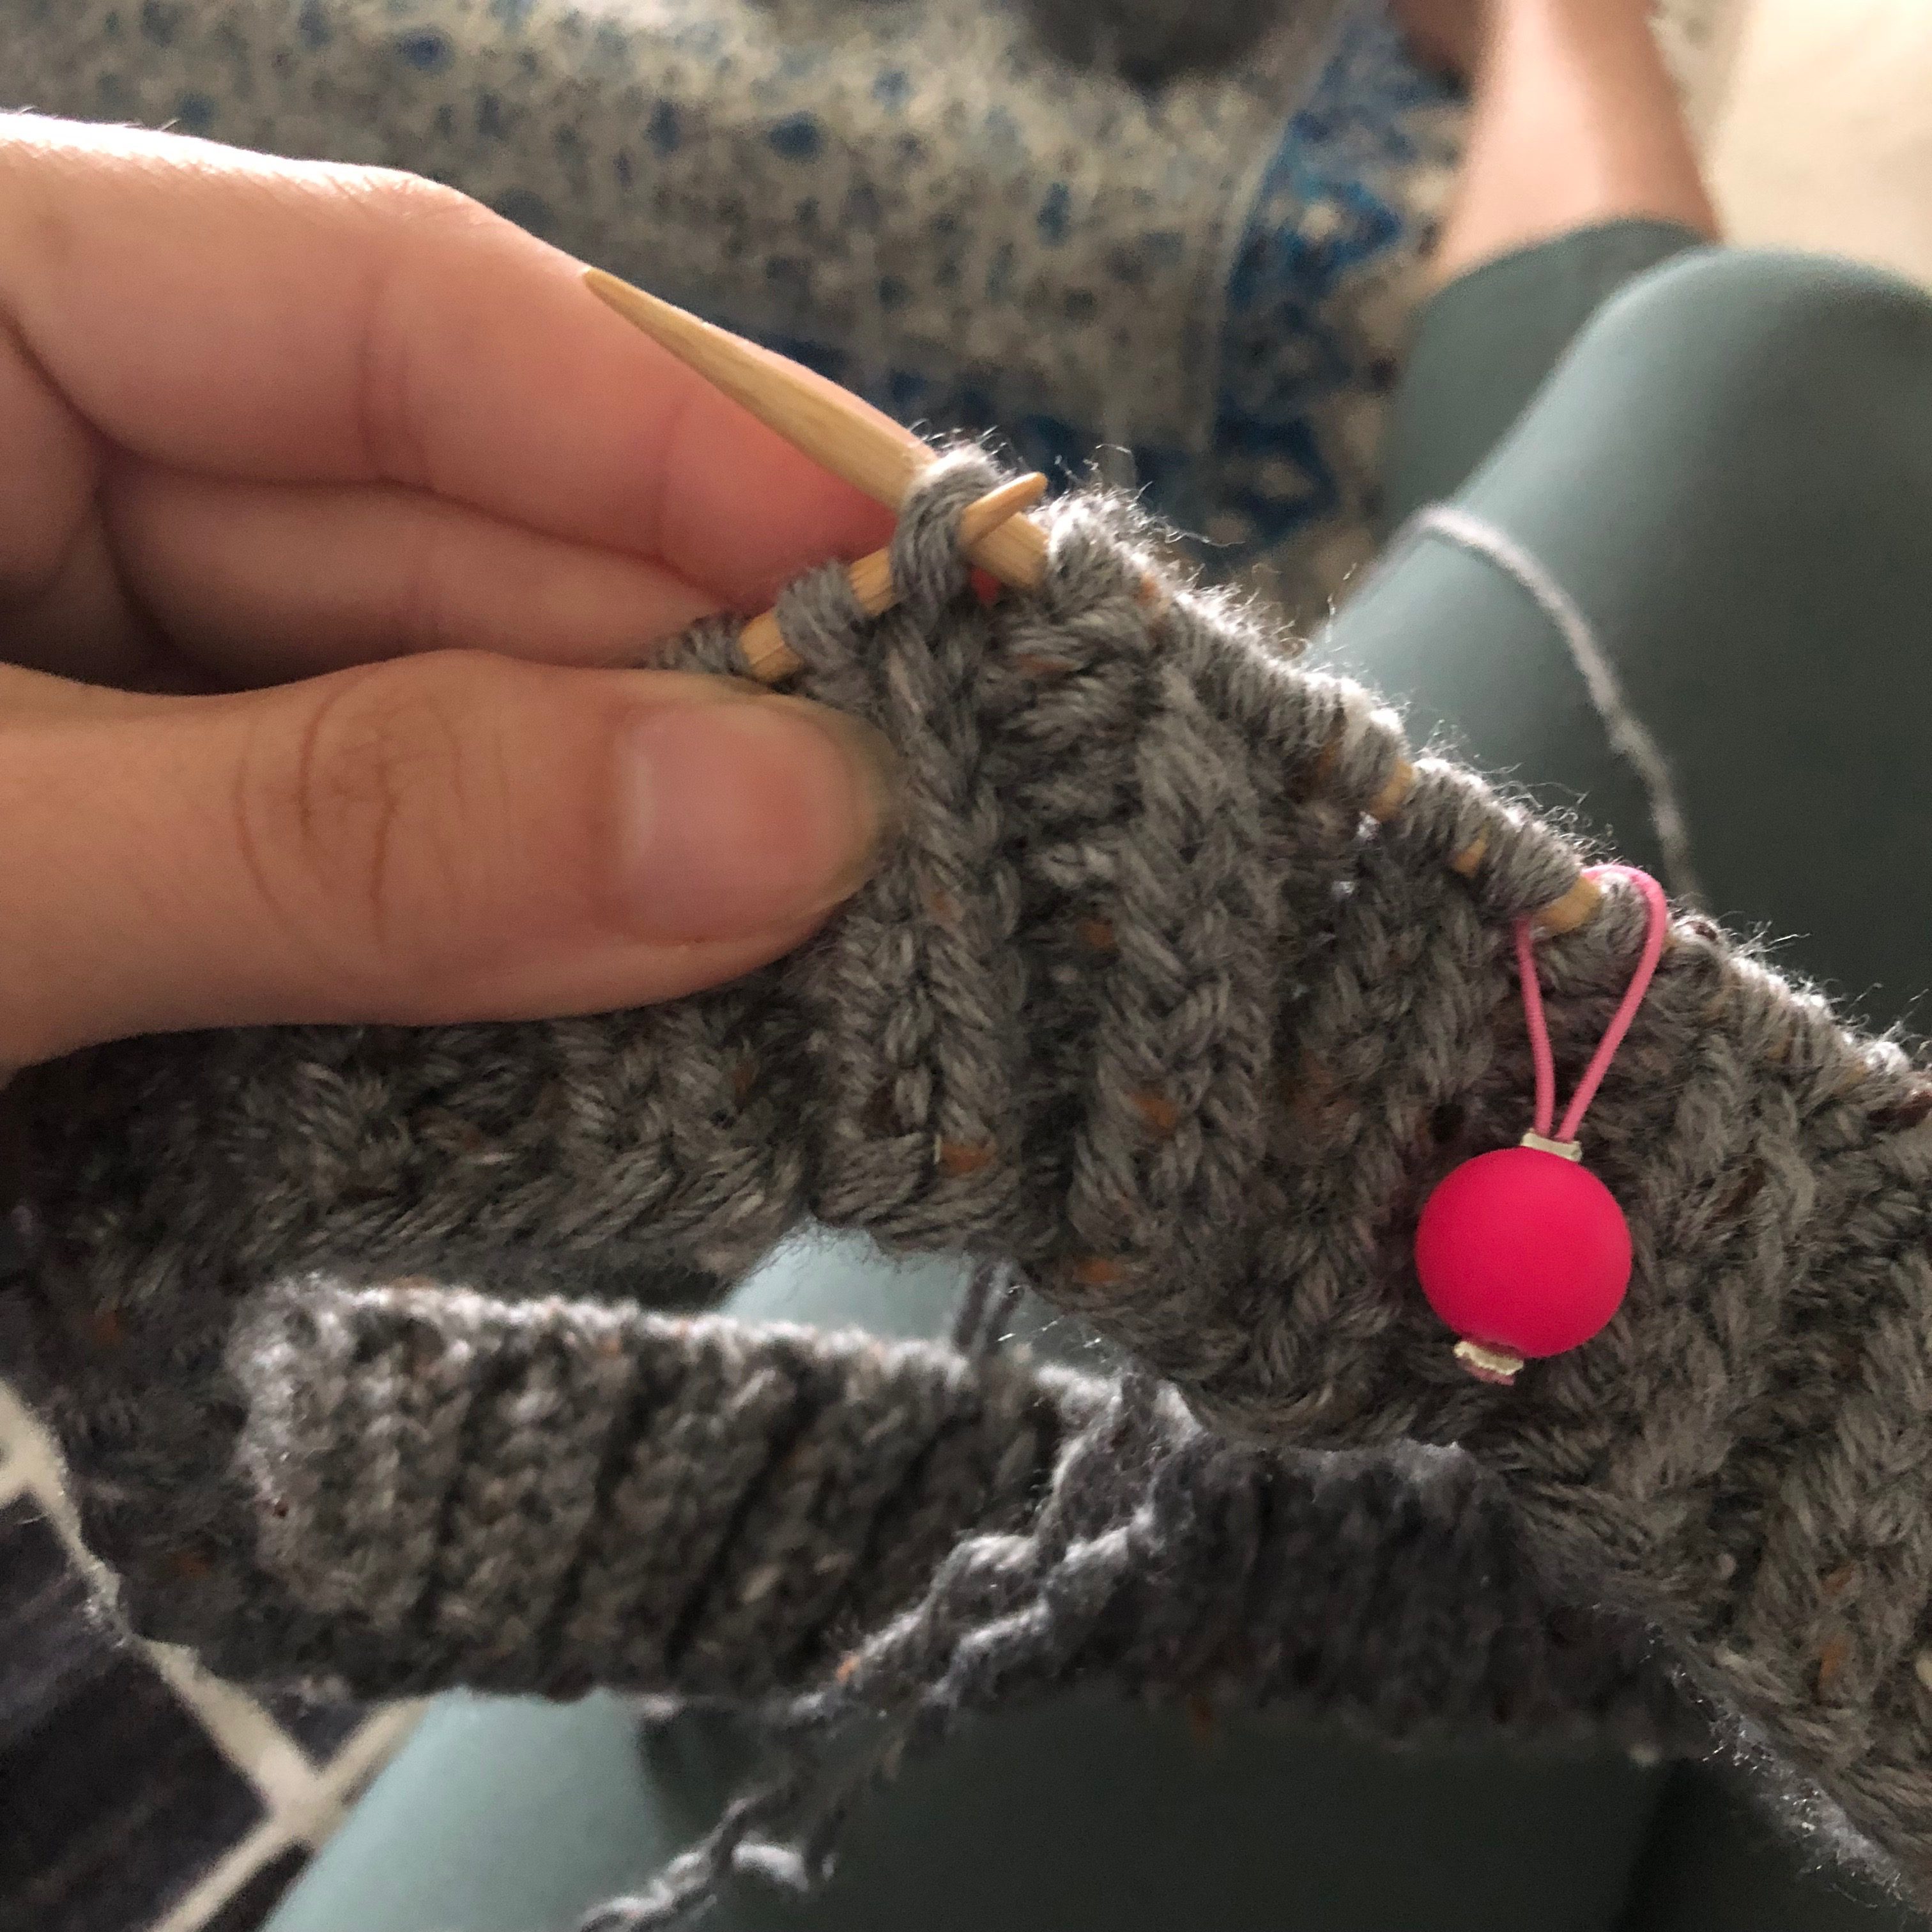
Stitch Marker: You might have been wondering, how do you keep track of where you are and where the beginning of your project is located? For that we use handy dandy stitch markers.
These are a loop of either metal, elastic or string, often fitted with a bead. Some others are metal or plastic shapes like rings or flowers. These fit onto your needle much the same way a stitch would. It marks the beginning of a new round.
When you reach the end of a round switch the stitch marker from one needle to the other. Continue knitting as the pattern directs.
How to Knit in the Round
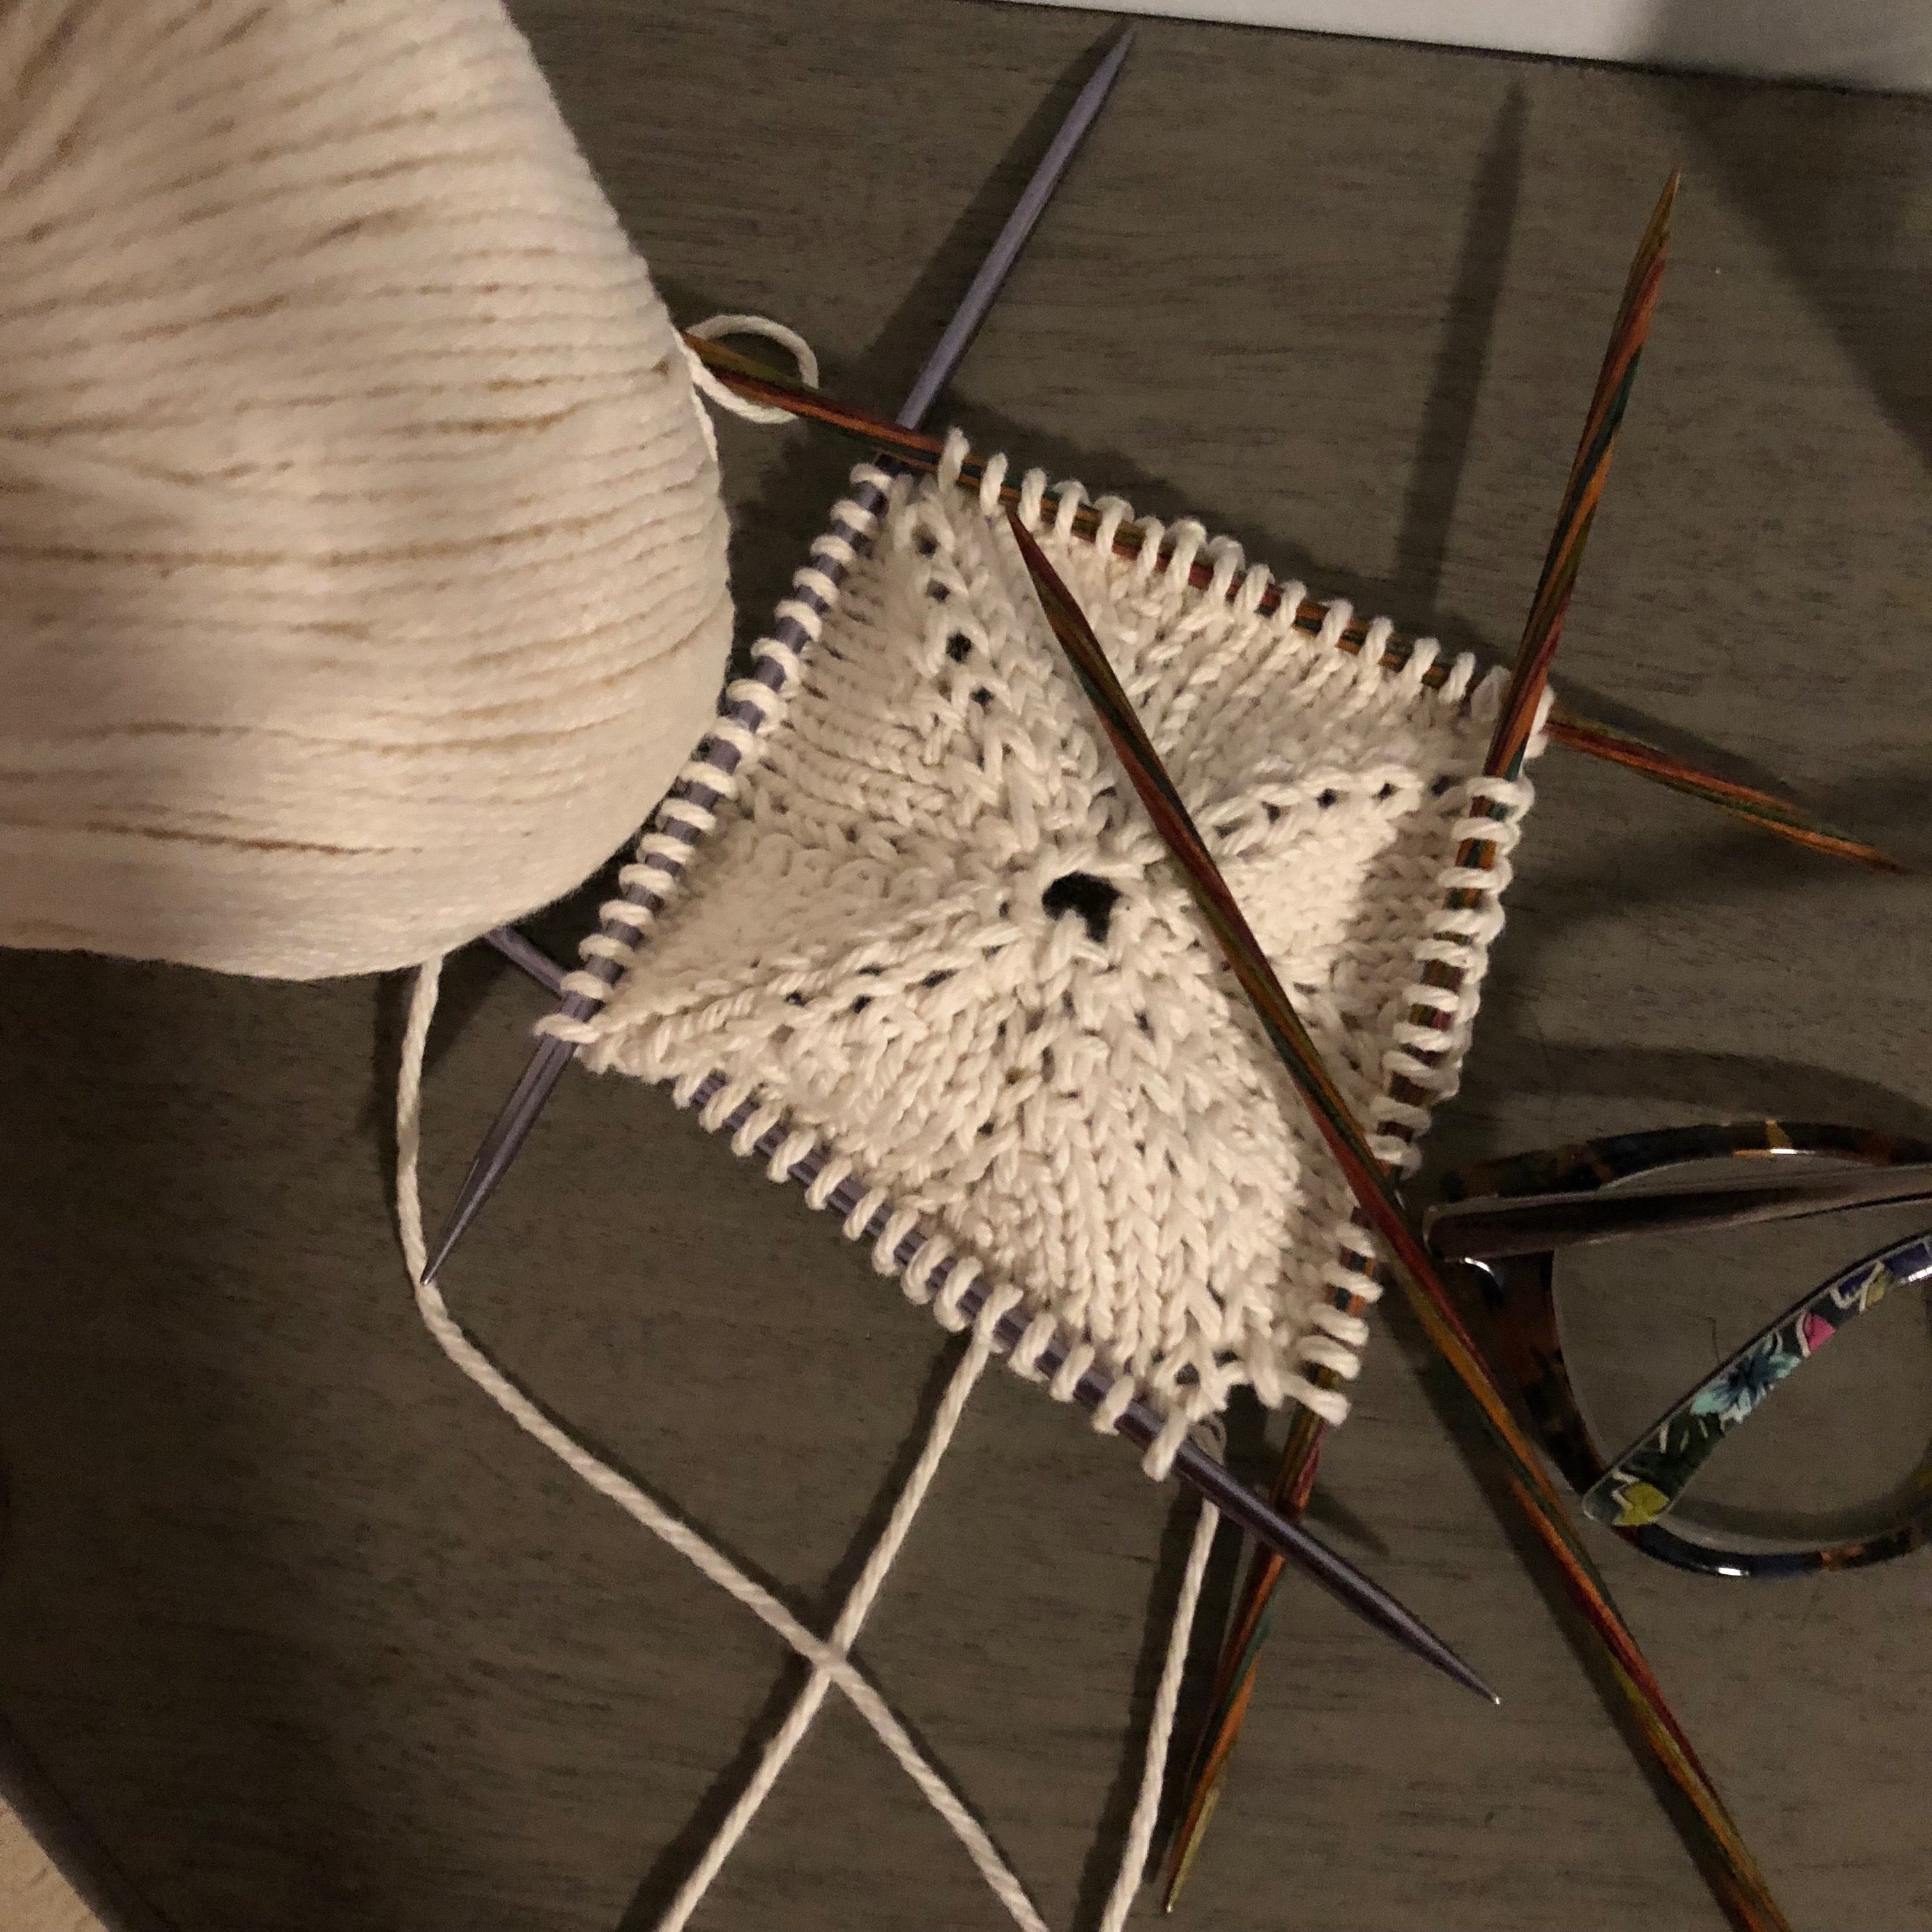
Take a look at your pattern, this will tell you everything you need to get started. It includes the size and the length of either the circular or double pointed needles. Note the type of cast on technique and the number of stitches to cast on. I prefer to use a long tail cast on method for knitting in the round as it gives you a nice clean edge with even spacing.
Before joining your stitches, there is one crucial step: You need to make sure that your stitches aren’t twisted. mThis is another reason I prefer the long tail cast on method. It gives you the appearance of a row of stitches, so it’s easier to tell if the stitches are all in a row or wrapping around the cable needle.
Place your stitch marker on your right hand needle and begin to knit as normal.