How to Paint a Mountain Mural
My Son’s Beloved Mountain Mural Makes a Comeback
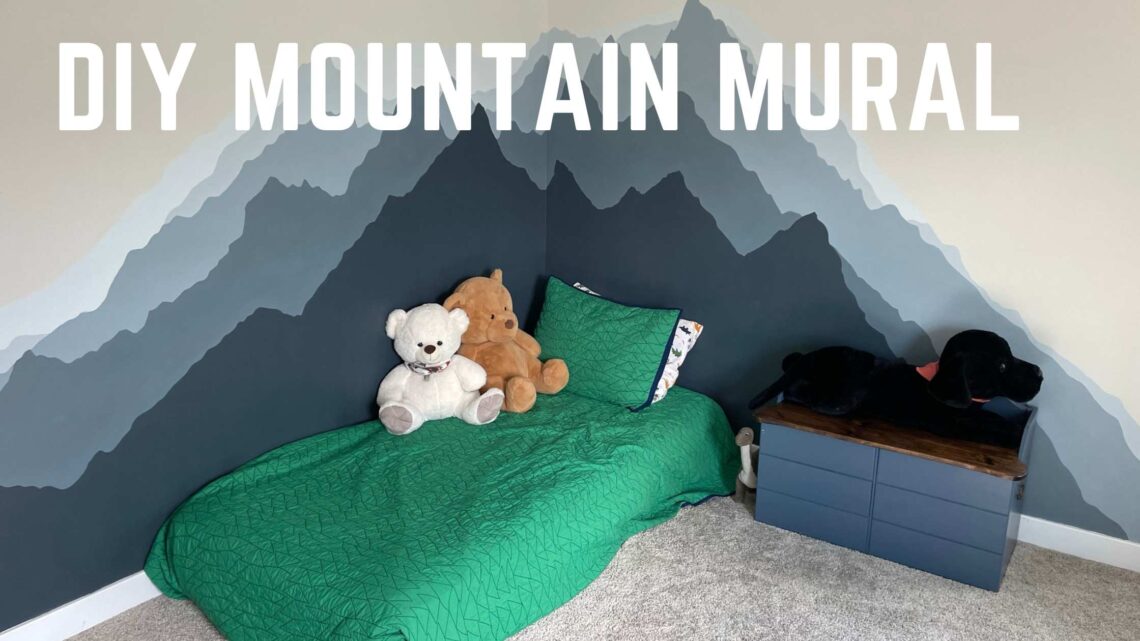
Part of making a house feel like a home for me is painting the rooms in colors that fit our family. Being 27 weeks pregnant, I was also nesting, HARD. Moving while pregnant had really tested the nesting nature of my pregnancy. After moving in, I was chomping at the bit to tackle all of the projects that have been in my dreams. The kids bedrooms are pretty high on that list. In this post, I’m taking you through my son’s DIY Mountain Mural and how it has made a comeback. I’ll give you the step by step instructions for creating this mural in your home. I’m even giving you the exact colors I used.
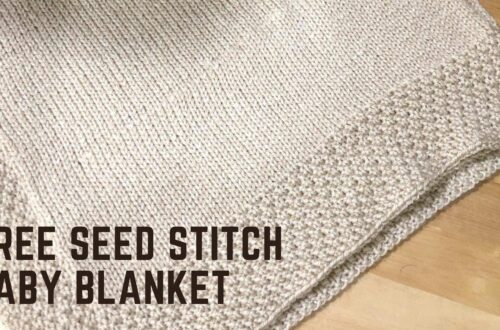
Murals in kids rooms are a great way to get more vibrant pops of color without darkening the room, or overcommitting. We love greens and blues, and he seems to as well. We loved that this mountain mural gives us lots of color to play with. It also softens up the room a bit, and cuts down on all of the hard angles and straight lines in the room, the furniture, etc. You can also plan and execute a DIY mountain mural, or just about any mural affordably. Click here to learn how I did my daughter’s tree mural.
Mountain Mural Glow Up
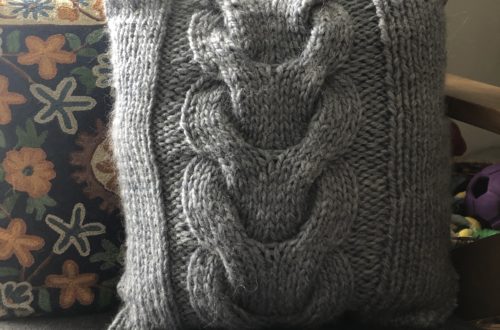
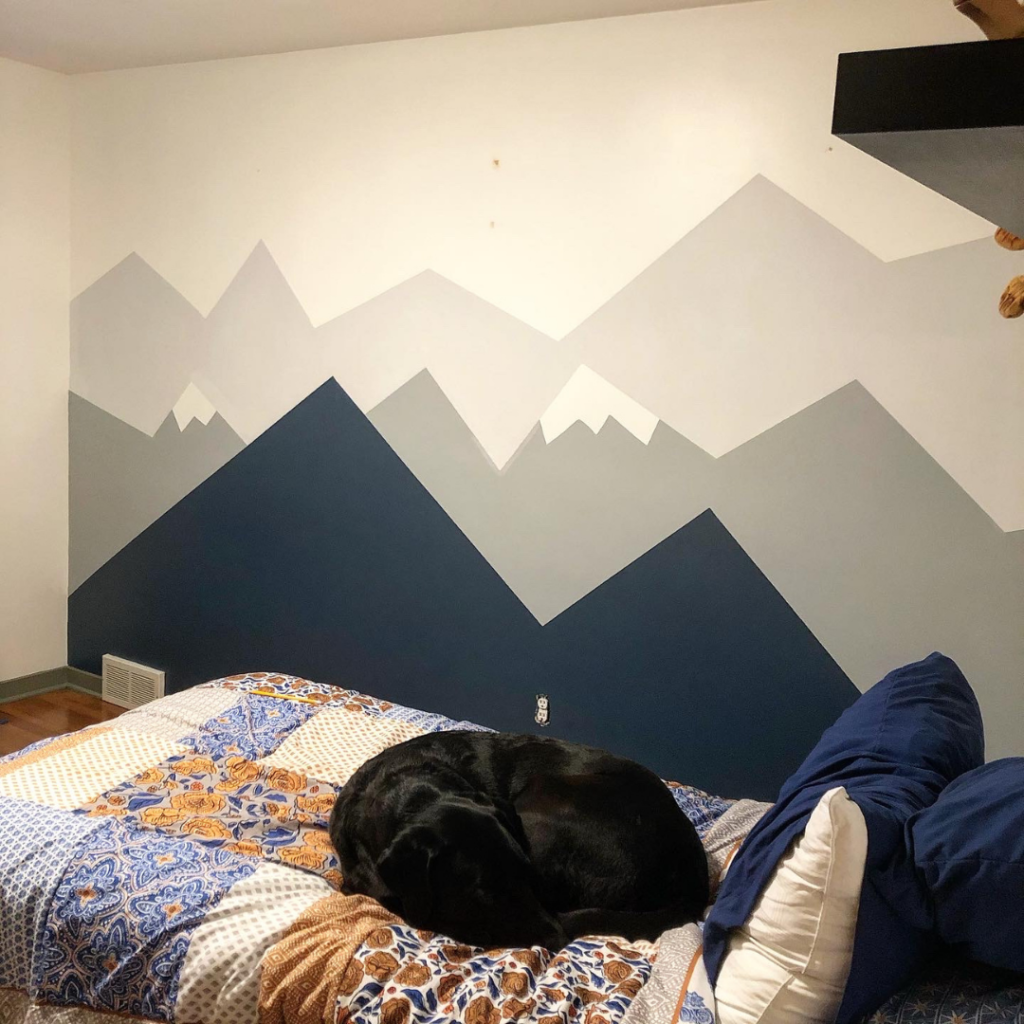
The original mural was the first that I’ve ever painted, using wall paint that is. Normally my projects are on a much smaller scale and not quite so permanent. While my husband was on night shift, I bought some paint samples and mapped out some simple mountains. Being nervous, I used painters tape and the result was cute, albeit pretty simple. The goal was to have enough of a difference between the various levels of mountains to make it visually interesting.
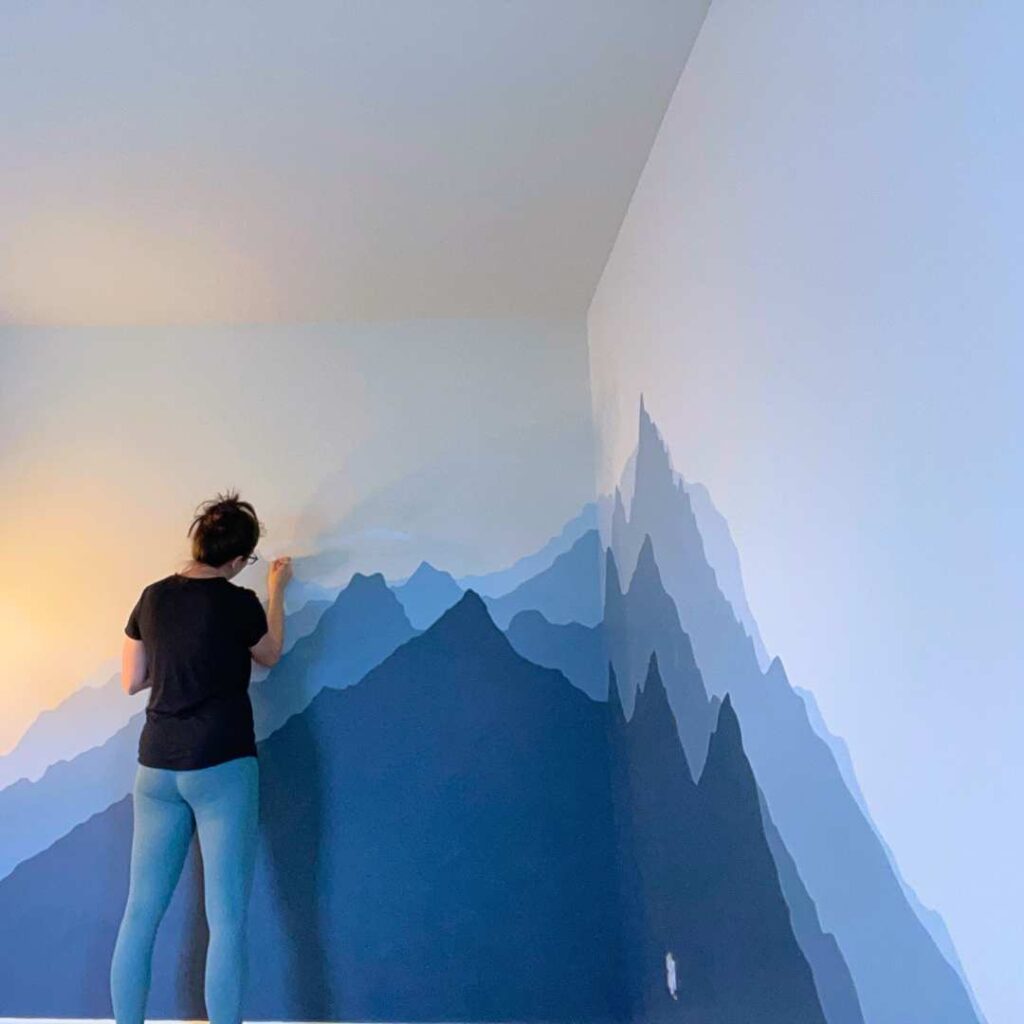
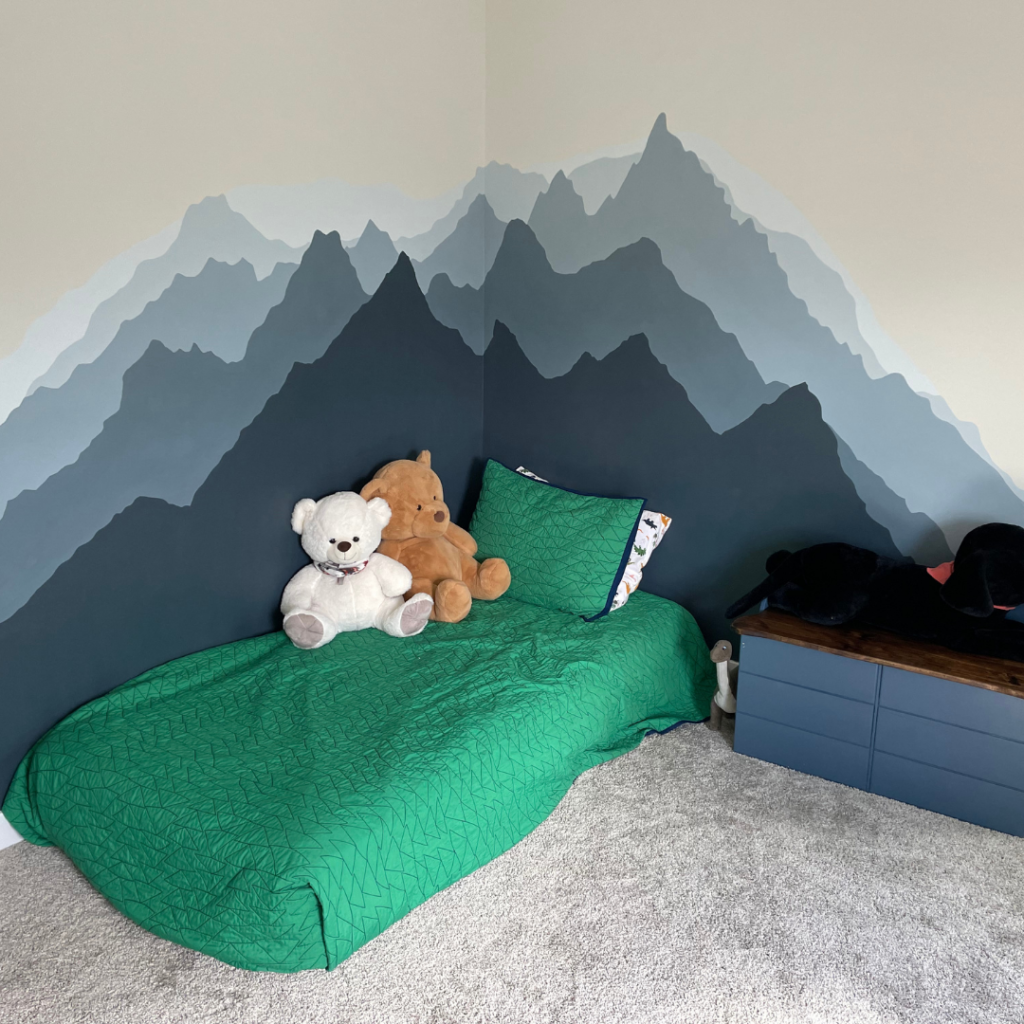
In the new house, I’ve gained a bit more confidence and was ready for the mountain mural to have a glow up. This time, I partially sketched and partially freehanded the mountains. The result was much more organic and I couldn’t be happier with the result!
How to Paint the Mountain Mural
Supplies:
Five Colors of Paint (sample size)
Artist Paint Brushes
Drop Cloth
Good Lighting
Pencil
Screw Driver

Picking Your Paint
We loved our local Benjamin Moore store before it closed. The family who owned the store was so friendly and super knowledgeable. I’ve trusted them countless times and they had never steered me wrong. So in I went.
Pick the darkest color first. This will be the first color in your mural, and it will be the dominant color. You’ll need the most of this and it will be what people’s eyes are really drawn to. For me, that was Blue Note. You’ll want to stay in a similar color family. And picking four more colors can be a bit daunting. So once you have the main color chosen, pick the next four shades lighter. You can do this by looking at the color value. Blue Note was 2129-30. I went up a row and grabbed another swatch of colors. Next was Normandy, etc.
Paint Colors:
Blue Note: 2129-30
Normandy: 2129-40
Winter Lake: 2129-50
Mt. Rainer Gray: 2129-60
Silver Cloud: 2129-70
Here’s a money saving tip: Buy sample sizes of paint rather than small cans of paint. I was able to use one sample of the four accent colors and two sample sizes of the darkest color.
Depending on the size of your mountains, you should be able to do something similar. The samples cost me $6.00 per sample. The only downside for some people is that they are matte with no gloss. We have a builder grade matte color on the wall already so this worked perfectly for us.
Painting the Mural
The first step is to prepare your space. You want to take a look at what outlet covers, light switches, and potential vent covers you’ll need to take off of the walls and find the right tools to do so. This will save you from running all over to retrieve things before your paint brush dries.
Lay out drop cloths as well. I’m notoriously lazy with this step and it always bites me.
Finally, if you are a taper (which I am not), now is a good time to tape off your baseboards or mural boundaries.
If you like to sketch and see the big picture, take a light pencil or chalk and start sketching your mountain range. I sketched the first two layers and then after that went freehand. The benefit of sketching the whole thing is that you can go top to bottom, lightest to darkest. The potential drawback here is your paint might not fully cover your marking tool. You can do a quick test to figure this out. If you are sketching, a quick note for what color goes in each section can save you loads of headache.
I went darkest to lightest because I knew that eventually I’d be free-handing my design and it was easier to see what it all would look like. I like the angled brushes in this pack for the edges, and I used these to fill in the larger spaces. They have larger brushes, but they’re cheaper and tend to loose stray hairs in your painting.