Everything You Need to Know About Skein Savers
What Are Skein Savers?
About a year ago I was wandering the yarn isles of a large craft store and saw what looked like large ponytail holders. Upon closer inspection, I learned that these were actually skein savers. What are skein savers? Do I actually need them? And a bunch of other thoughts ran through my head.
Basically a skein saver is something that wraps around a skein of yarn to keep it from unraveling or tangling. They now come in a variety of shapes and sizes. In this post, I’ll even show you how you can sew your own!
Do I Really Need Them?
Initially, the skeptic in me won out. I had been knitting for years and never used anything like this so why spend the money on it? But the more I looked at my yarn stash, the more I thought there might be something to this idea. The crafting department of my brain started to work on how I might make these. By this time, the craft store was no longer carrying them. I couldn’t take a closer look and inspect how this company had made them.
Before I get into how to make your own, let’s look at some of the benefits:
Keeping things Tidy
This is the most obvious benefit. Have you ever dug into your yarn stash to explore what’s there, reorganize, or retrieve a particular skein? Of course you have…we don’t always continuously buy new yarn (or do we??). If you have, you probably had to spend a bit of time rewinding some stray strands of yarn. With a nice and neat little skein saver, you don’t have to do this.
Saving Labels
I’ve lost my fair share of labels. In some cases, I thought I was going to knit with a skein so I took it off. In others, the skein might be half used. Still in other cases, my son has ripped off the label. Whatever the reason, you can fold the label in half, and sandwich it between the skein and the saver.
Why save the label? There is an abundance of information on a skein label. It’s a good idea to save it for info like: the color name and lot number, the weight of the yarn, suggestions for needle size and gauge, how to care for the yarn, and more.
More Space
Need to make a little bit of room in your stash? The sizing information I’m going to give you below will snugly fit around most skeins. This snug fit will actually compress the skein slightly. It makes the skein stiffer so you can lay it down or stand it up and get better organization. It will also free up some room for new yarn! Because you don’t need reasons, only more space!
Safe Travel
We always want to arrive at our destination safely. The same goes for our knitting. You can use the skein savers in a few ways while traveling. The first is the obvious method: Keeping yarn safely stowed and from unraveling. But there’s another really functional use while traveling. They can also keep your projects safe!
How to Sew a Skein Saver:
Materials:
Scrap fabric: two pieces, at least 11.5 by 7.5 inches.
Optional: Fusible Interfacing
Needle and thread or Sewing Machine
Scissors
Something to measure and mark fabric
Snaps or Button and Elastic.
Getting Started:
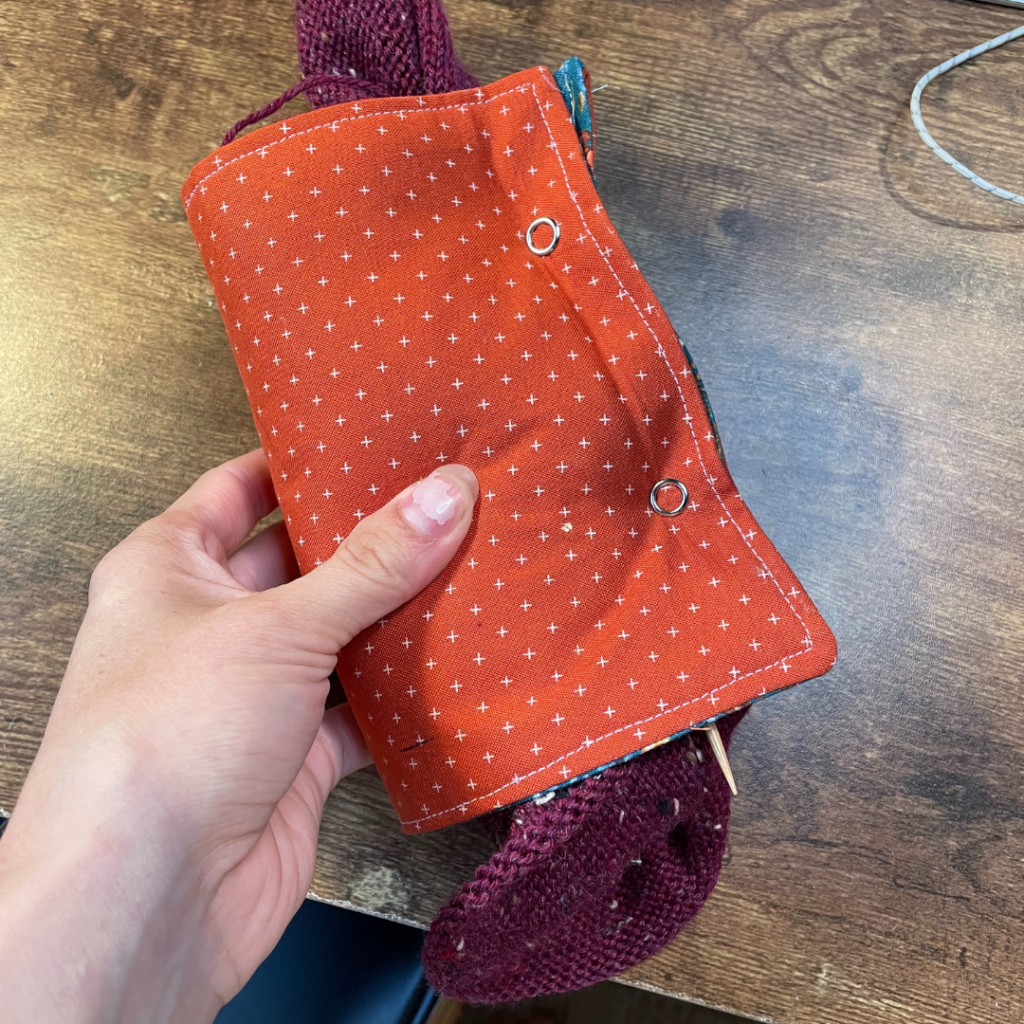
Cut and iron your fabric. If you would like to use fusible interfacing cut one piece 10.5 by 6.5 inches. Fuse it to the wrong side of one of your pieces of fabric. I like to mix and match my fabric so the skein savers are a bit reversible.
You’ll also want to prepare your selected fasteners. I used snaps because I have them and the tools on hand from making bandana bibs. You can purchase the tool that I use here. (Affiliate link)
If you are using elastic, (craft or hair ties) and buttons, you’ll want to take the time cut the elastic to length and determine their placement. You may chose to affix the button and elastic to one piece of your skein saver before sewing them together.
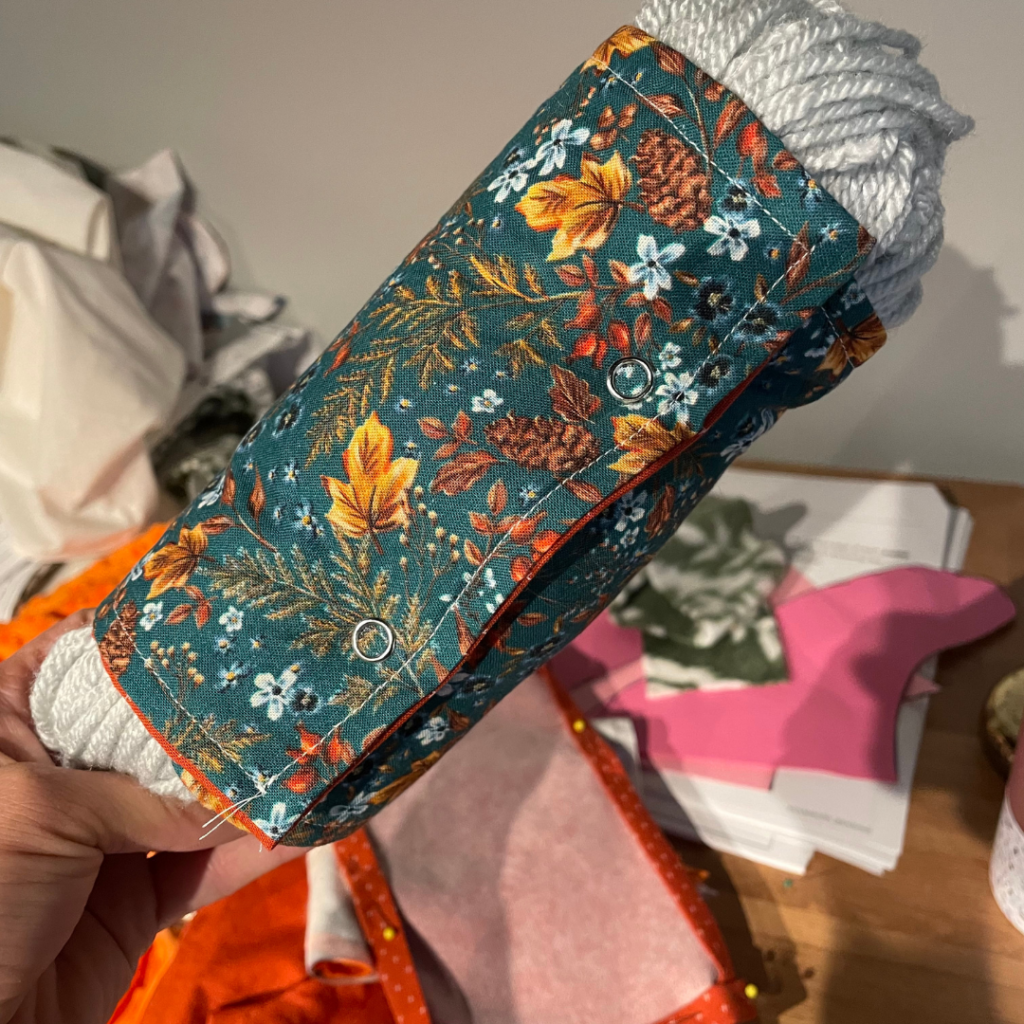
Making the Savers:
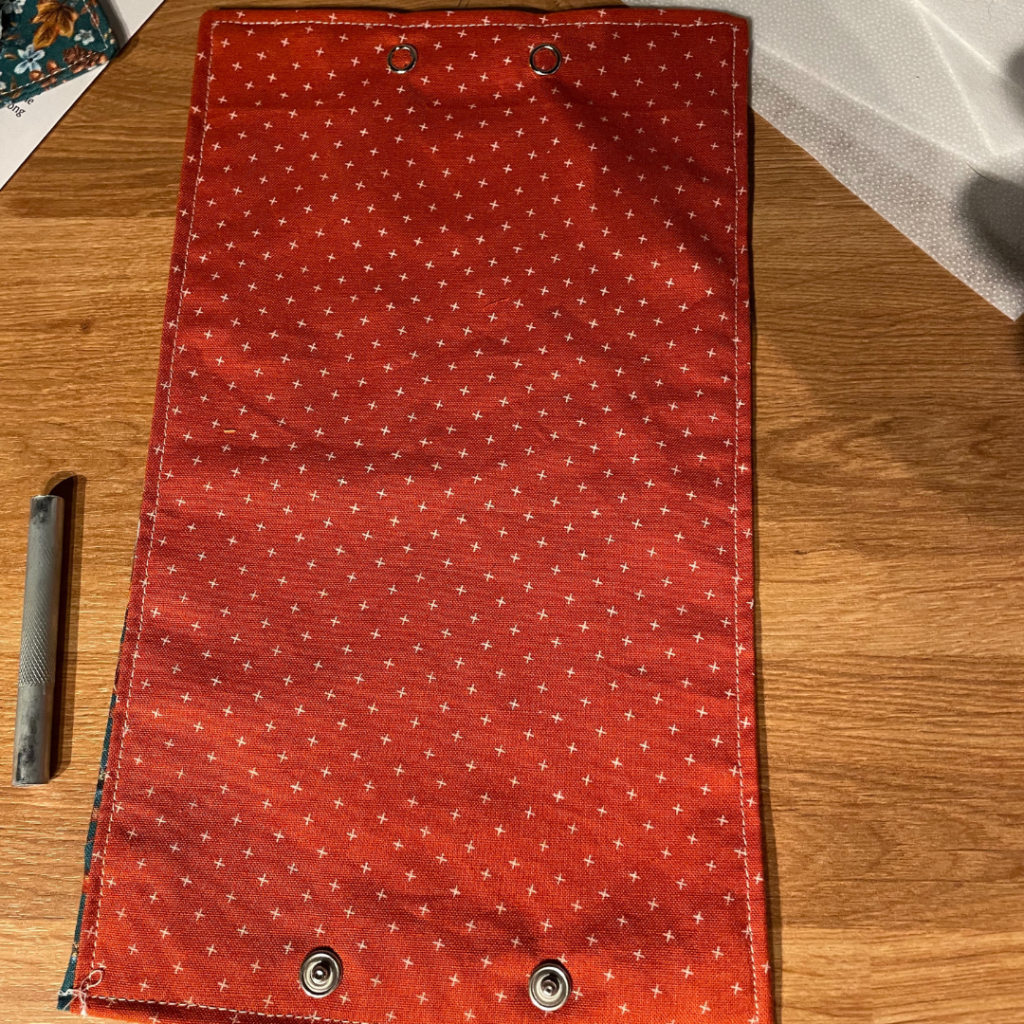
Place right sides of your fabric together, and sew around three sides using a 1/2 inch seam allowance. Trim the two corners, and any bulky seam allowance.
Then flip your project right side out. It can be helpful to iron your project again to get nice crisp lines before top stitching. While the iron is hot, fold the unfinished edges inside your project by 1/2 inch and press them.
Top stitch around all four sides. This will close up your project and keep it nice and neat.
If you’re using snaps, add those to your project and start using it!