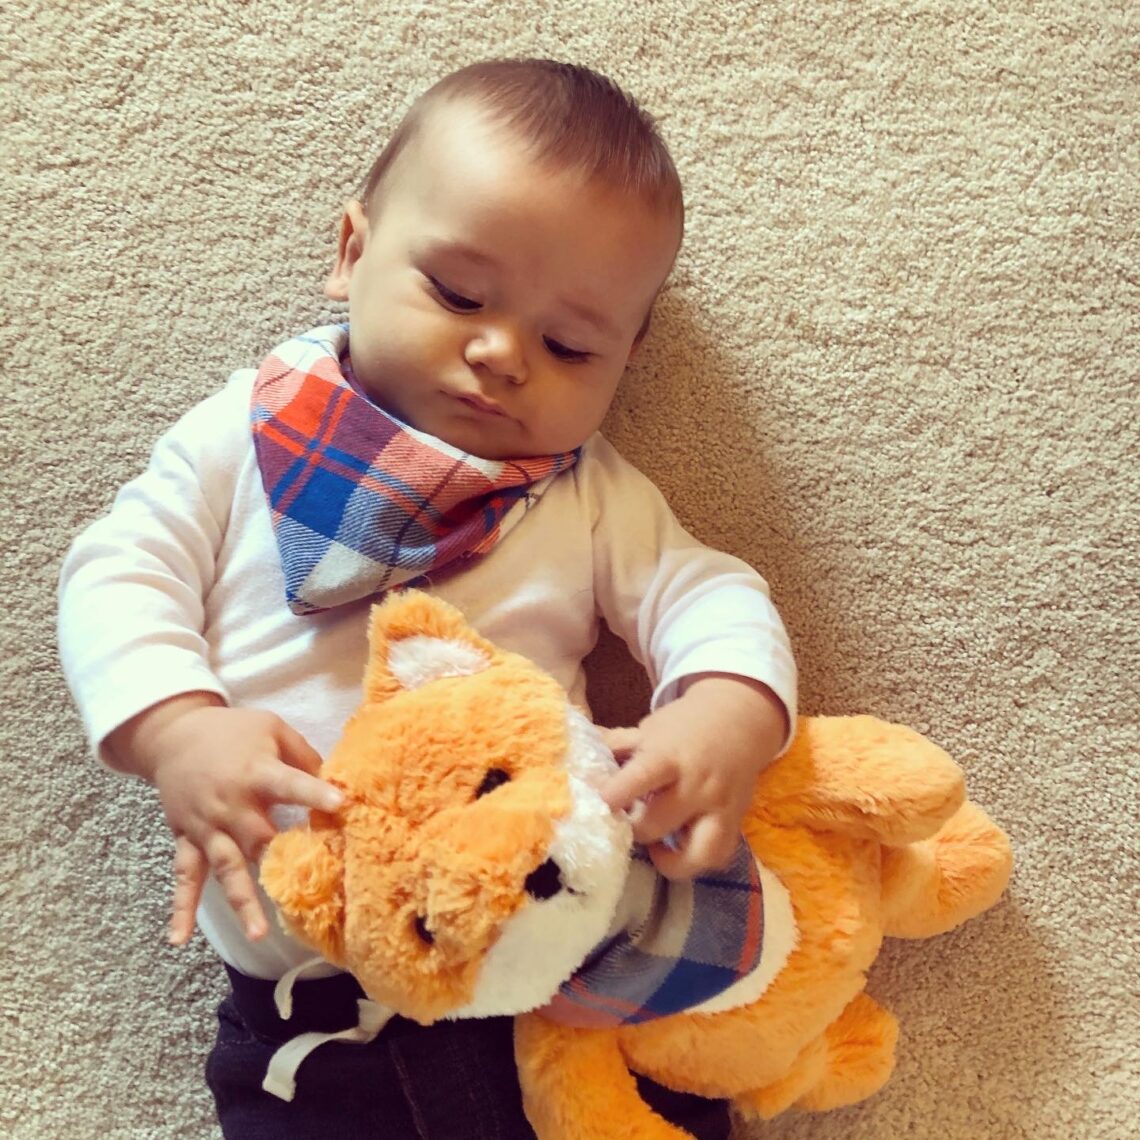
Sew Your Own Baby Bandana Bibs
A Sweet Cabbage Project…That Led to Buying Way More Fabric
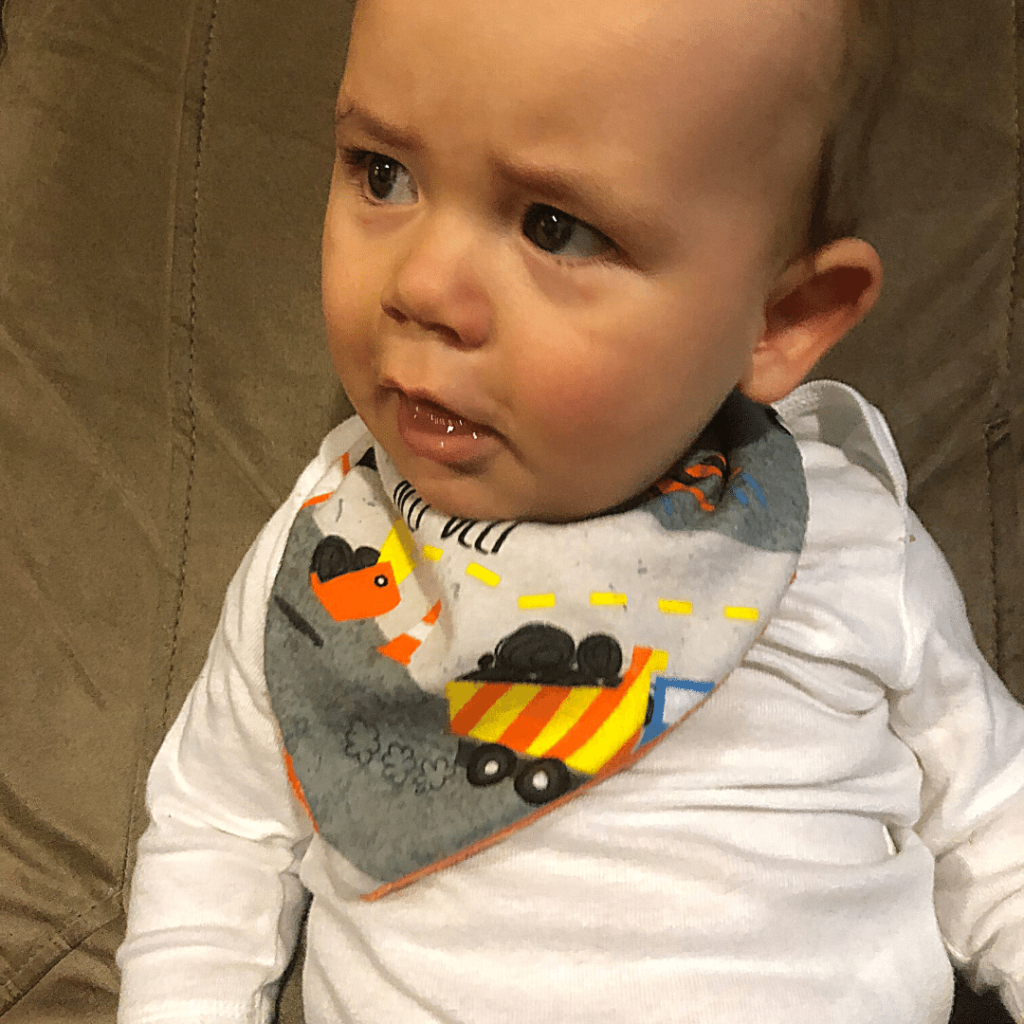
I’ve found my latest fun sewing project on Pinterest: Baby Bandana Bibs! They take almost no time to make. You can make a bunch of them at a time. They can easily be made reversible. It’s simple to make your own pattern once you get a feel for the general size and shape. I could go on and on. And I will… Below…
Pinterest is an addiction. It started as a means of finding knitting patterns, and then tutorials, and then for sharing my blog posts. Then I started sharing my knitting patterns there. Since then Pinterest has become my go to for recipes, how to’s, inspiration for Fynn’s nursery, and so much more. Now that I’ve started sewing, I’ve started stock piling sewing pattern ideas for rainy day projects.
How to Make a Baby Bandana Bib
What you’ll need:
- Fabric (one or multiple prints)
- Pattern
- Marker or Tailors Chalk
- Thread
- Fabric Scissors
- Pins or clips
- Snaps, Buttons, or Velcro
As I hinted earlier, I first made these as a means of using up some extra fabric scraps (or cabbage – what a fun term!). The idea was to try a fun project that would give me some time and grade with my new sewing machine, while also making a fun result that we can actually use.
If you know me, I hate practicing, drilling, knitting swatches, etc. It all seems like and egregious waste of time. It’s something in my nature – I need to be productive while practicing and learning new things. So, Baby Bandana Bibs were my project of choice.
Cutting the Fabric:
Find some space where you can lay out your fabric. Ideally this is on a desk or a hard flooring to make tracing and cutting your fabric easier.
So it turns out I’m terrible at cutting fabric, especially when there’s a curved edge. I thought I was really good at it, but when I went to line up my two pieces of fabric they didn’t match at all. Perhaps this was because I was doing it while trying to entertain Fynn and drinking a glass of wine, while working on the floor and trying to watch The Alienist. I set myself up for this.
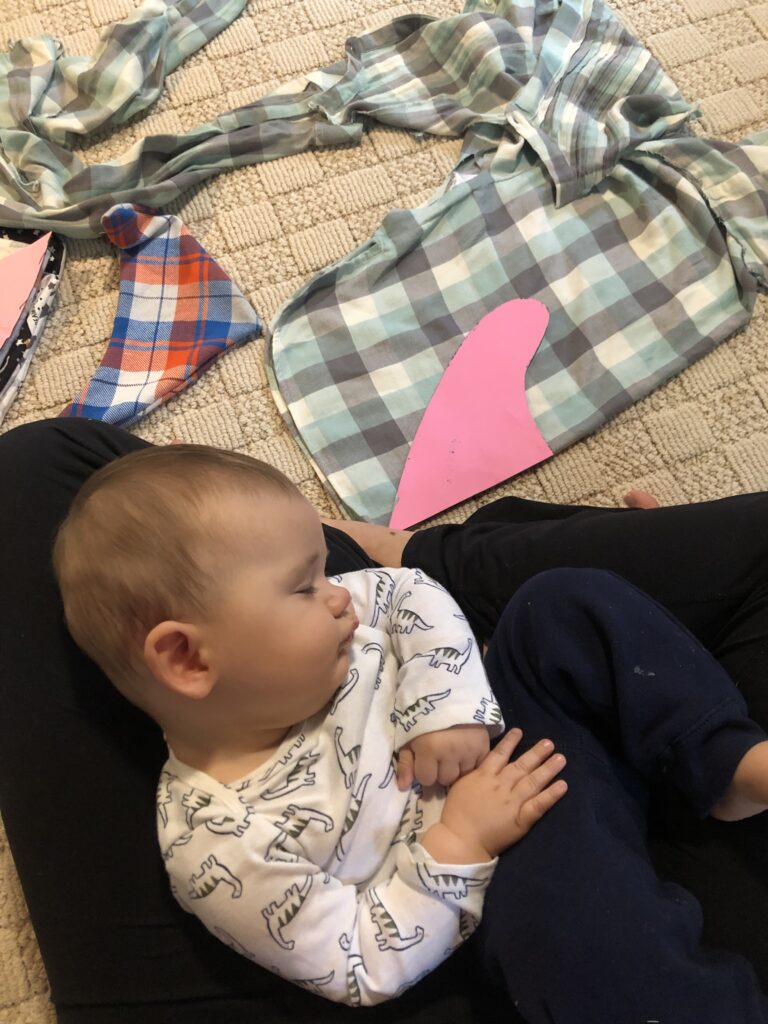
Fold your fabric in half, preferably with the good or right sides facing each other. Place the pattern down onto the fabric and trace. The hard edge or straight edge that looks like the middle of the fabric should be right up against the fold. Trace and cut twice.
I plan on trying a rotary cutter and cutting mat. Does anyone use these? Do you find them helpful?
Prepping Your Baby Bandana Bib Project:
Next, you’ll need to pin the two pieces of fabric together. Lay the first piece right side up on a nice flat surface. Then lay the next piece right side down on top of this one. You should have the “good” or “pretty sides” facing each other.
Take your pins or your sewing clips, and secure the two pieces of fabric together. I’ve recently learned to pin from the outside in, which seems to help at least for me, right now. It’s easy to grab a pin and remove it while sewing and they don’t seem to shift around as much on me.
While you’re in this stage, it’s a good idea to identify the space that you will open or un-sewn. You’ll need a place where you can feed the fabric through to turn the bib right side out. At most, you’ll need about an inch. But I’ve also found you can work with something smaller too.
Sewing the Banda Bib Together
This part is pretty self explanatory. You can do it either by hand or by sewing machine, so don’t be intimidated if you don’t have a machine! Maybe a blanket stitch around the edges would be good if you don’t have a machine.
I’ve used a few different stitches on my machine as I’ve made some baby bandana bibs with woven, knit, and stretch fabrics. I got to try out some jersey the other day for a sleep sack and I can’t wait to make my husband and Fynn matching bandanas!
I like to leave the “hole” for turning the project right side out, along the neck of the bandana. It’s a good starting/stopping place, plus it ends up being kind of hidden when the baby is wearing it. Trim any excess fabric around the seams. I’m still trying to figure how much is the right amount to leave on the bib.
Sew around the big. Turn it right side out. I work my finger all the way into one of the corners of the bib and then push that through the hole, and pull. This saves you a bit or work from having to finesse and finangle with it later.
Then grab your thread and sewing needle to stitch this hole shut. Turn the edges in and stitch from the outside in. I do like a cross hatch stitch. I start on one side of the seam and come up through the fabric then down through the middle of the seam and repeat on the other side. This stays pretty well hidden.
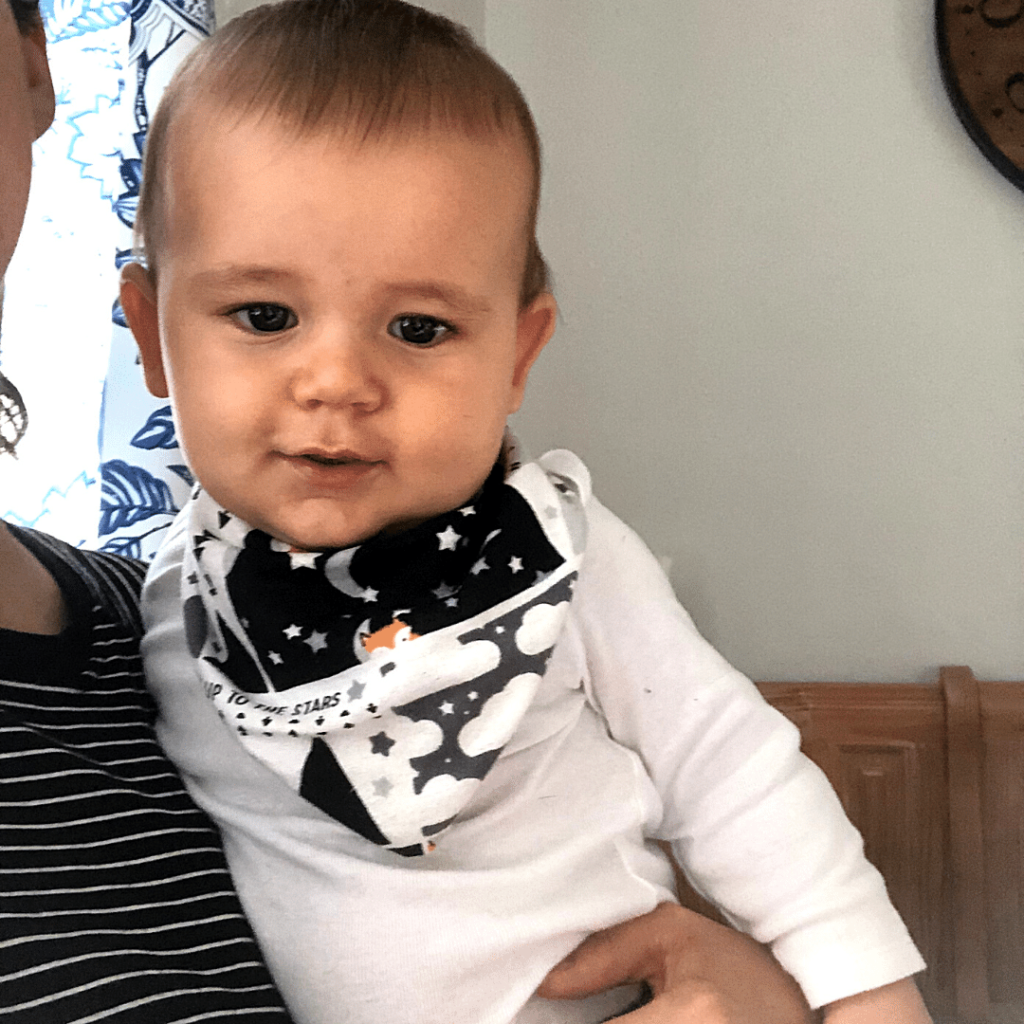
Finishing Your Baby Bandana Bib
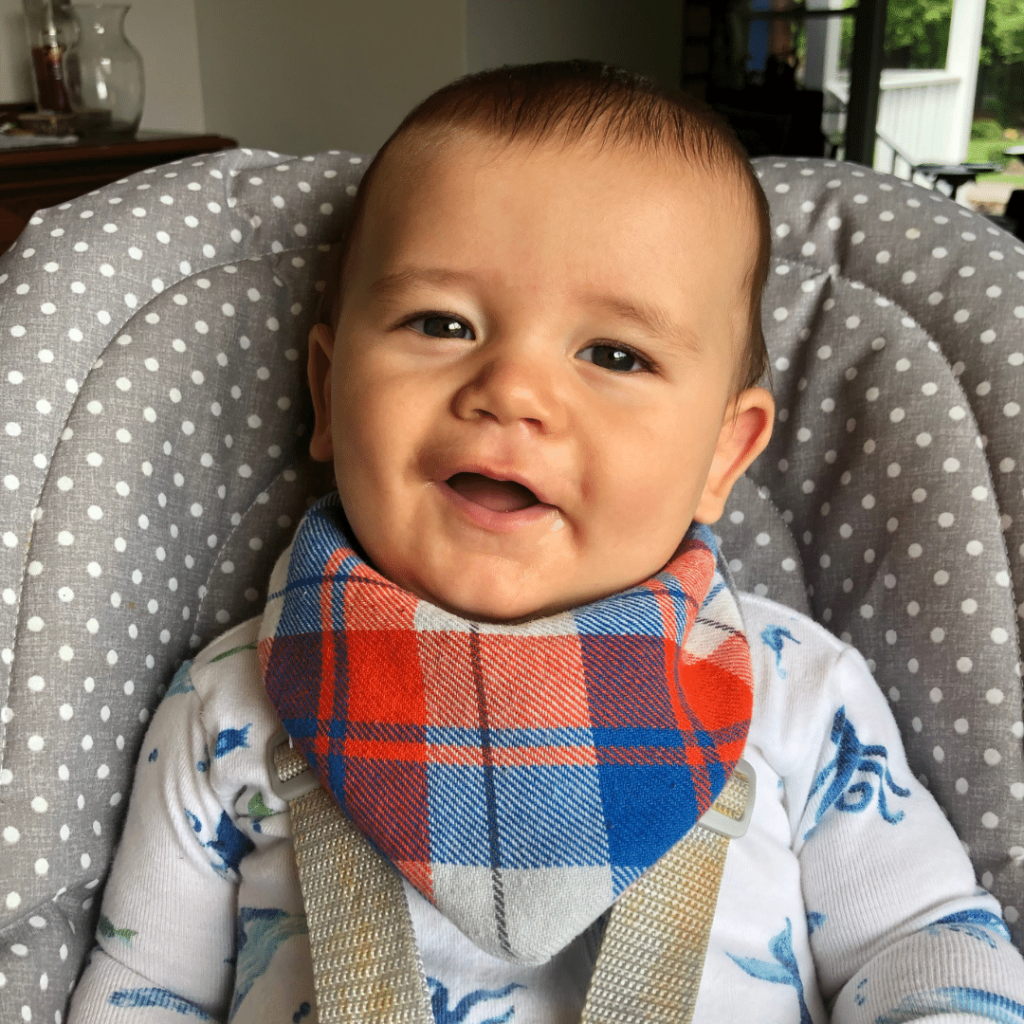
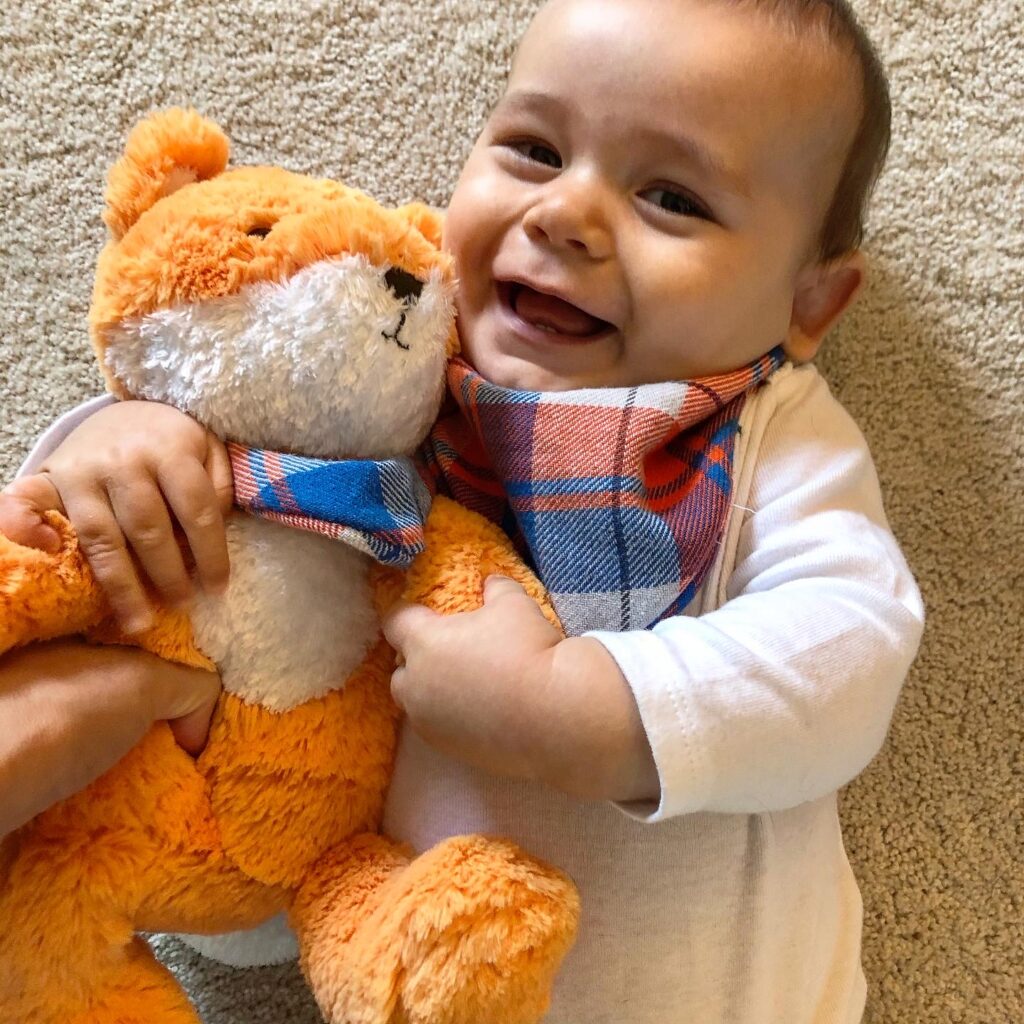
Now all that is left is to add your closure method of choice! I purposely did not create a pattern that tied as I didn’t want something that could accidentally tighten around my baby’s neck as her learns to crawl and move around.
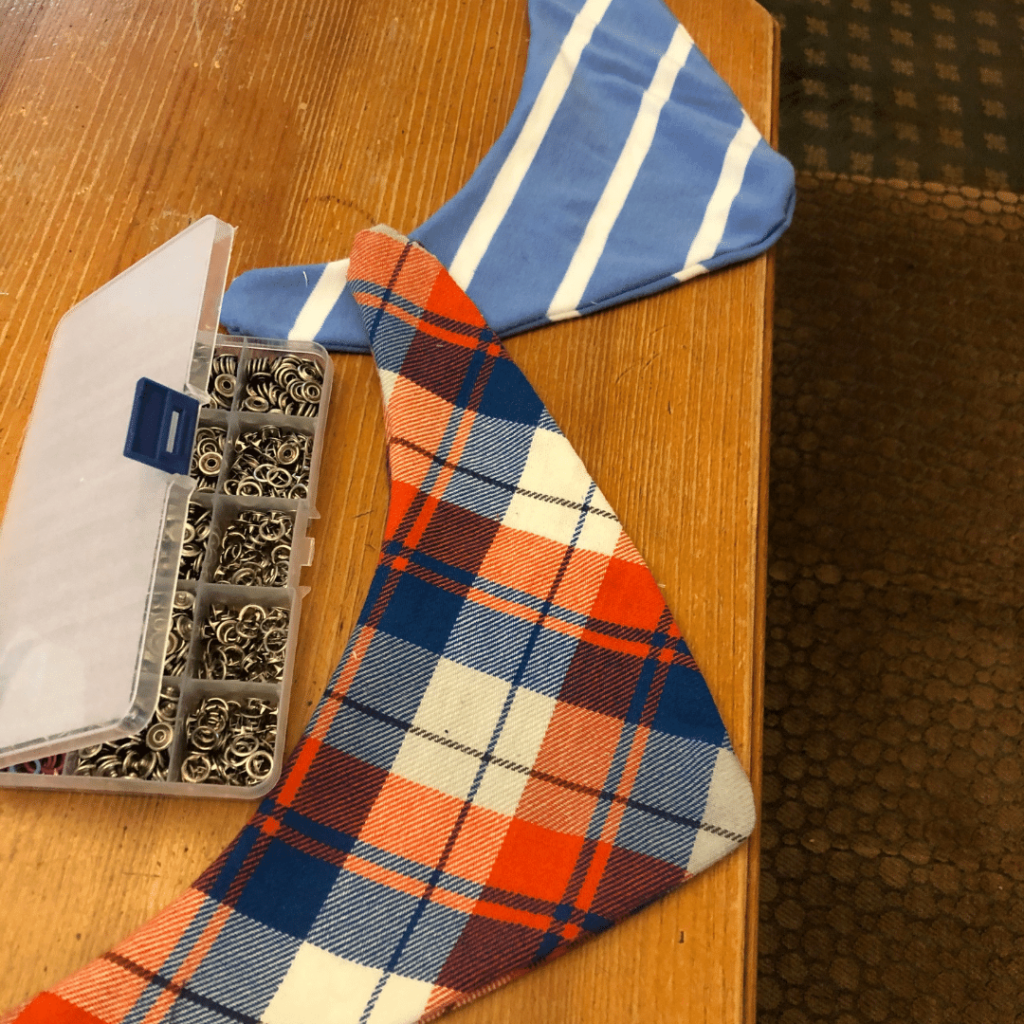
I found an affordable and easy to use tool that puts snaps into fabric, so that’s what I went with. We have enough velcro accidentally destroying other clothing in the wash.