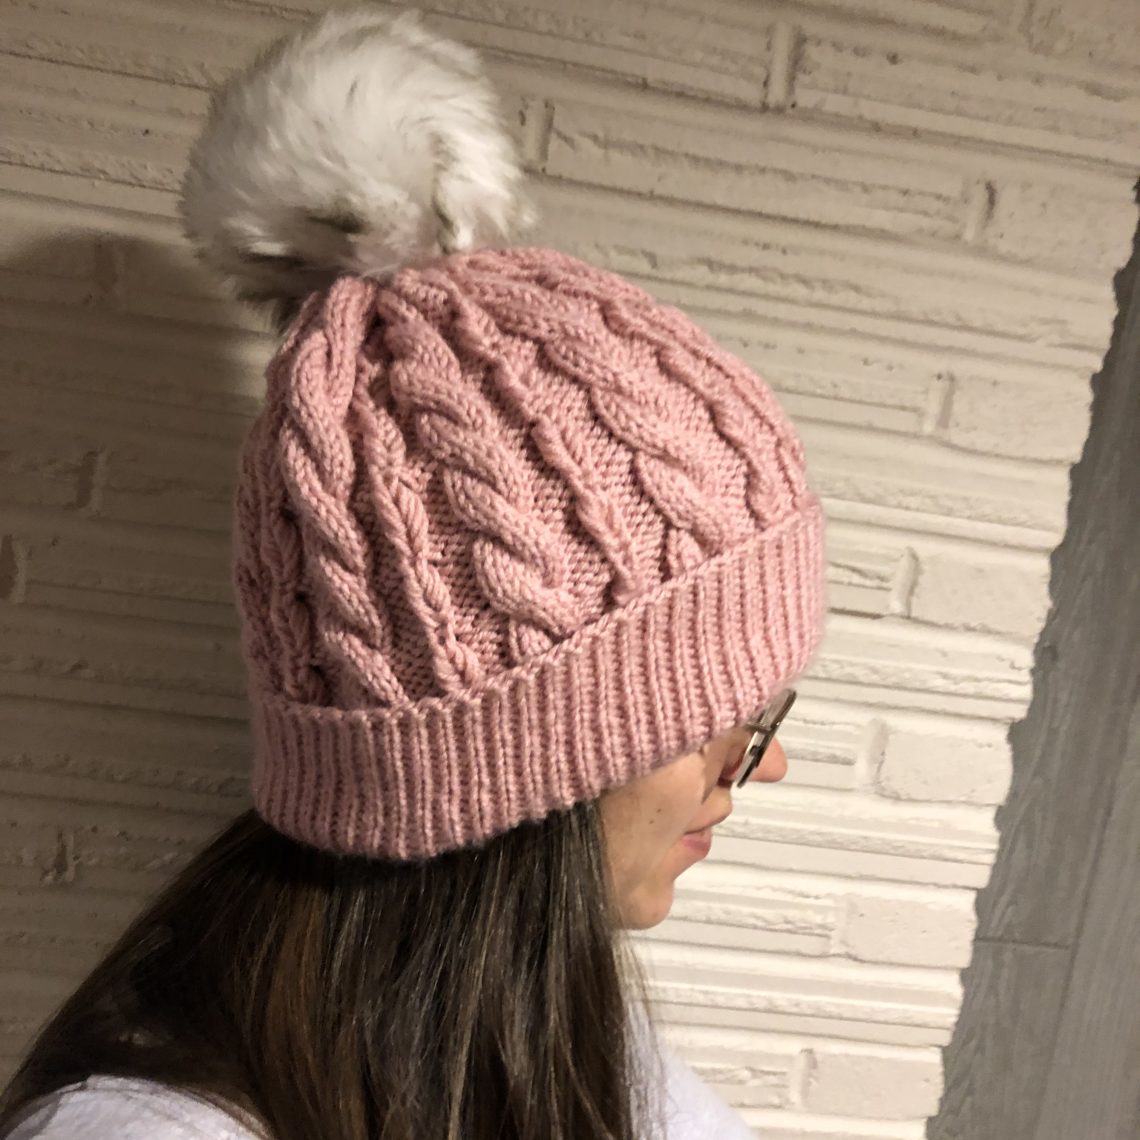
Emily’s Hat
Love cables but want something different? The Emily’s Hat Knitting Pattern is just the one you need. The knit below detail between the cables breaks up the chunky repeat with an eye catching detail. This hat is super comfortable to wear, stays warm by not creating too many holes in the design and great for just about any worsted weight yarn. Bust through your stash by knitting up a few Emily’s Hats!

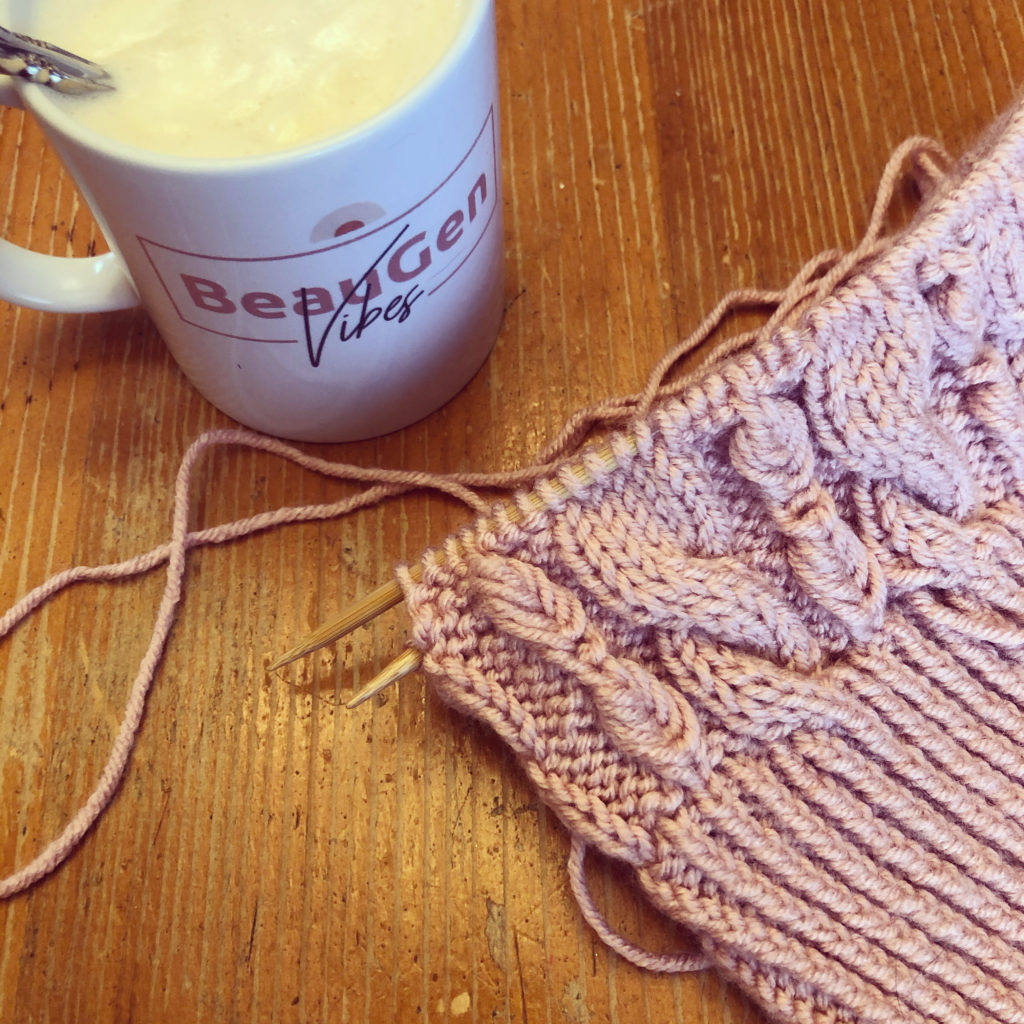
What’s so unique and exciting about this hat pattern?
In this pattern, I combined the traditional cable, with a new skill. This skill is a KBX5! What does that mean? Stick with me. I’ll explain it here and I’ll post a tutorial below. This knit below technique forms almost a mini ladder in the hat. You locate the knit stitch between the two purl sections and then count down to the appropriate round. From here, you knit into each of the rounds moving up the ladder until you get to the live stitch on your needle. Then knit that stitch. To finish it all off, you slip these “knit below’s” up and over that stitch.
Video tutorial for Knit Five Times Below
Sizing:
This hat features sizing from little ones up to large adult sizes. So you can confidently knit this hat for just about everyone on your list this year.
So What Do You Need to Knit Emily’s Hat?
Yarn
I’ve used Big Twist Soft Solids from Joann Fabrics for this one. With the closure of Joann’s my go to has been LionBrand’s Heartland. But as I said above, just about any worsted weight yarn will work fabulously.
It’s a soft yarn that is both affordable and durable. It will pill a tiny bit over repeated use but this can easily remedied. I’ve knit several hats for my husband in this yarn. He shaves his head so yarn used in his hats needs to be soft. He’s also hard on his hats. he uses them for yard work and working in our garage, on top of everyday wear. So this yarn has proven to be durable.
Needles
For the Brim I recommend using US Size 5 circular needles. This will cinch it up and keep the hat in place. Plus it makes its warmer over your ears and forehead which is where your more exposed skin is.
You have the option of knitting a 2.5 inch brim (normal), or a 5 inch brim (for a folded brim).

For the body of the hat, to give a bit of extra room to work the cables, I recommend sizing up to a US Size 7 circular needle. To work the cables, you can use a cable needle in a size 7 or similar size. Personally, I prefer to use a Double Pointed Needle in the size I need for cables.
In either case a shorter cable needle is my preference, but you can always work with Double Pointed needles or a magic loop based on your preferences or what you have on hand.
To add the pompom you see in the photos, you can purchase a faux fur pompom or make one via this turorial.
Where to purchase the pattern:
Click here to get the pattern through Ravelry.